If you develop WordPress websites for clients, chances are you find yourself doing many of the same tasks over and over again. For example, having to reinstall your go-to plugins and themes on every new site can take up time that would be better spent on more important elements of your business.
Having WordPress website templates on hand is an easy way to solve that problem. With the base features already in place for each website, you can focus on creating custom elements that are more challenging and rewarding.
In this post, we’ll provide a brief overview of WordPress website templates and their benefits. Then we’ll walk you through how to create one with our own ManageWP Template Builder. Let’s dive right in!
An introduction to WordPress website templates
When it comes to WordPress, the term ‘template’ can be used in several ways. Some themes come with pre-built pages referred to as templates, for example, and there are also single post templates that determine the layout of your site’s content.
In this context, however, we’re not referring to either of those applications. Instead, a ‘WordPress website template’ is a foundation you can use to build new websites more quickly. It may include custom code, specific settings, default plugins you use on all of your sites, and preferred themes for your clients to choose from.
Having a template that includes any or all of these elements can save you a significant amount of time when it comes to building client sites. Instead of starting from square one, you’ll have a head start on each new project. This will give you more time to source new clients, tend to your business, and complete further projects. In some cases, it can even lead to an increase in revenue since you’ll be able to take on more work.
Your guide to creating WordPress website templates (in 5 steps)
There are many ways you can go about creating WordPress website templates. However, our ManageWP Template Builder makes this task particularly easy. All you need is a free account, and you can get started right away.
Step 1: Access the ManageWP Template Builder
First, in order to access the Template Builder, you’ll want to sign in to your ManageWP dashboard:
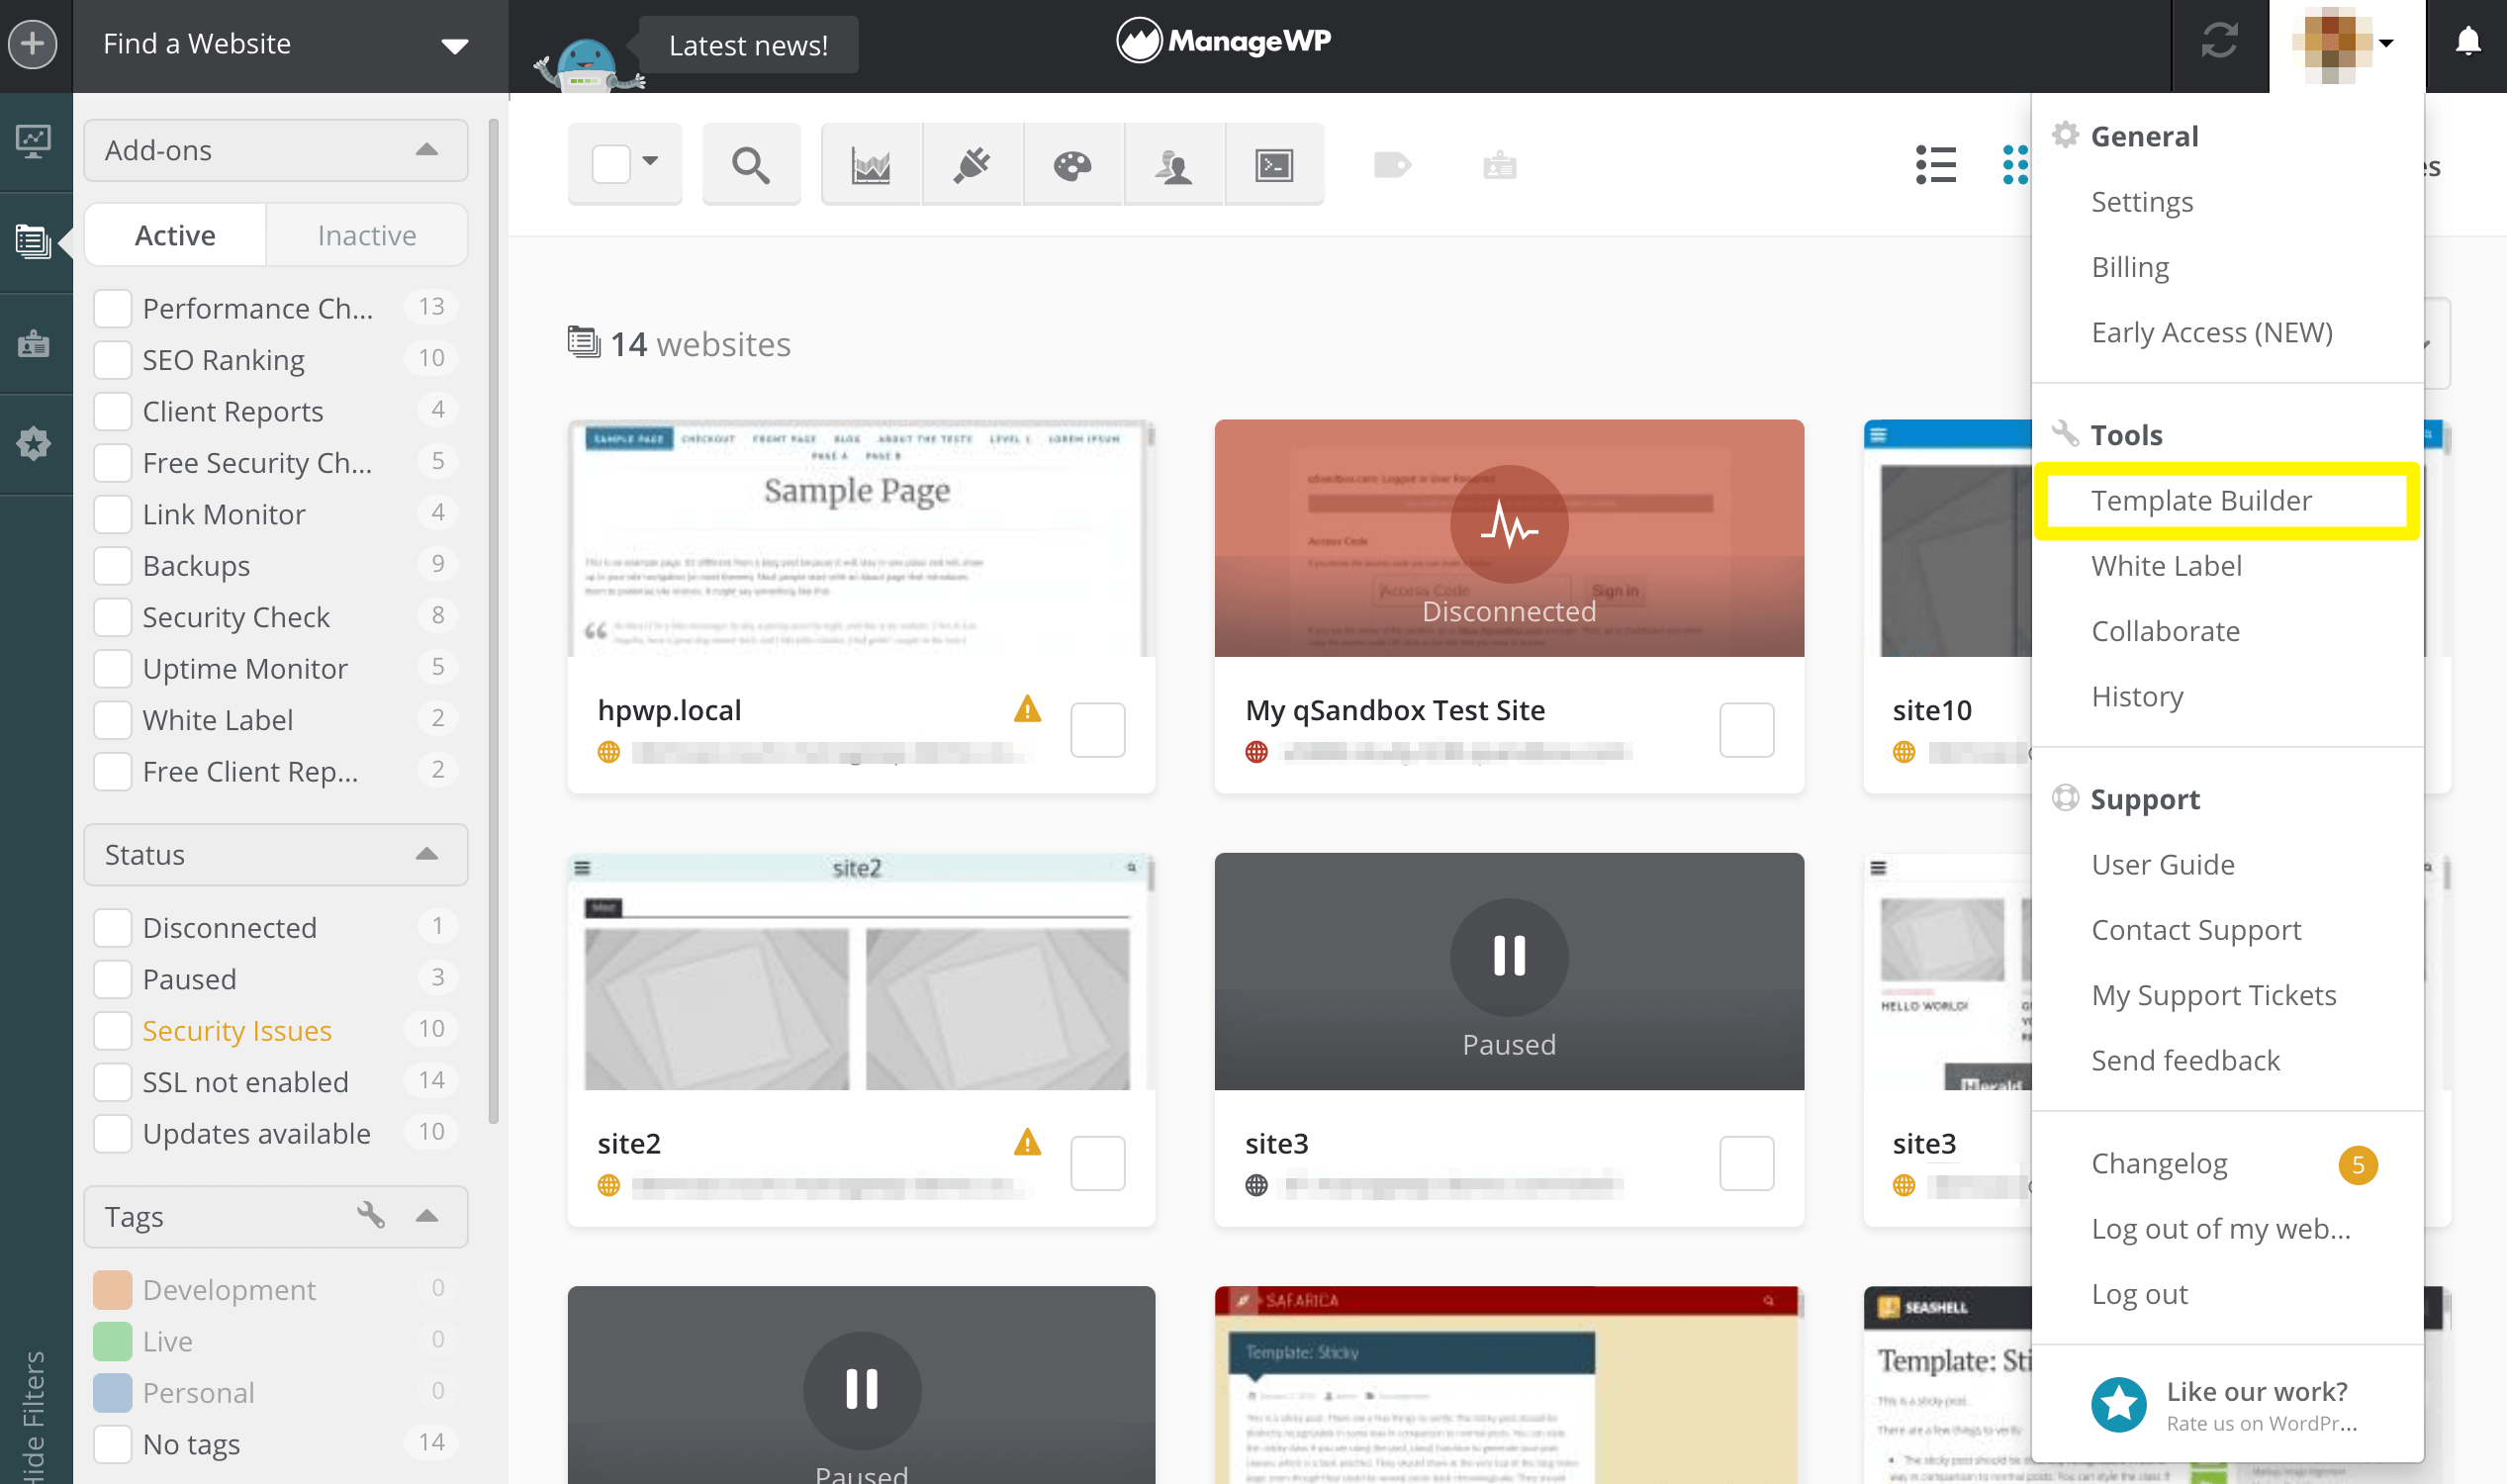
Then click on the arrow next to your avatar, and select Template Builder under the Tools section of the menu:
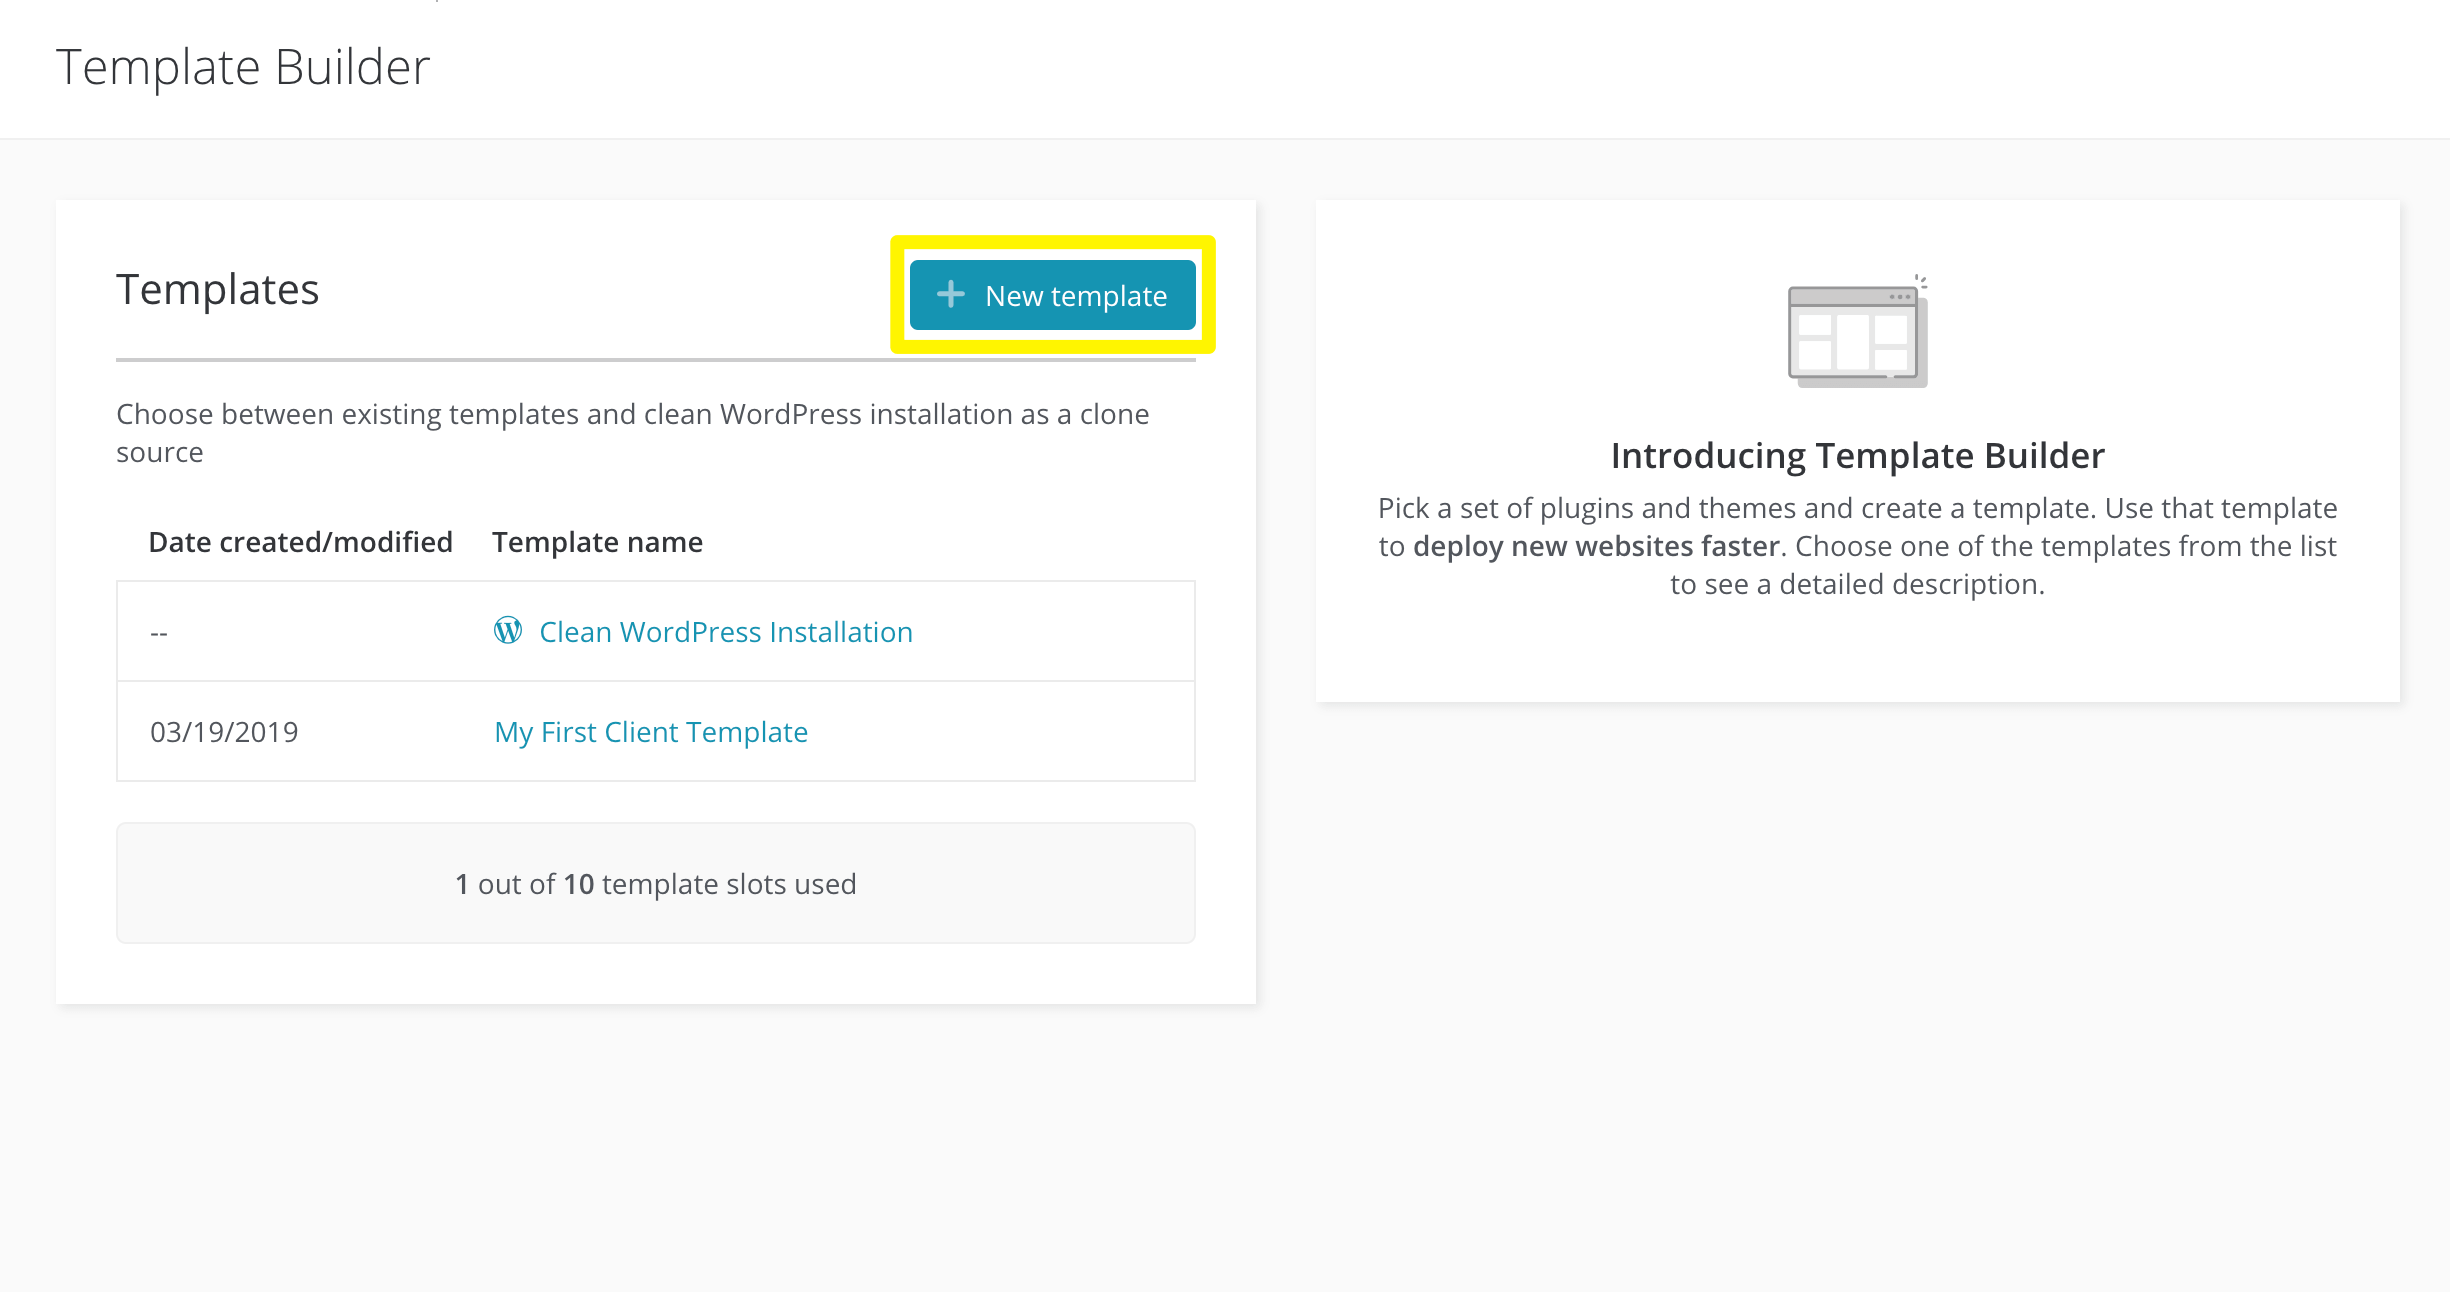
On the next screen, you’ll see any existing templates listed. You can have up to ten templates saved and ready to use.
Step 2: Select a WordPress site to use as your base
Next, click on the New Template button:
Then name your template, and select whether you want to use a clean WordPress installation or a backup of another site as its base.
Note that you need to have our premium backups feature in order to choose the latter option:
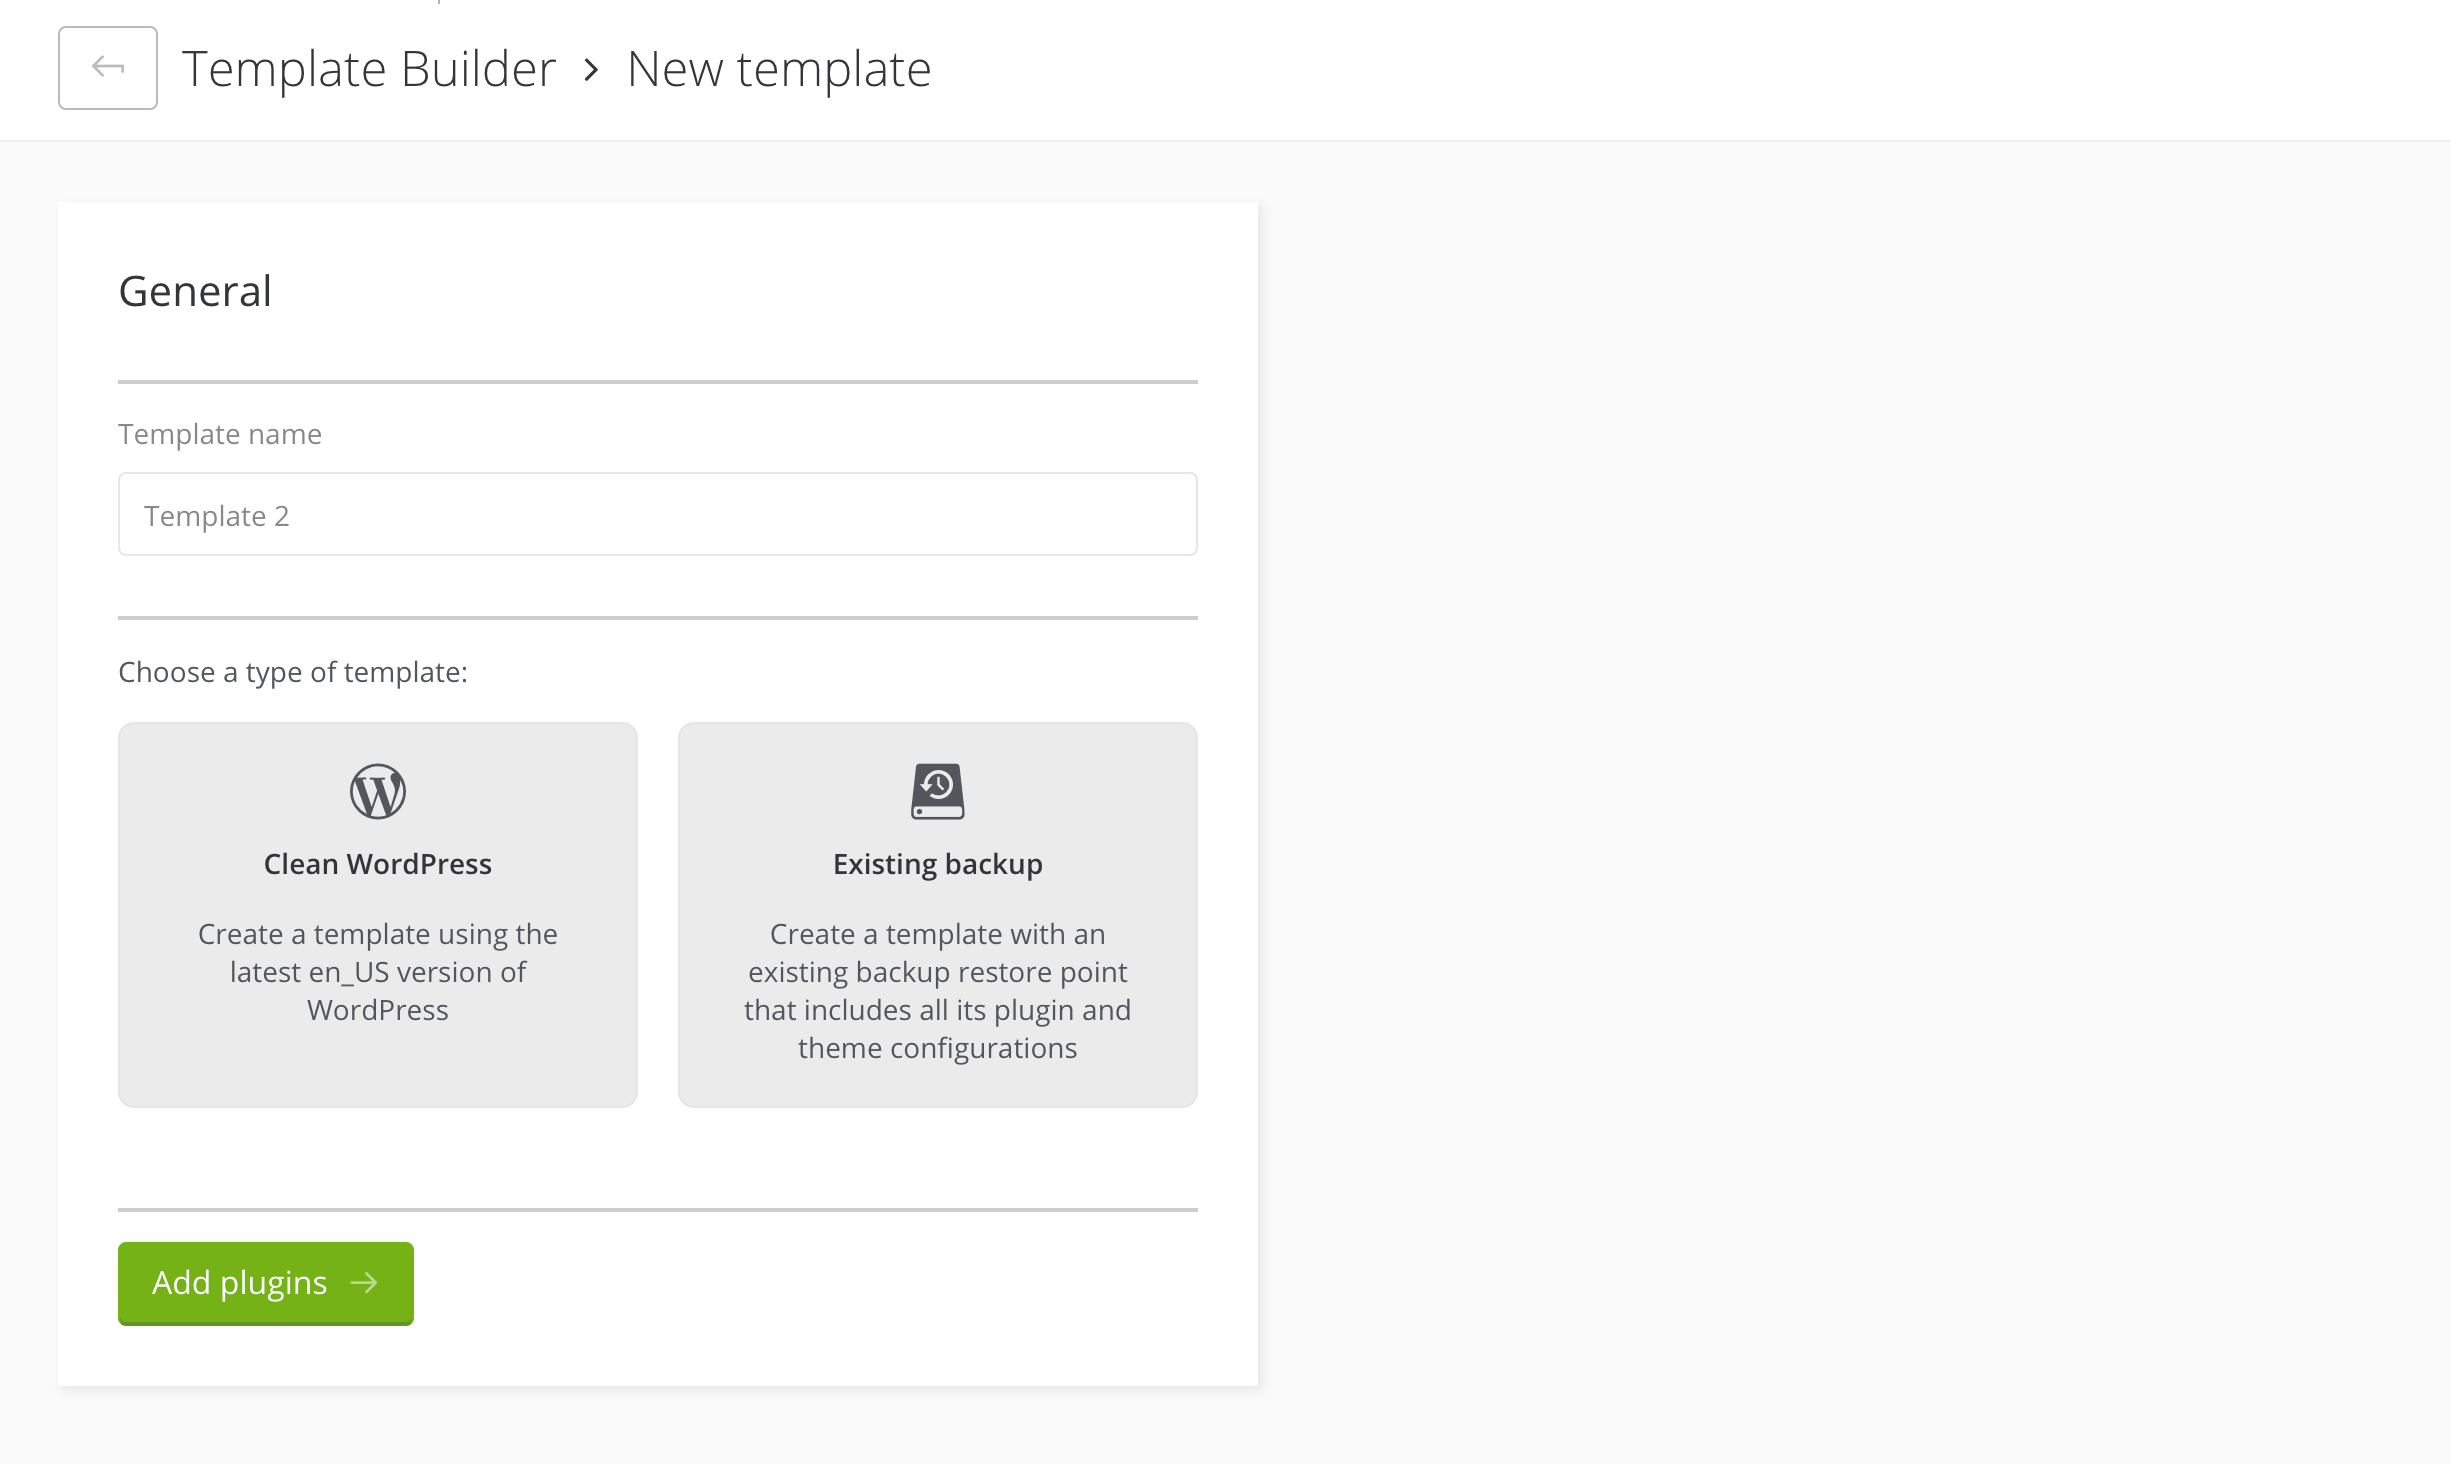
For the purposes of this walk-through, we’ll use a clean WordPress installation. Once you’ve made your selection, click on Add Plugins.
Step 3: Add your default plugins
Adding plugins to your template is useful, especially if you have a set of go-to plugins you incorporate on every client site. That way, you can quickly cover standard needs such as security, Search Engine Optimization (SEO), image compression, performance optimization, and any other features you deem essential.
With our Template Builder, you can easily add all your favorite tools so they’ll be automatically included on future sites:
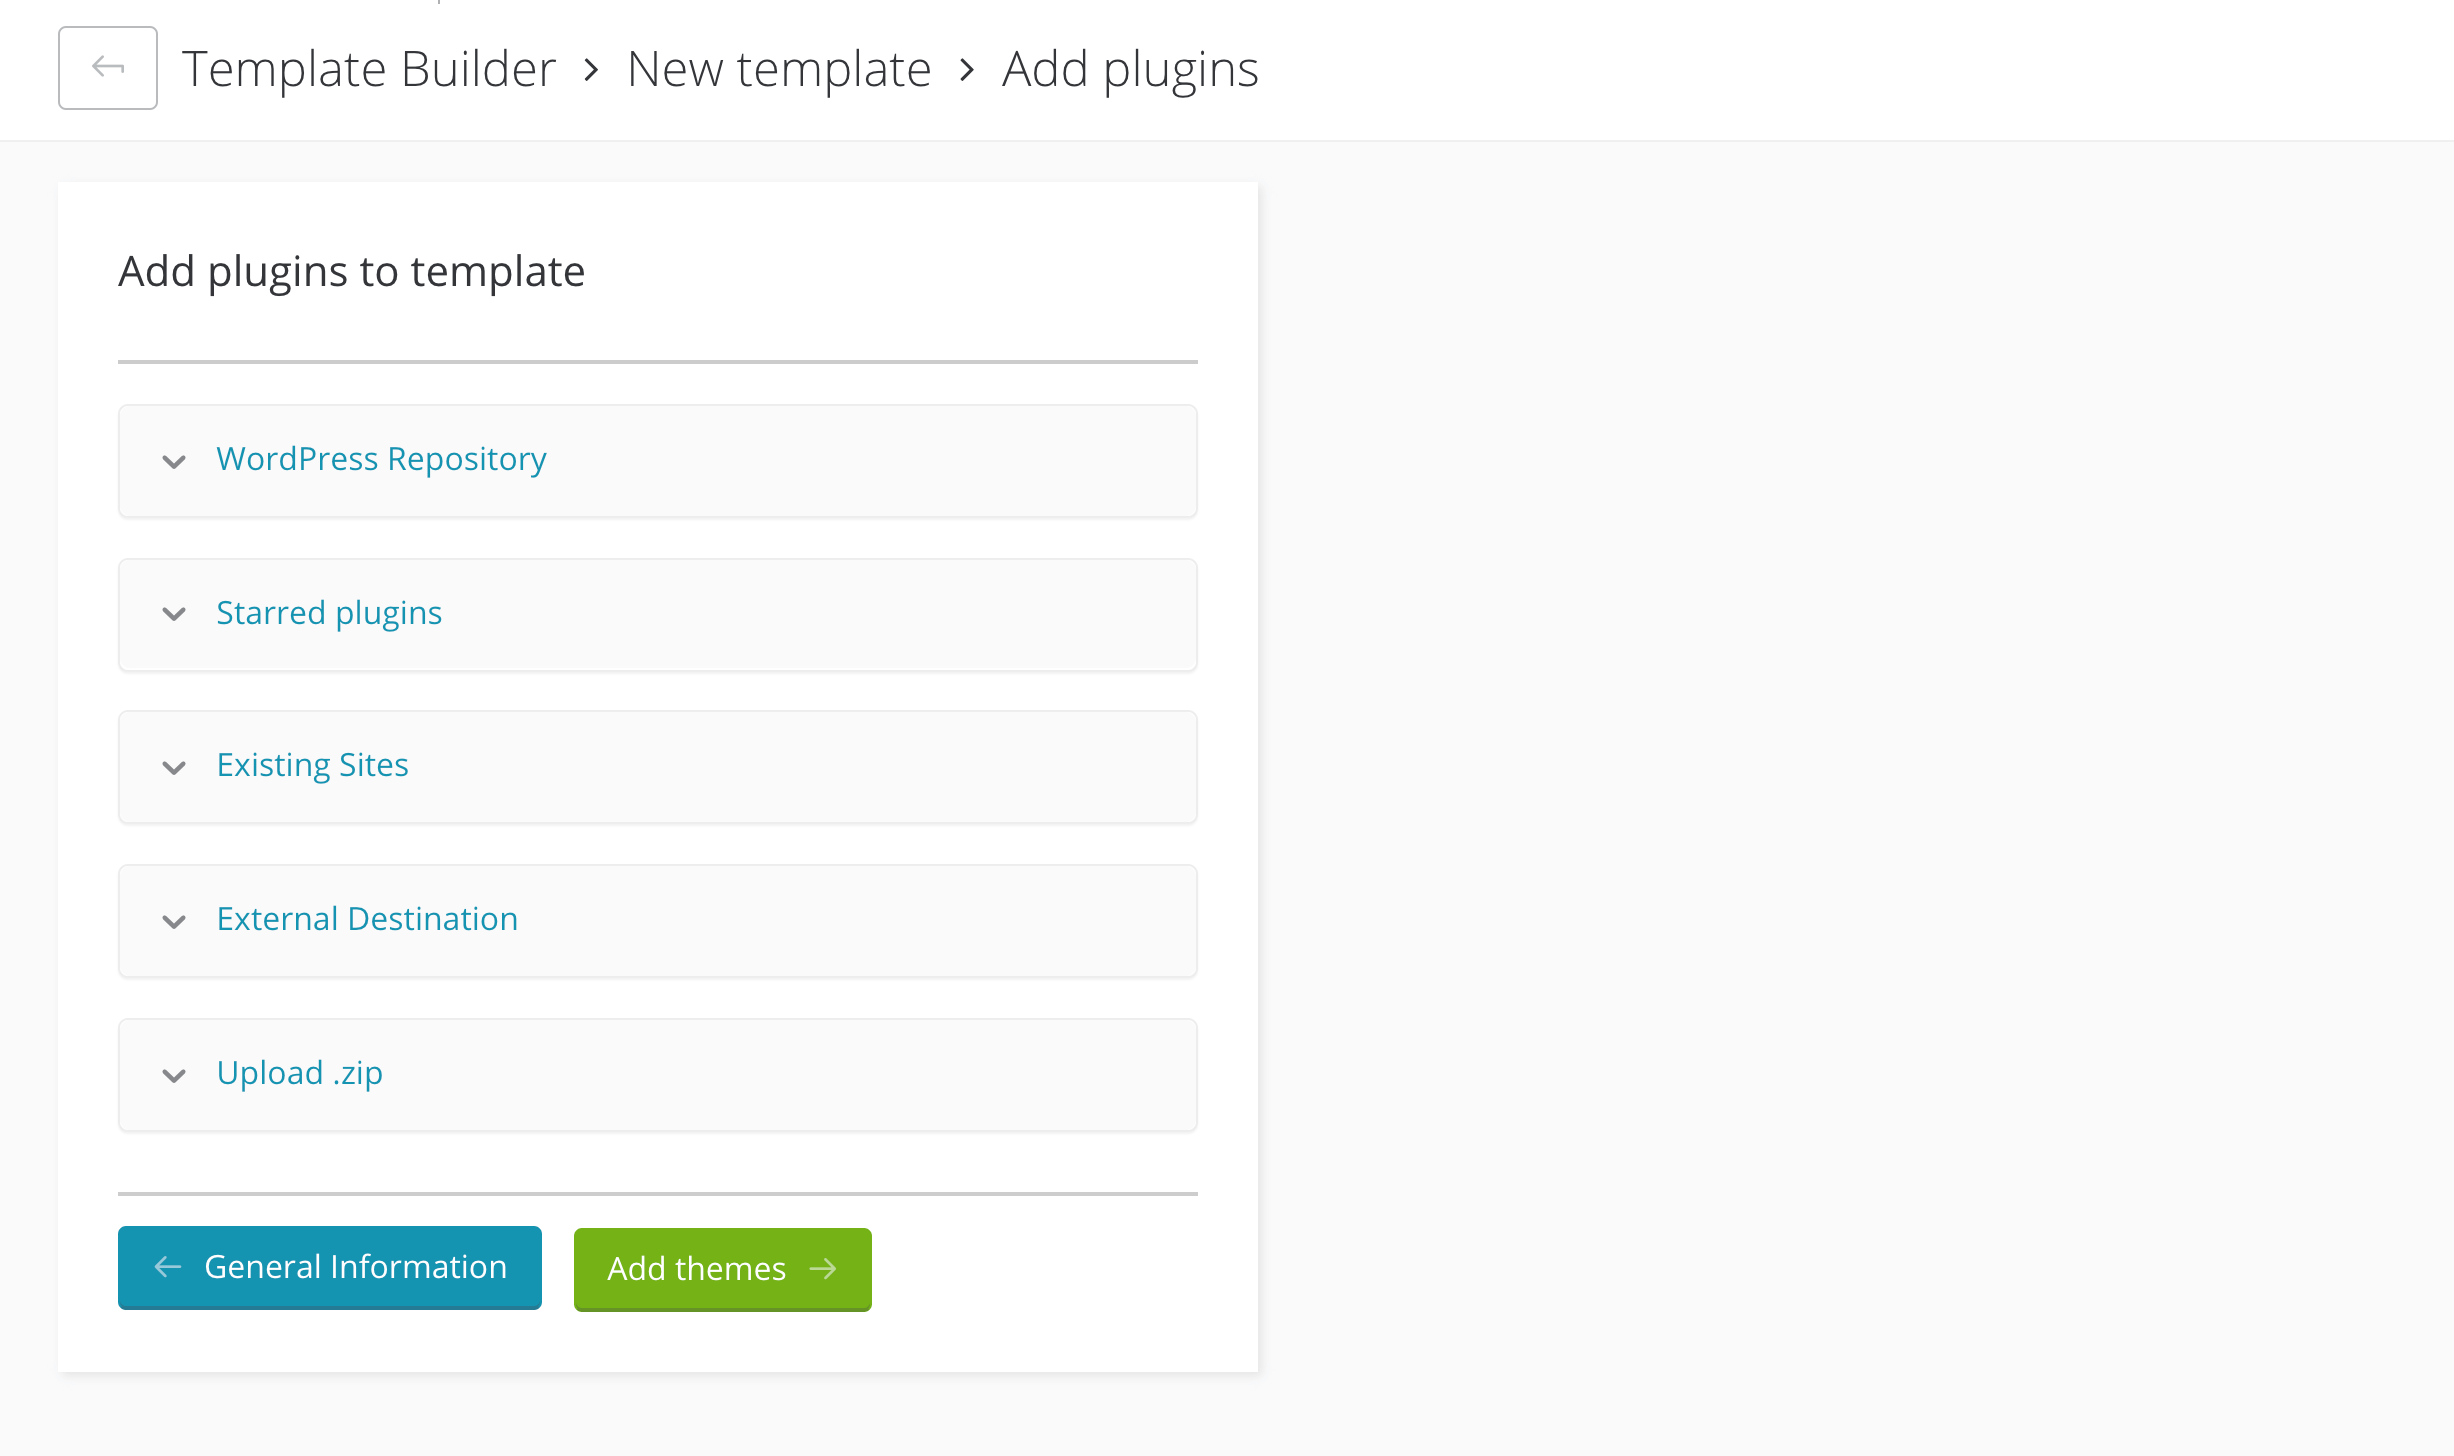
You can add default plugins through five different methods:
- WordPress Repository. Simply type the name of any plugin from the WordPress Plugin Directory into the search bar to add it. Hello Dolly, Akismet, and our ManageWP Worker plugin are included here by default.
- Starred plugins. If you have a WordPress.org account and have added any plugins to your favorites list, you can import them here. Simply enter your username to connect to your account.
- Existing sites. Here, you can choose from plugins that are currently installed on your ManageWP sites (as long as they’re also listed in the WordPress Plugin Directory).
- External destination. You can also connect your Dropbox or Envato accounts, in order to add plugins from third-party sources.
- Upload .zip. If you have the .zip file for your desired plugin on hand, you can simply upload it here just as you would in the WordPress dashboard.
If you chose to base your template on a website backup, the plugins included in that backup will be listed to the right. Once you’re satisfied with your selections, click on Add Themes.
Step 4: Choose your default themes
In most cases, you don’t need to include more than two themes on a WordPress site – the active theme, and a default theme for troubleshooting. However, since you’ll likely be using your template for multiple client sites, you may want to include a few options here:
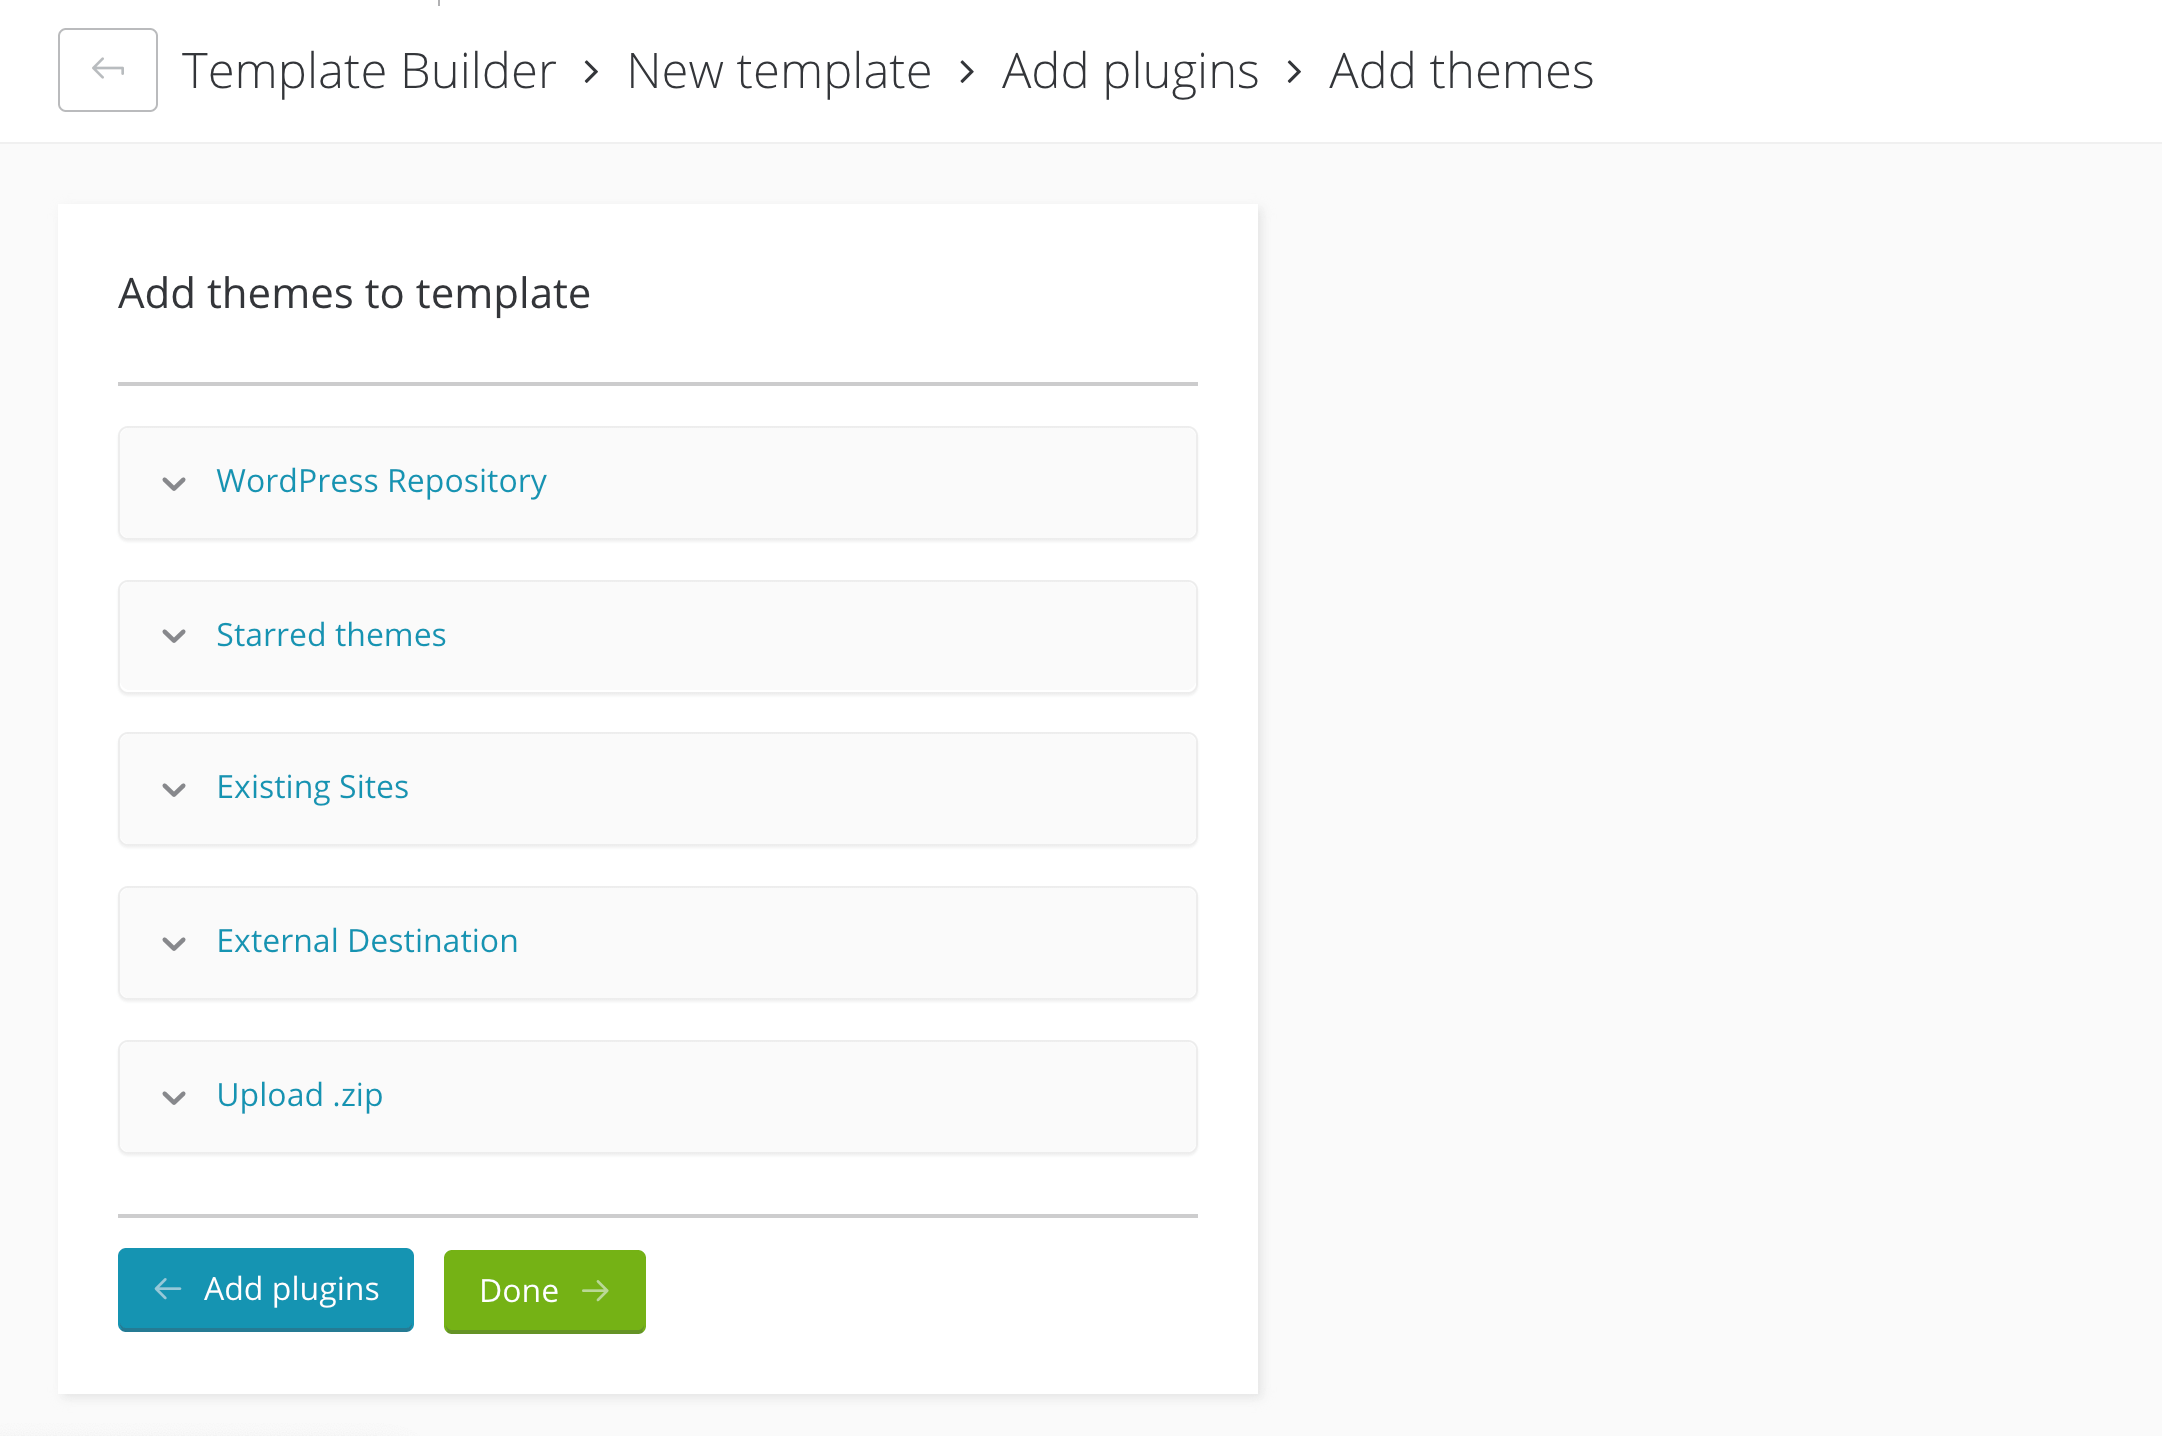
That way, you can let your clients choose from your top picks at the start of every new project. You can always remove whichever theme you don’t activate from the finished site.
The methods for adding themes to your template are the same as those listed above for selecting your default plugins. You can also choose the theme you want to activate by default. Then, click on the Done button to complete your template.
Step 5: Clone your template to use it for a new WordPress site
At this point, you’ll be directed back to the Template Builder screen, and your new template will be listed on the left. Click on it to view its details:
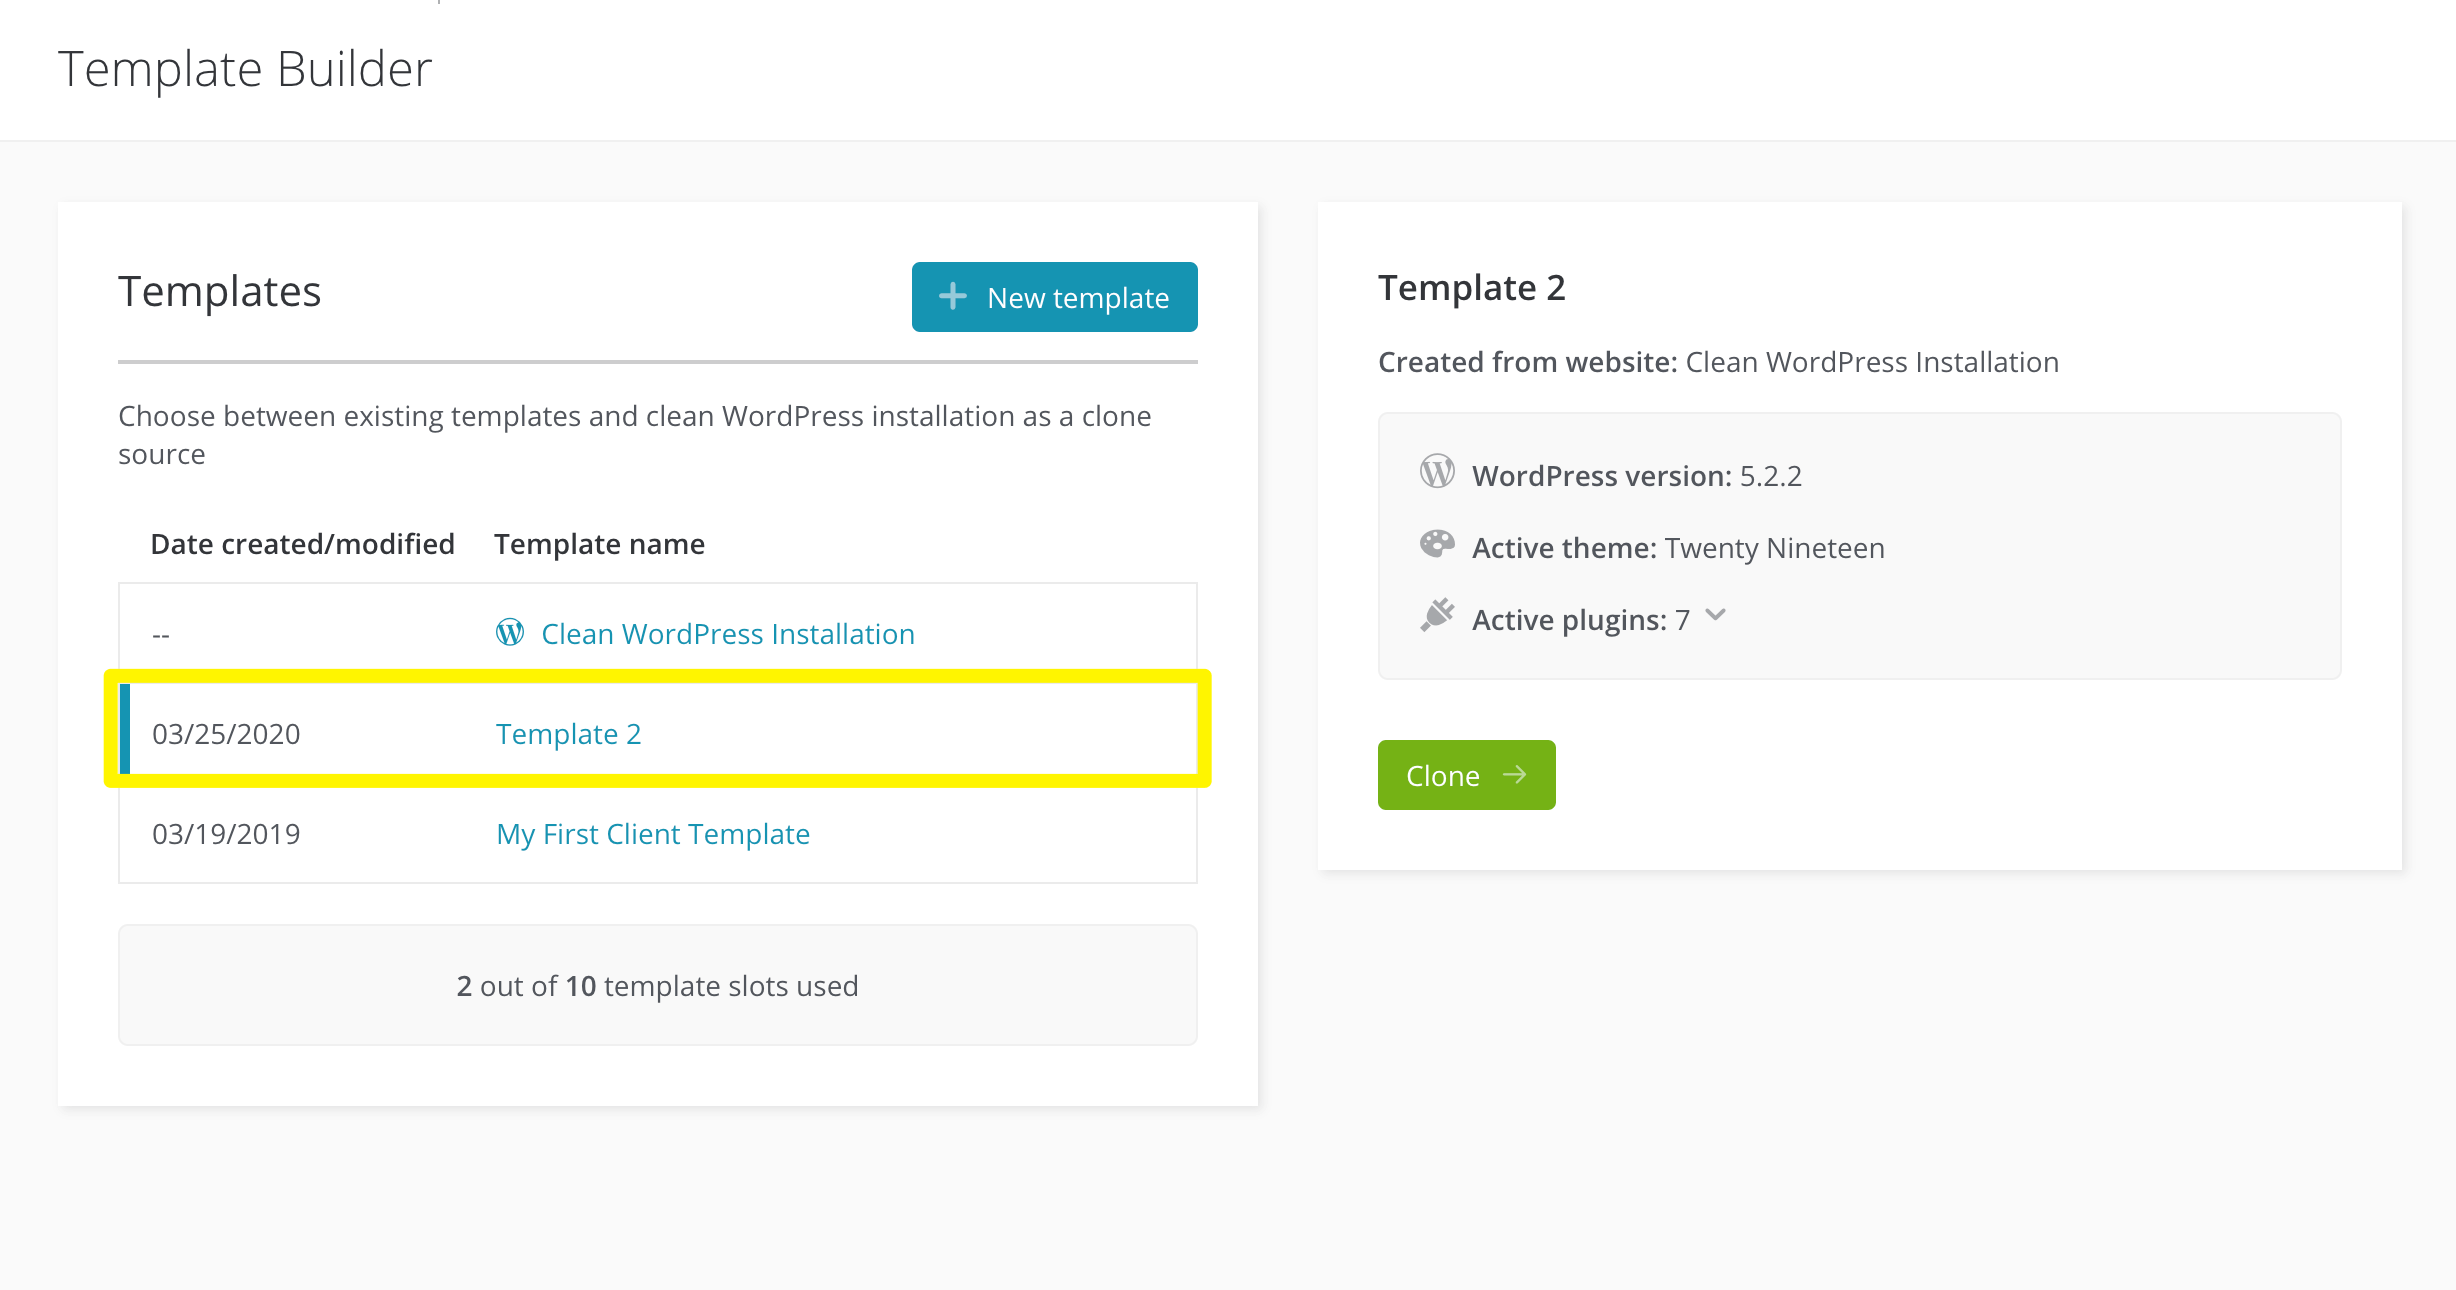
To use this template to build a client site, click on the Clone button. Then select whether to apply your template to an existing site connected to your ManageWP account, or a new website:
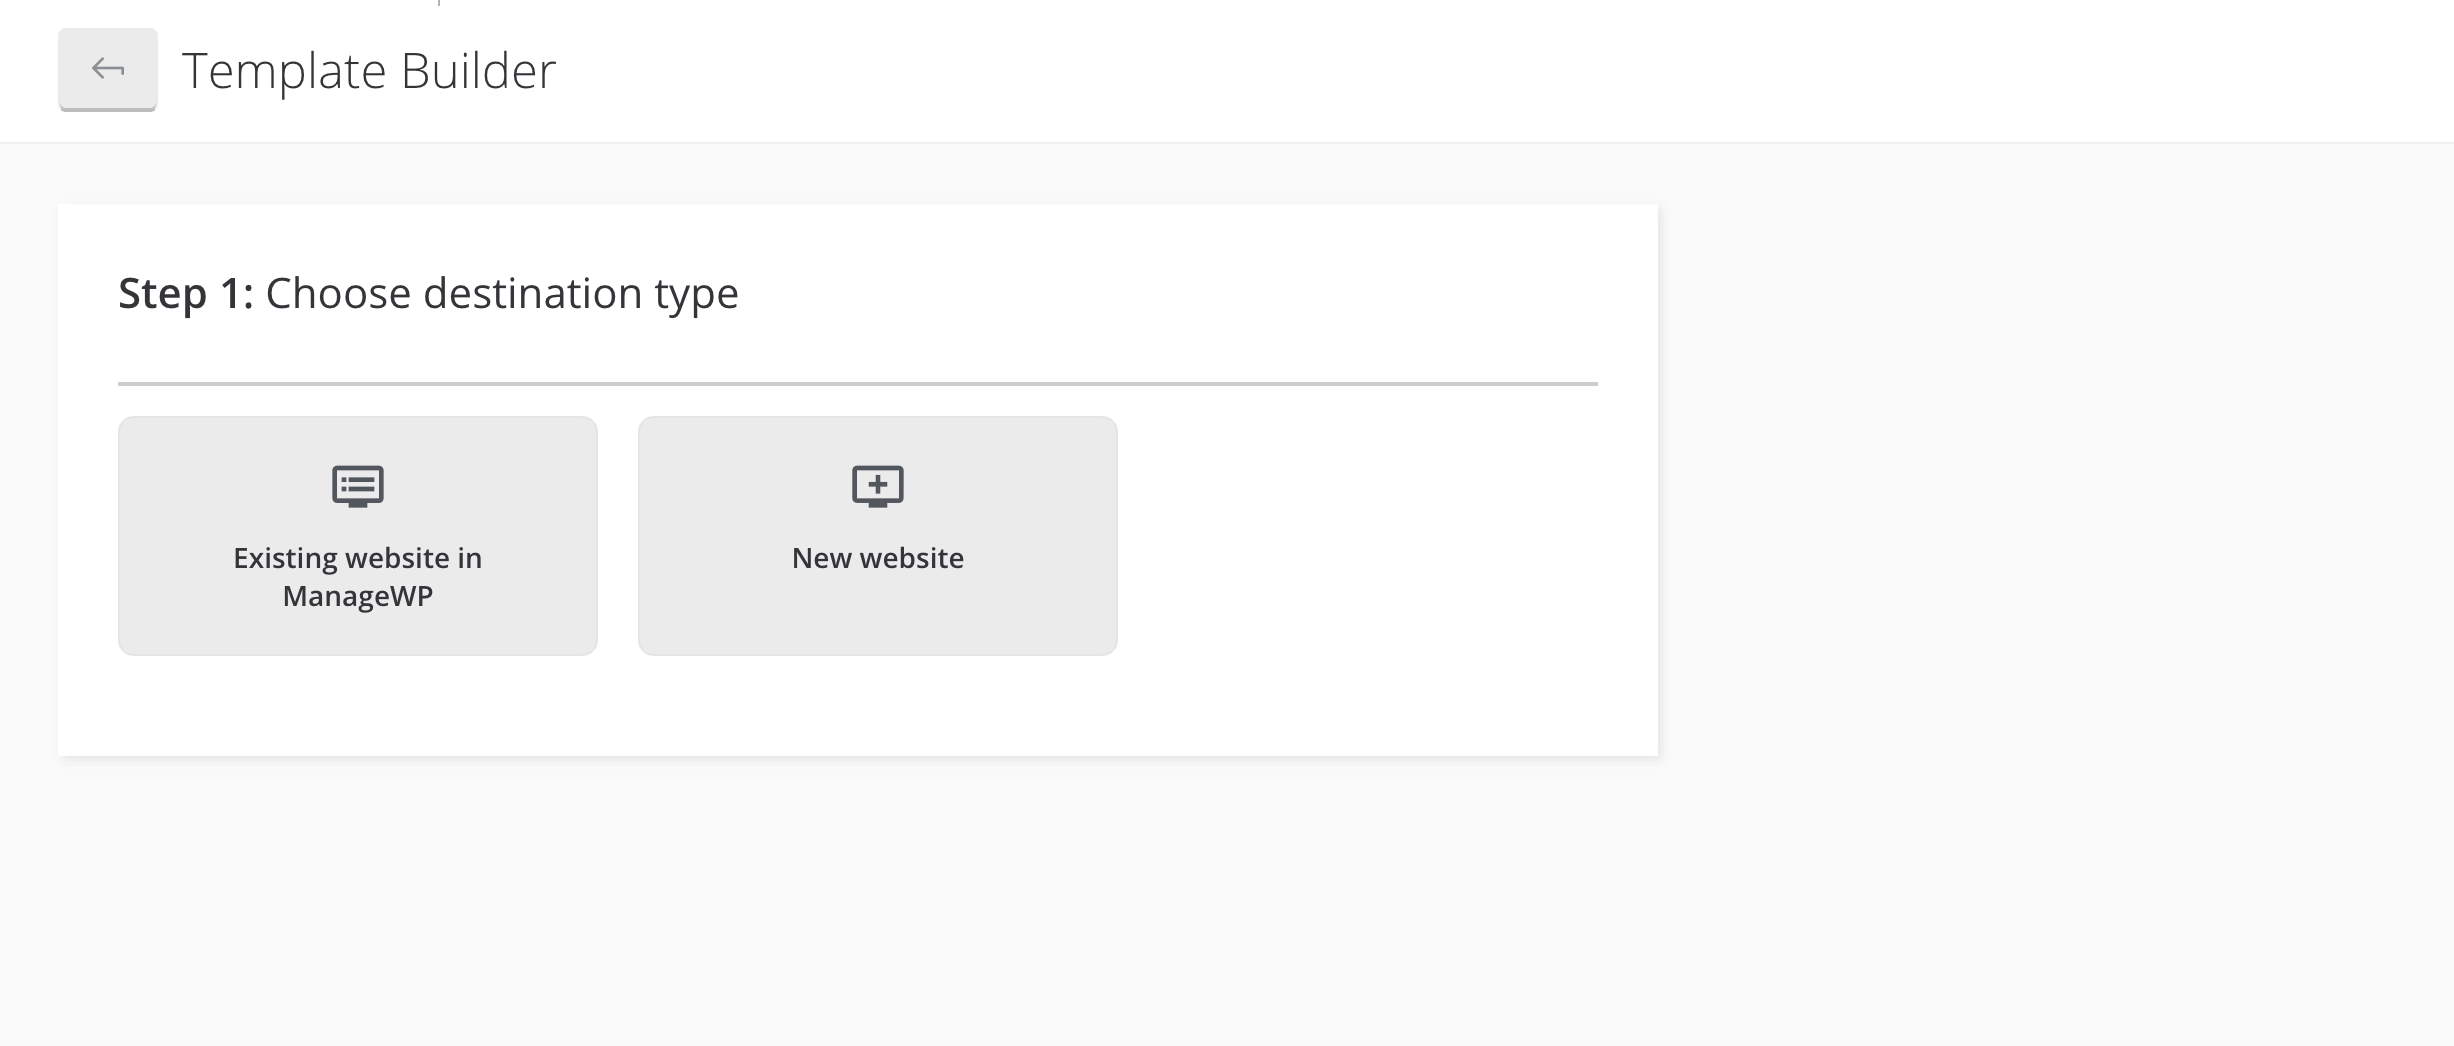
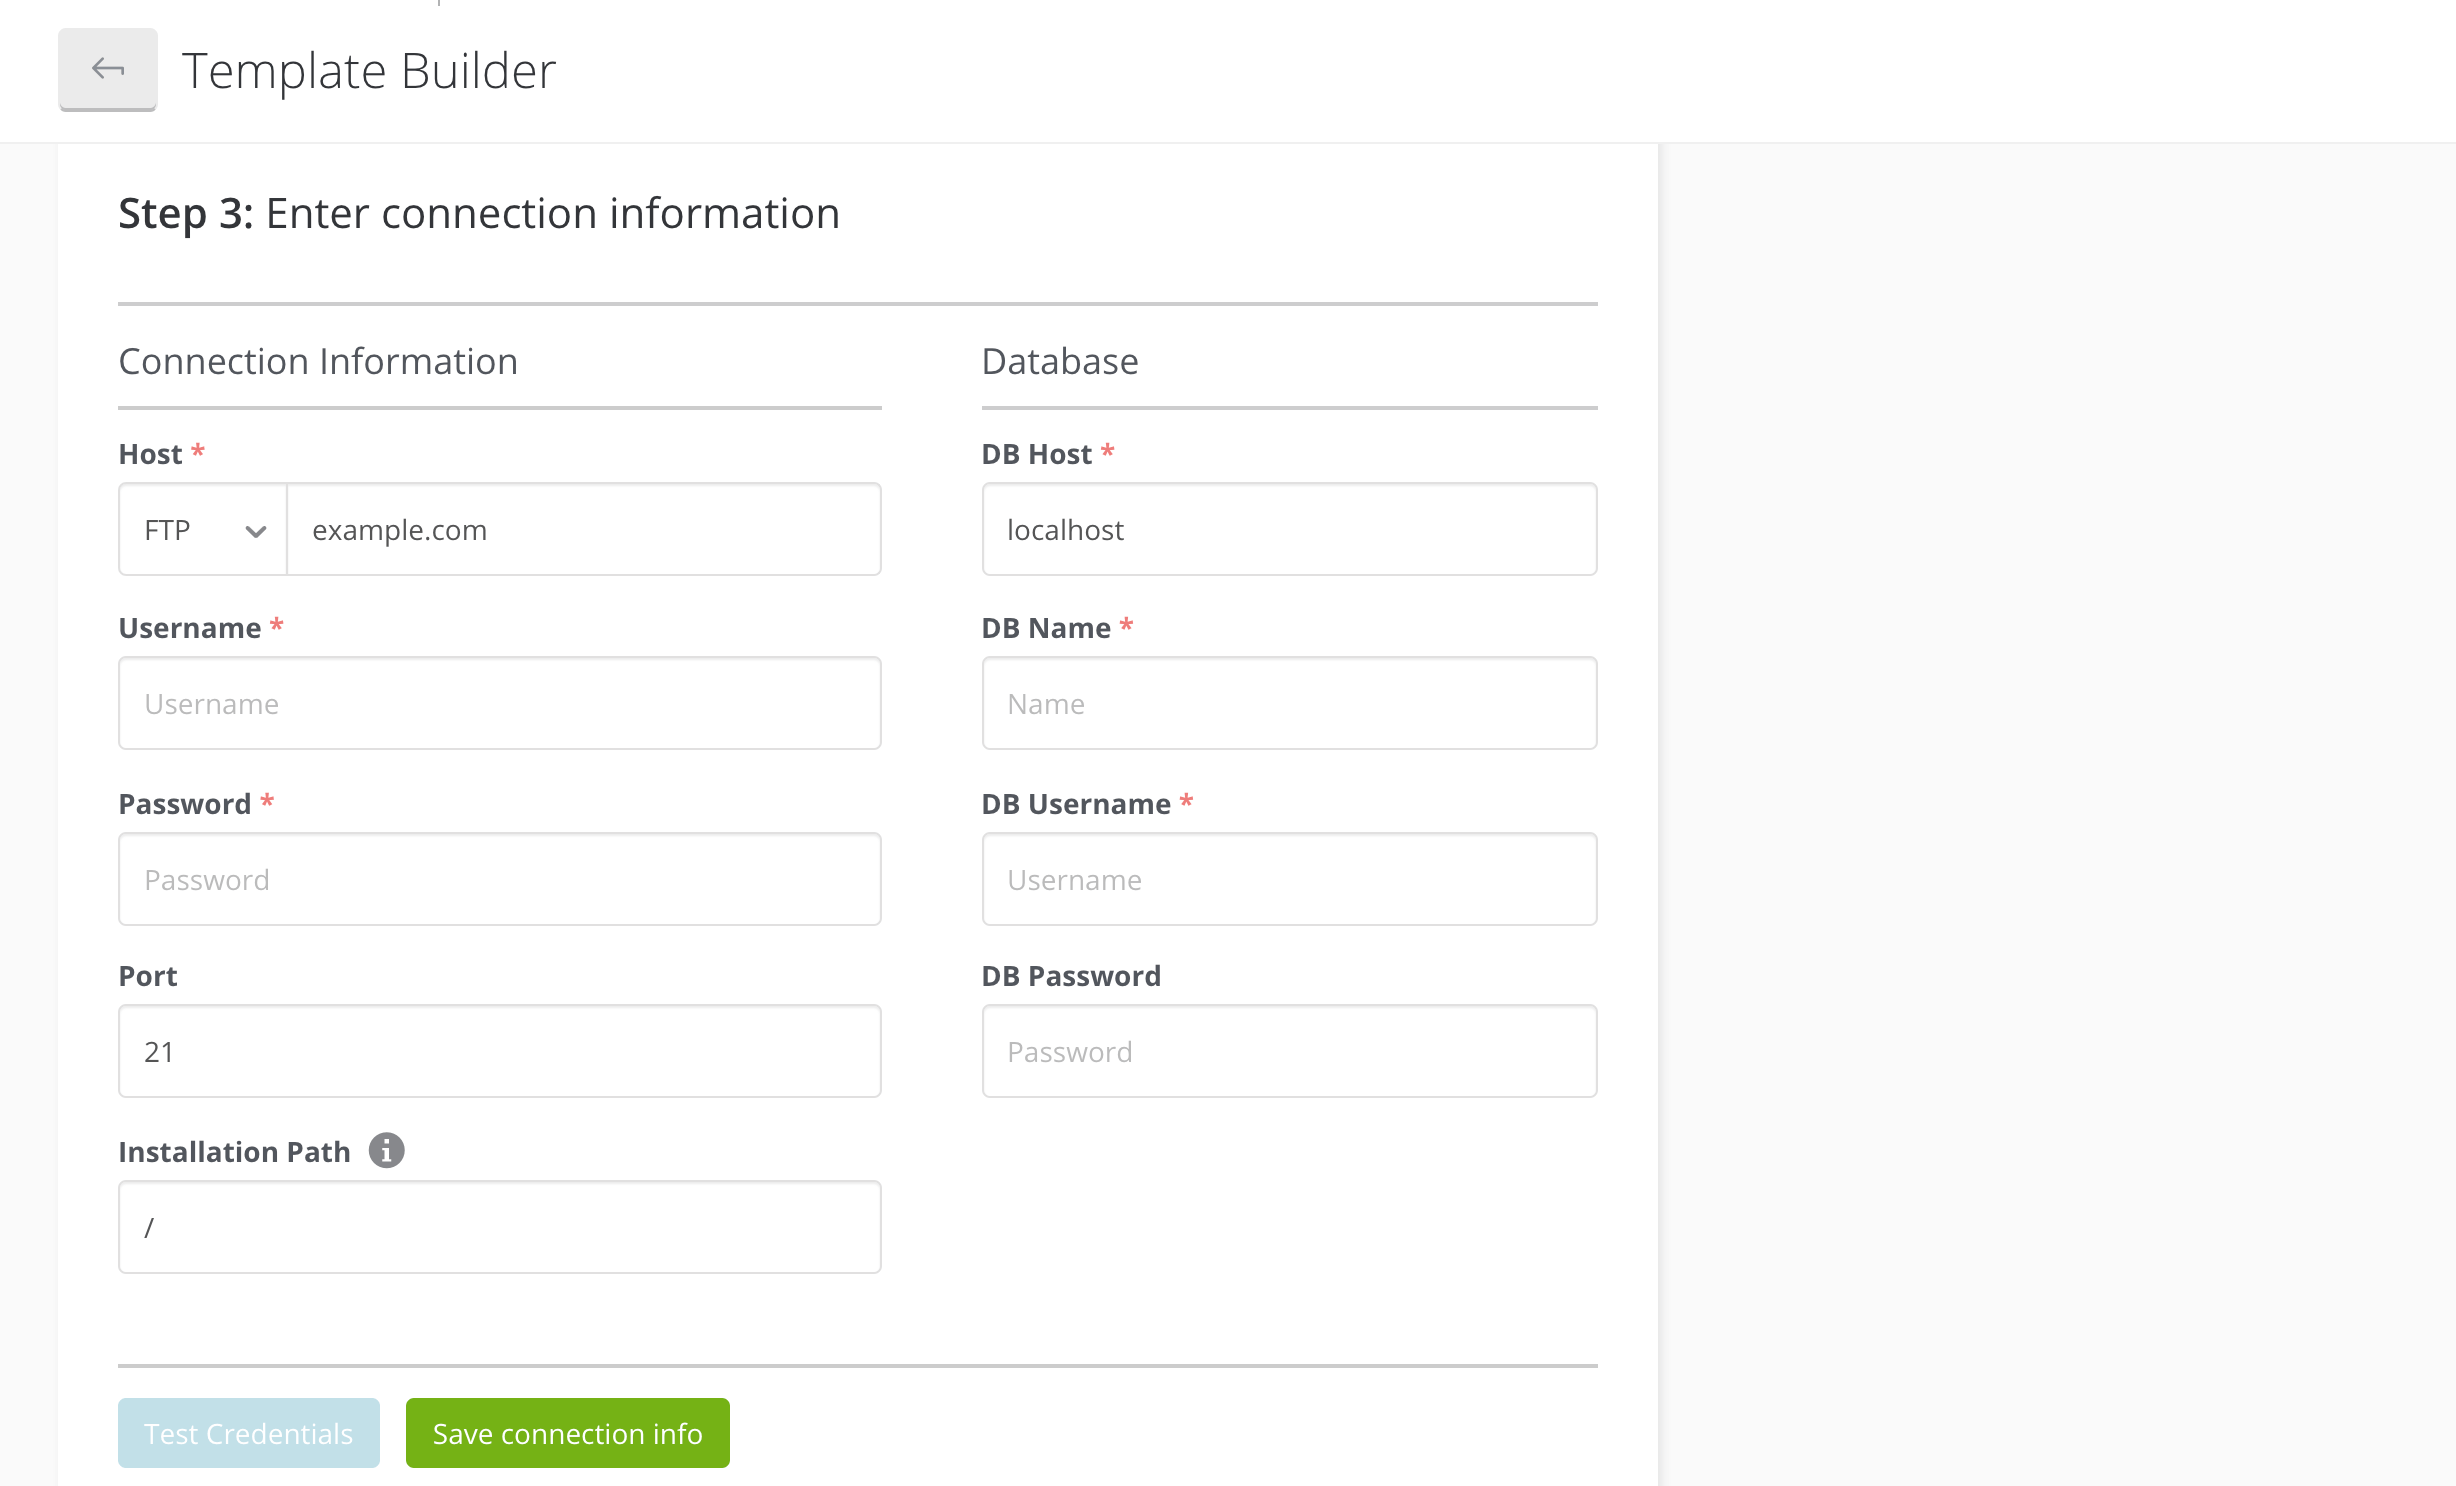
If you choose to apply it to a new site, you’ll need to enter the site’s URL as well as its File Transfer Protocol (FTP) and database credentials:
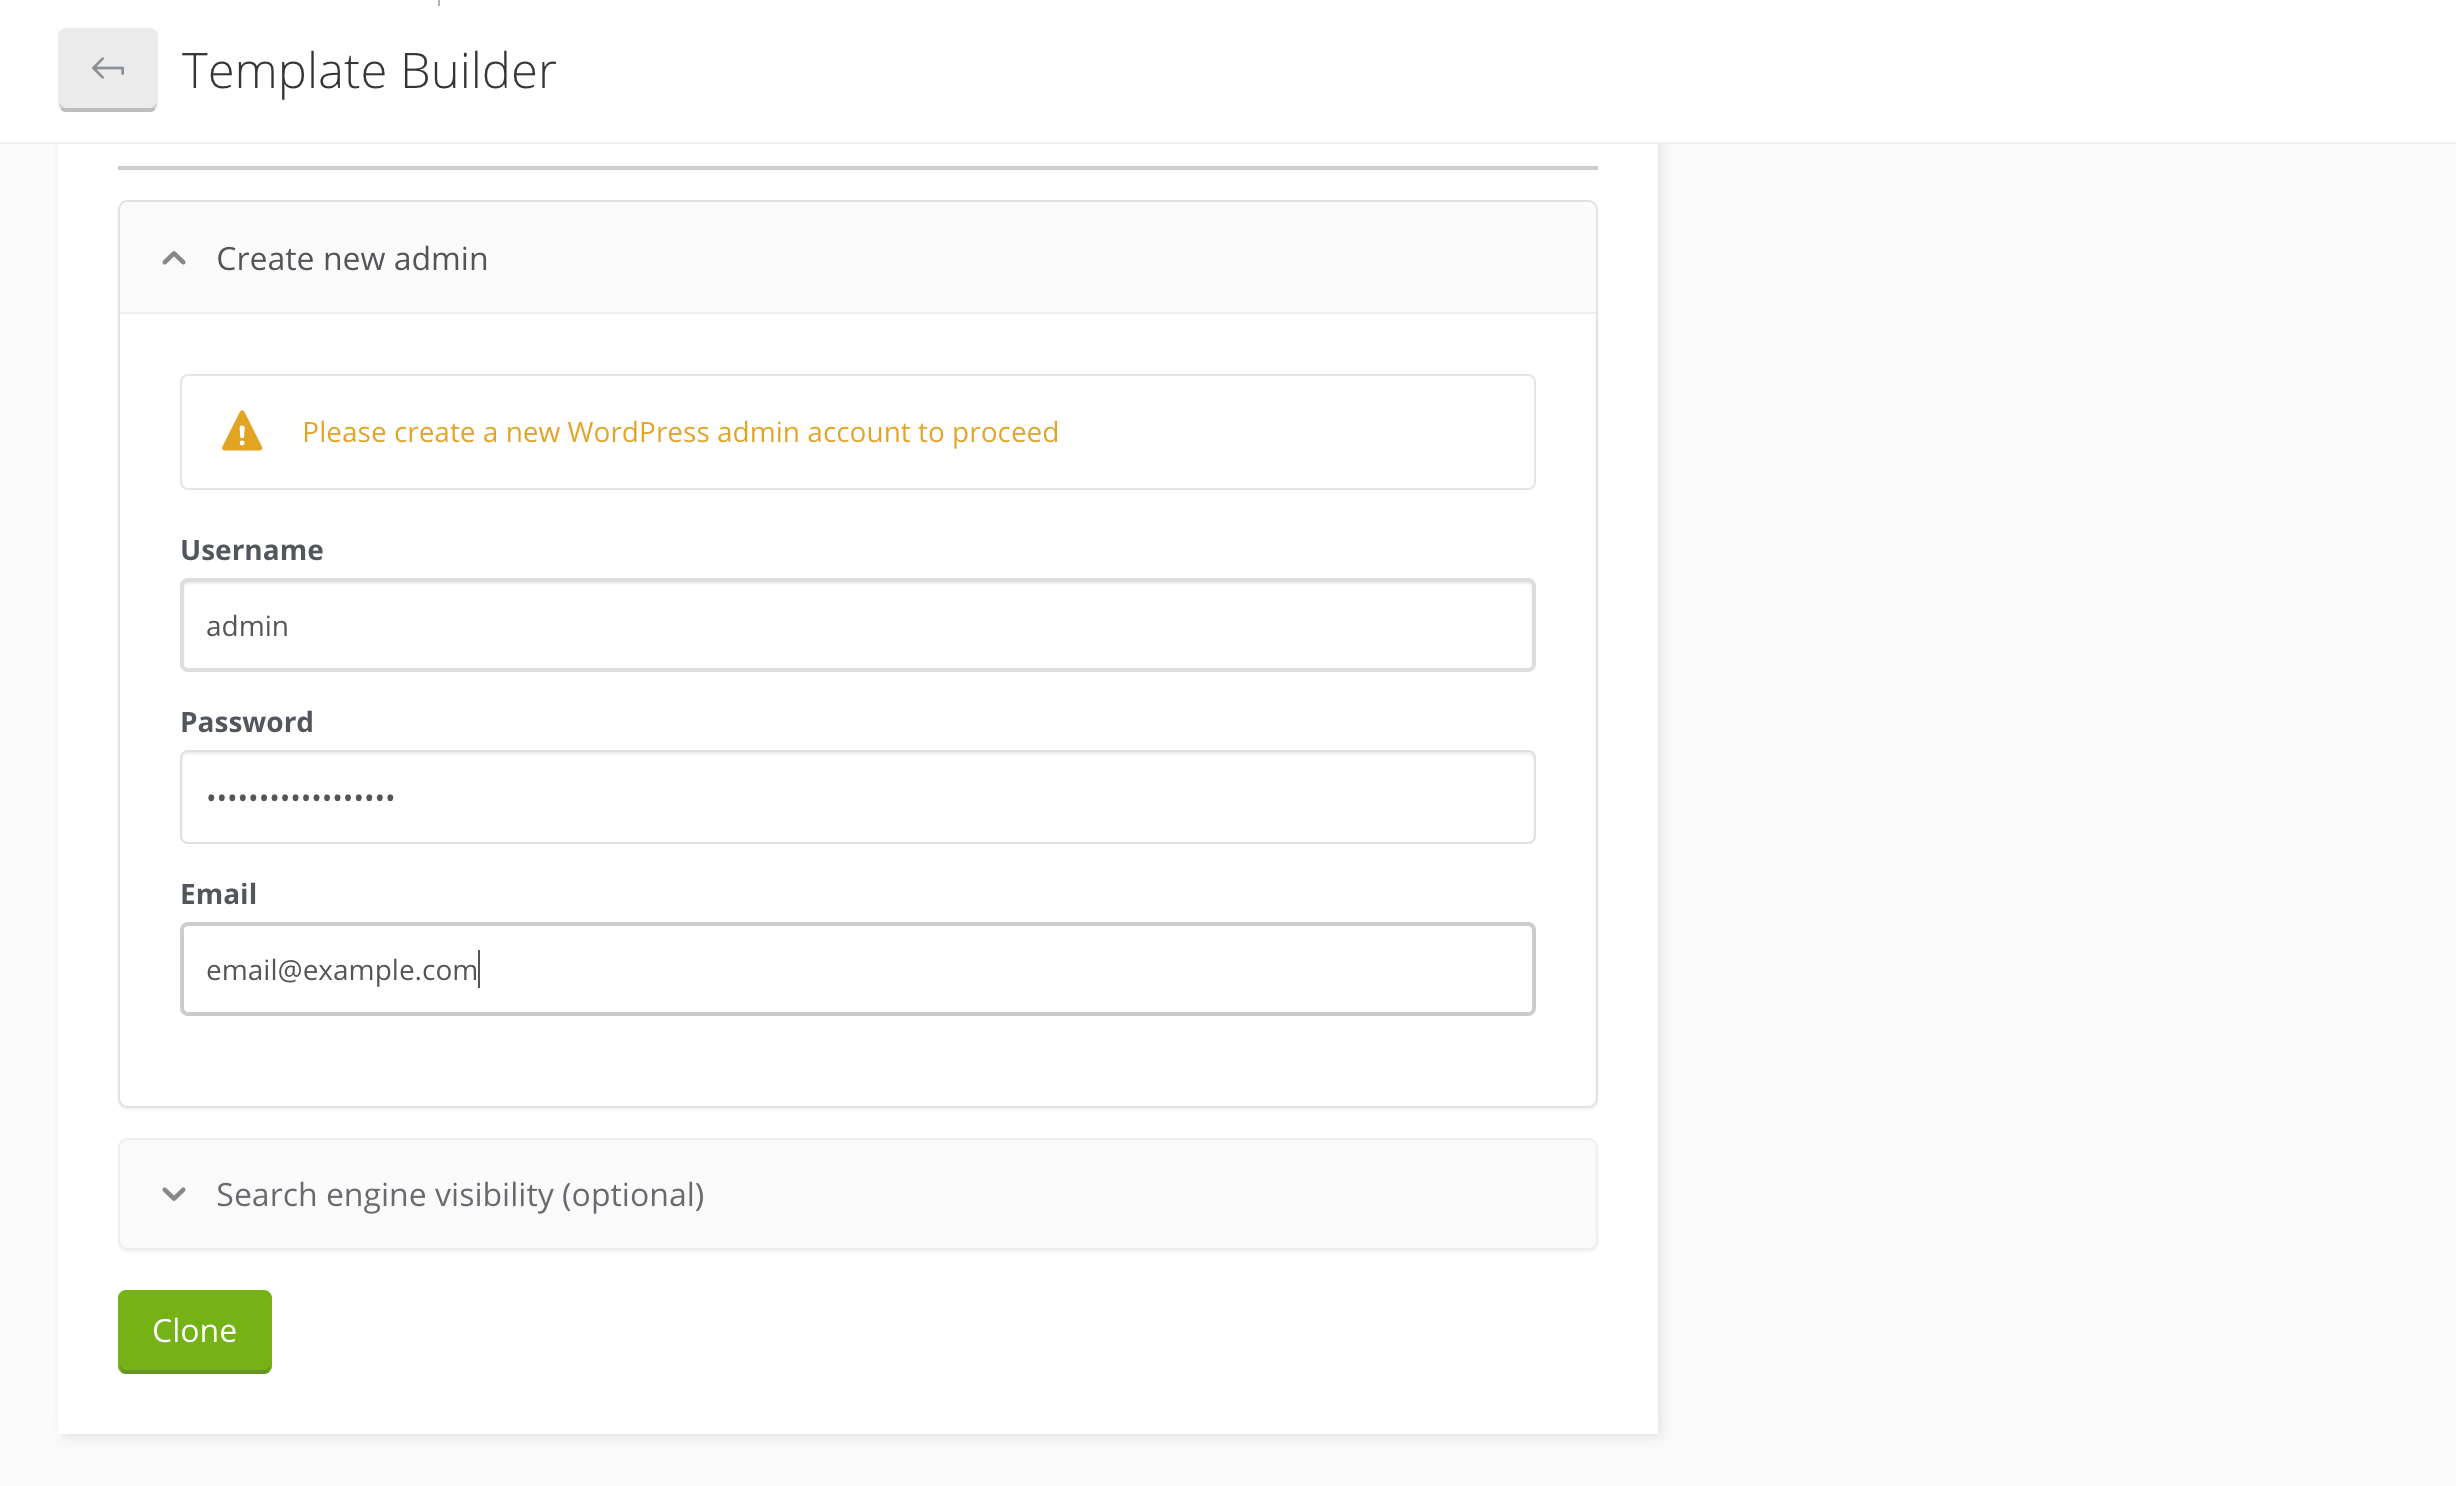
To use an existing site from your ManageWP account, you’ll need to create a new admin account:
Whichever method you choose, click on the Clone button to complete the process. You can then head over to your new site and start building it.
Conclusion
There’s a lot that goes into developing WordPress sites for clients and managing your business. Getting a leg up by streamlining your process can not only improve your efficiency, but may also enable you to boost your revenue by taking on additional projects.
In this post, we showed you how to create WordPress website templates with our ManageWP Template Builder. You’ll just need to:
- Access the tool from your account dashboard.
- Select a WordPress site to use as your base.
- Add your default plugins.
- Choose your default themes.
- Clone your template to use it on a new WordPress site.
Do you have any questions about creating WordPress website templates? Leave them for us in the comments section below!
Image credit: Pexels.

Manon
I’m curious about the other methods to create a WP Website Template. What are they? I’d like to compare to ManageWP’s method.