Becoming more efficient at your work is a huge plus, especially if your job involves developing websites. You can pick up extra work if needed, and enjoy a feeling of satisfaction having completed your tasks quickly and accurately.
Fortunately, there are several tools available to help you work faster while maintaining the quality of your clients’ sites. If you use a few key website management tools to streamline the development process, then your productivity should skyrocket.
In this article, we’re going to break down why efficiency is such a big deal in web development. Then we’ll go over five tips you can implement to develop client sites more efficiently. Let’s get to work!
Why efficiency translates to better income as a developer
If you’re a freelance developer, four factors will determine how well you do: your knowledge, your ability to land clients, your process for getting them to pay, and how long it takes to get the job done. The first three can be tricky. However, anyone can become more efficient with a little effort.
Spending less time on each of your projects will free you up to take on more assignments, which will mean more income for you. Plus, delivering high-quality sites quickly can improve your client satisfaction, increasing the chance that clients will use your services again in the future.
While speed is a major factor in efficiency, you also want to maintain the quality of your work. With the right tools, you can do both, and you shouldn’t have any trouble finding more clients and boosting your income.
How to develop client sites efficiently and increase your income using ManageWP (5 tips)
There’s no shortage of WordPress tools you can use to make your life easier. However, ManageWP is the perfect choice if you work on multiple websites at once. Let’s talk about how you can use our features to improve your workflow!
1. Manage plugins in bulk
Installing plugins in WordPress is simple. However, if you’re working on several websites, then jumping from one to the next and setting up the same plugins can take up a lot of time.
With ManageWP, you can select multiple websites from your dashboard, then install, update, and delete plugins in bulk on all of them simultaneously. To do this, select the sites where you want to set up a new plugin in your ManageWP dashboard, and click on the Plugins button:
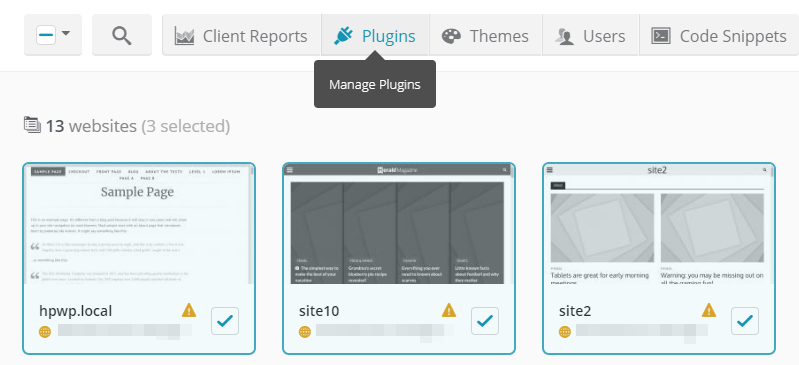
Now you’ll see a list of all the plugins installed on those sites, including instances where the same one is set up across multiple properties:
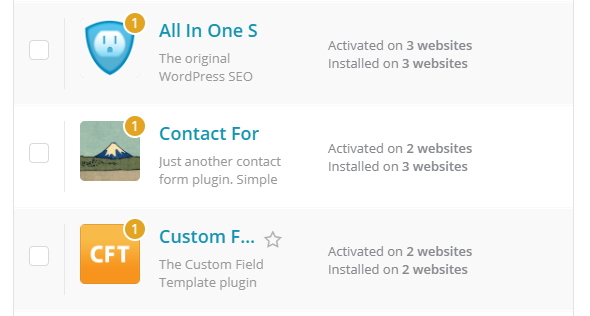
In the screenshot above, you can see that All In One SEO Pack plugin is set up on all our example websites. If we click on the plugin, we’ll see a new screen showing which sites it’s active on:
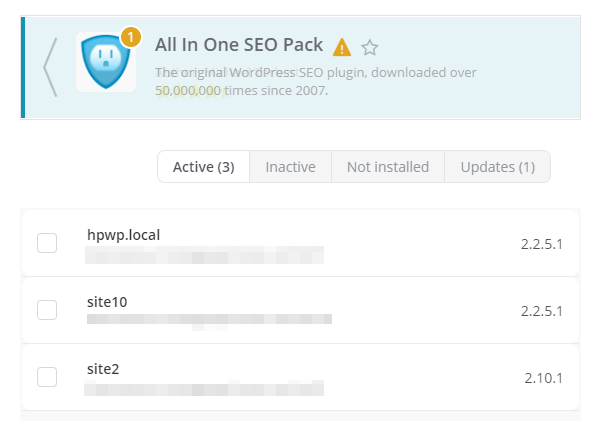
From this screen, you can select multiple sites to deactivate or uninstall plugins in bulk. On the other hand, if you want to install new ones, you can click on the Add plugin button at the top of the screen:
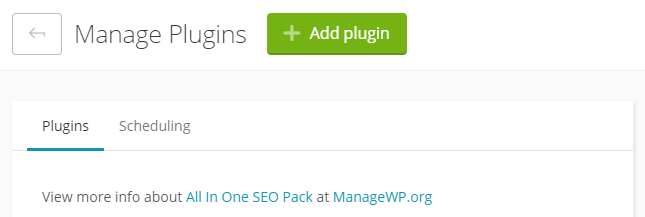
As long as you’ve selected multiple websites, any plugin you pick here will install across all of them at the same time. So, if there’s a set of plugins you like to set up for all of your clients, this is the perfect way to quickly install them.
2. Create WordPress website templates
Many developers have a WordPress ‘website template’ that they use for most projects. However, manually configuring every client website to fit that template can take a while.
With ManageWP, you can take two approaches to creating a website template:
- Snapshot of the existing website you like to use as a template,
- Building a new website template from scratch.
That way, when you need to develop a new website for clients, you already have a few templates with different theme/plugins configuration saved, completely skipping the ‘post-WordPress-installation configuration’ phase.
You can create multiple WordPress templates, including any combination of themes and plugins you want. To get started, go to Tools > Template Builder within your ManageWP dashboard.
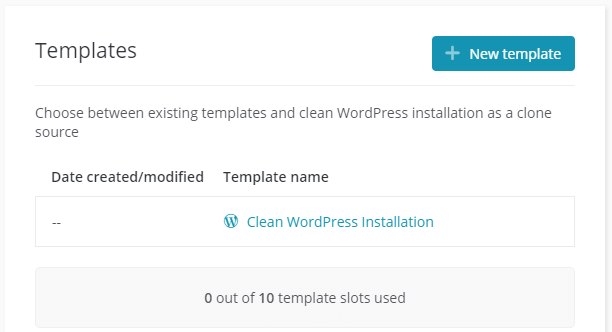
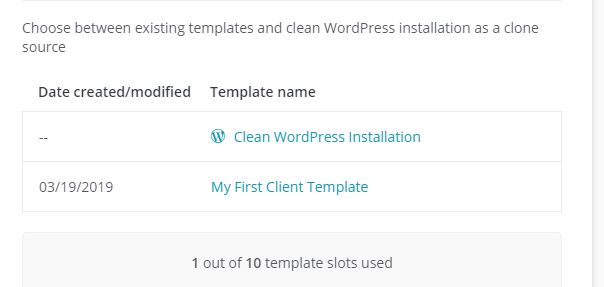
Here you’ll see a list of your existing templates. Right now there should only be one, called Clean WordPress Installation. Go ahead and click on the New Template button to add another:
On the next page, select a name for your template, and choose whether you want to start off using a clean installation or one of your ManageWP backups. For this example, we’re going with a clean slate:
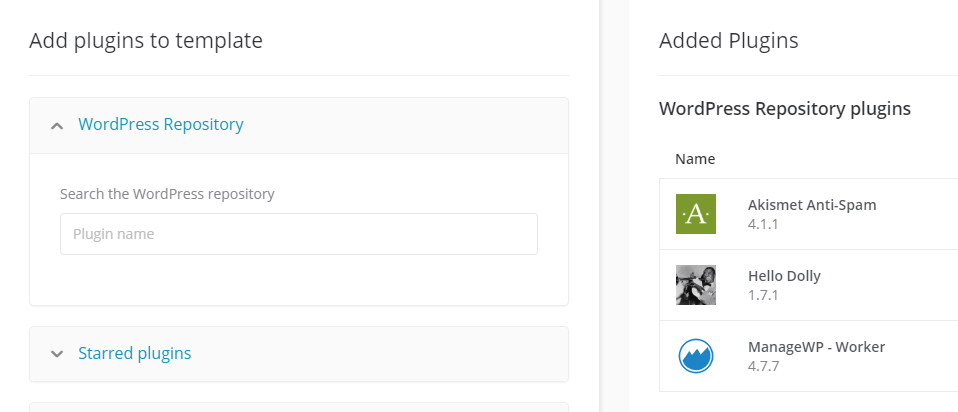
Now you can pick which plugins you want your template to include. You can locate them using the WordPress.org repository, upload them, point to external URLs, or choose from those you’re already using:
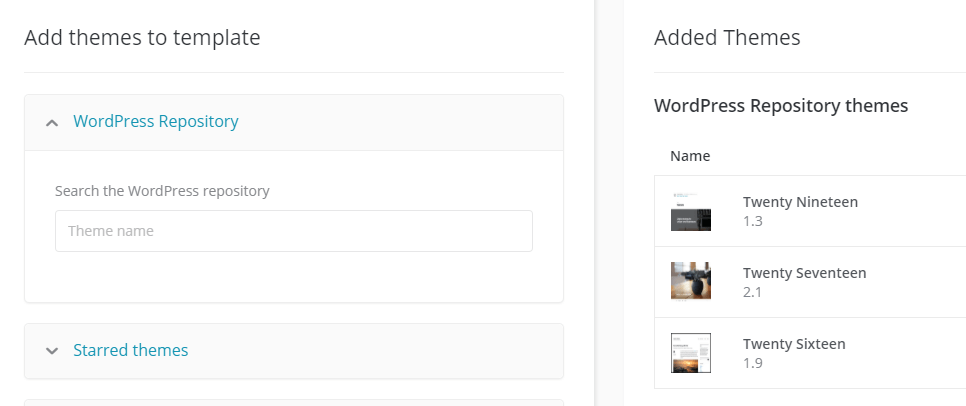
When you’re ready, move on to the next step, where you can select what themes you want to include in your template, just as you did with plugins:
Click the Done button now, and you’re good to go. Your first template is ready:
If you click on it, you’ll see an option that says Clone. This enables you to set up a new website using your template, or override an existing one.
3. Use one-click login to jump from site to site
One of the most annoying parts of working with multiple WordPress sites is the need to jump from one to another constantly. With cookies enabled and a password manager, that isn’t as bad it sounds. Even then, you still need to bookmark a ton of URLs.
ManageWP offers a more straightforward solution. As long as you have access to your ManageWP dashboard, you can use our one-click login feature to jump to any of your websites.
To try it out, go to your Websites tab, mouse over any site within, and click on the Open WP dashboard button:
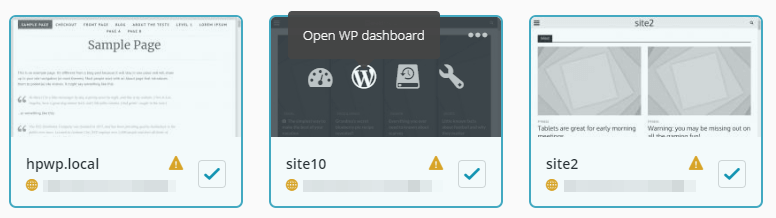
A new tab will open, which will lead you directly into that website’s WordPress admin dashboard. As long as your clients’ sites are connected to ManageWP, you can hop from one to another in seconds, without having to keep their credentials handy.
4. Configure Local Sync for website files
There are some tools out there that enable you to work on WordPress websites locally, and then push those changes live. However, they often require you to download and install cumbersome apps.
Even so, working on a website locally can be much simpler than editing a live site, since loading times are basically non-existent and you can iterate faster. If you’re a fan of local WordPress development, you can take advantage of our local sync feature.
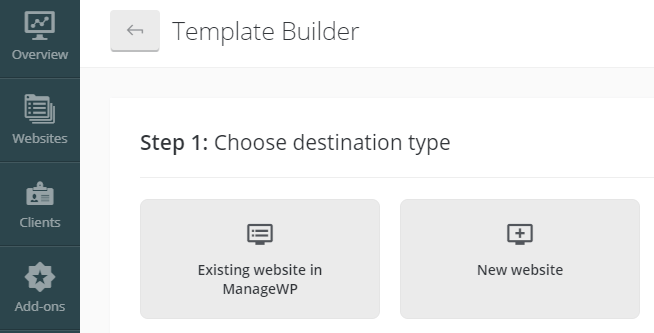
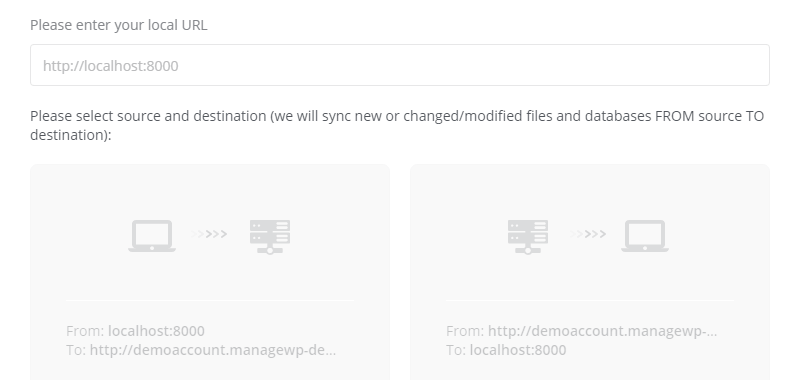
With this functionality, you can choose a ‘destination’ website from your ManageWP projects and connect it to a local site. Then, any changes you make to that local website, you can test and then sync with its live version:
For this to work, you’ll need to have a localhost WordPress website up and running. You’ll also need to install ManageWP’s Worker plugin, so you can access and sync both websites.
And since Local Sync works both ways, you can quickly pull Live version of the website to your Local environment for safe testing and development, and then push it back from Local to Live.
5. White Label websites before delivery
Promoting your brand is an ongoing process, which includes having your name on the sites you develop for clients. One thing you can do before delivery is white label clients’ sites to re-brand our ManageWP tools as yours, or hide them from clients entirely.
If you access your ManageWP dashboard and go into your user tab, you’ll see an option called White Label. Within the first section, you can choose whether to hide the Worker plugin, so clients can’t deactivate or uninstall it by accident:
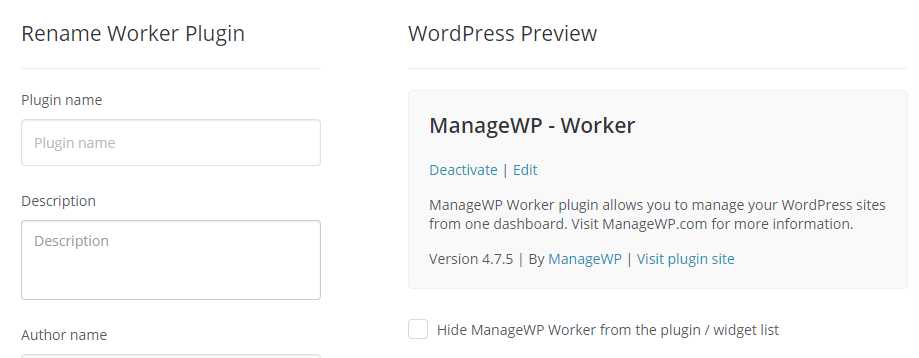
You can also rename the plugin to something else, such as removing “ManageWP” or replacing it with your own name.
With this feature, you can also let clients contact you. If you click on the Client Support tab, you can configure a support widget that will appear on your clients’ websites:

Using this widget, clients can get in touch with you right away if they run into an issue. You can enable the widget by ticking the Use as form with submit, e-mail sent to me option seen above.
You can also include a simple message with the Use as HTML text setting. Here you can leave your email or a phone number so clients can contact you in an emergency.
Finally, we have the Plugin & Theme Settings tab. From here, you can disable the plugin and theme code editors, so clients can’t make any changes to their functionality. This may be a smart move, depending on how tech-savvy your clients are:
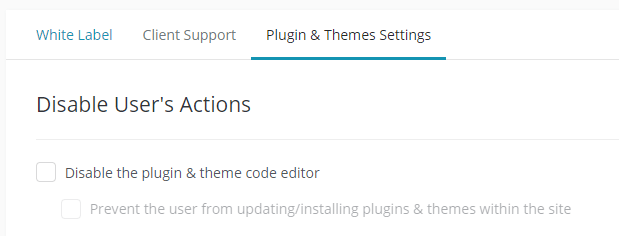
You’ll notice there’s also an option that prevents users from updating or installing plugins and themes. As with the previous setting, it’s important to note that some clients might know what they’re doing or want full control over their websites. In other words, consult with them before enabling this one!
Conclusion
The more efficient you are at your job, the more control you’ll have over your time. You can choose to pick up extra work to make more money, or enjoy extra downtime. However, getting to that place takes some careful planning.
When it comes to developing WordPress websites for clients, here are five tips you can implement to simplify your workflow using ManageWP:
-
- Set up plugins in bulk.
- Create WordPress templates.
- Use one-click login to jump from site to site.
- Configure local sync for website files.
- White label websites before delivery.
Do you have any questions about how to develop client websites efficiently? Let’s talk about them in the comments section below!
Image credit: Startup Stock Photos.

0 Comments