Get to know your site options in ManageWP dashboard
Your ManageWP site options allow you to adjust your General Site Settings, Hide Unwanted Updates and add your Tags and Clients.
In this article
- Where to find your Site Options
- How to adjust your General Site Options
- How to Add HTTP Authentication credentials for your site
- How to Hide Updates in your Site Options
- How to assign Tags and Clients to your site
Where to find your Site Options
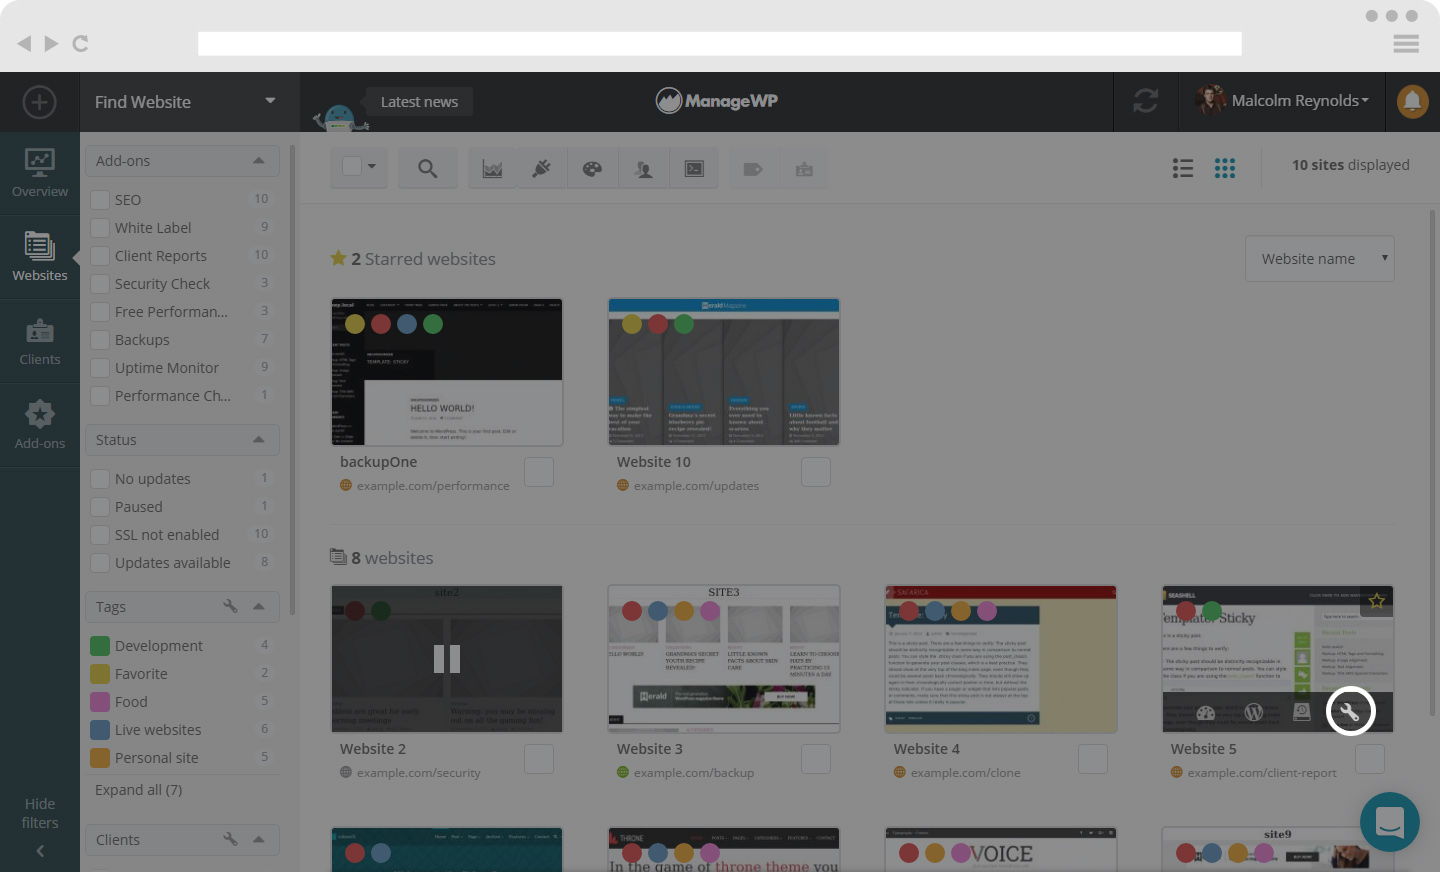
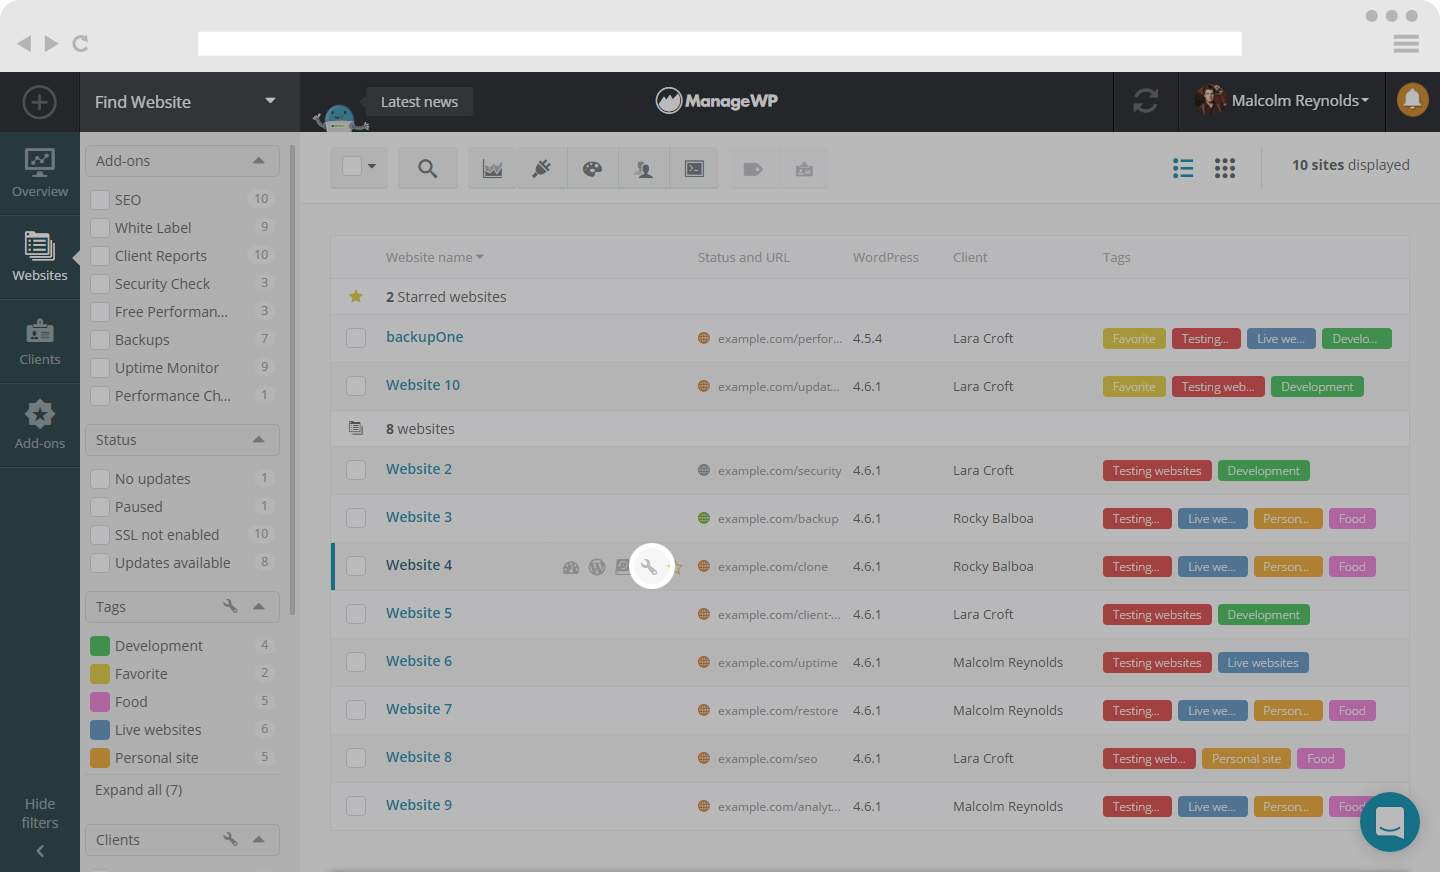
In order to find your individual Site Options in your ManageWP dashboard, select the site that you wish to view the options on, hover over it and you will see a pop up appear. On the pop up select the wrench icon. This will take you to the Site Options.
How to see your Site Options in Thumbnail view.
How to see your Site Options in List view.
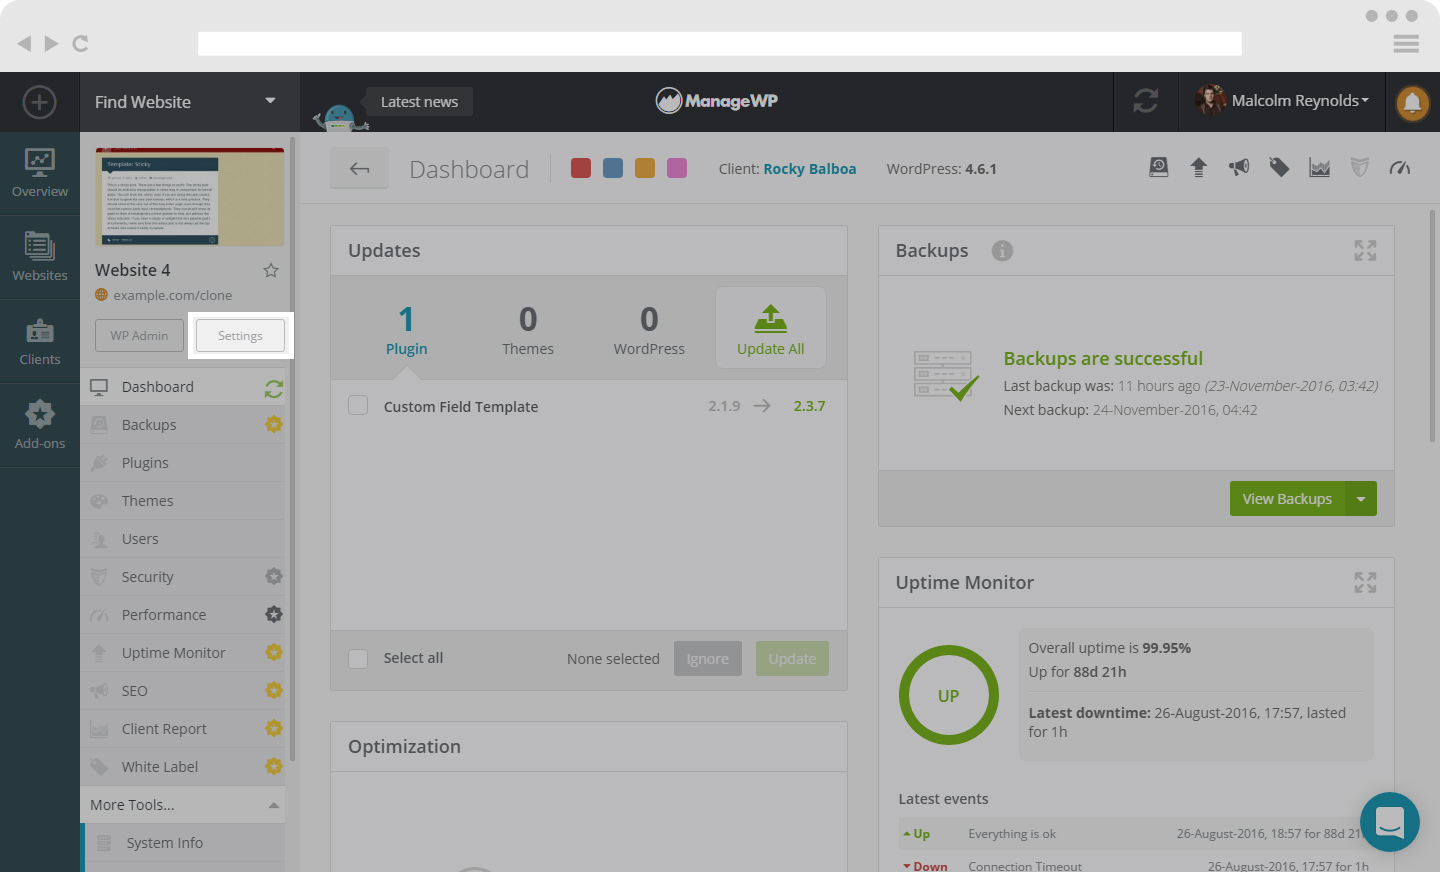
How to see your Site Options in Single Site Dashboard.
How to adjust your General Site Options

In your General Site Options you are able to change your Site Title, Admin Username and perform Website Actions. These include Reconnect, Refresh Thumbnail,Pause and Remove Website.
Reconnect
Reconnect your website with your ManageWP dashboard.
Refresh Thumbnail
Refresh the thumbnail of your site that is shown on your ManageWP dashboard.
Pause
Pause ManageWP communication with your website (including backups). You can resume the communication at any time by clicking on un-pause.
Remove
This will remove your Website from the ManageWP dashboard.
When you have adjusted the settings click Save Changes.
How to Add HTTP Authentication credentials for your site
Under HTTP Auth tab, you are able to type in the HTTP Authentication credentials for your site.
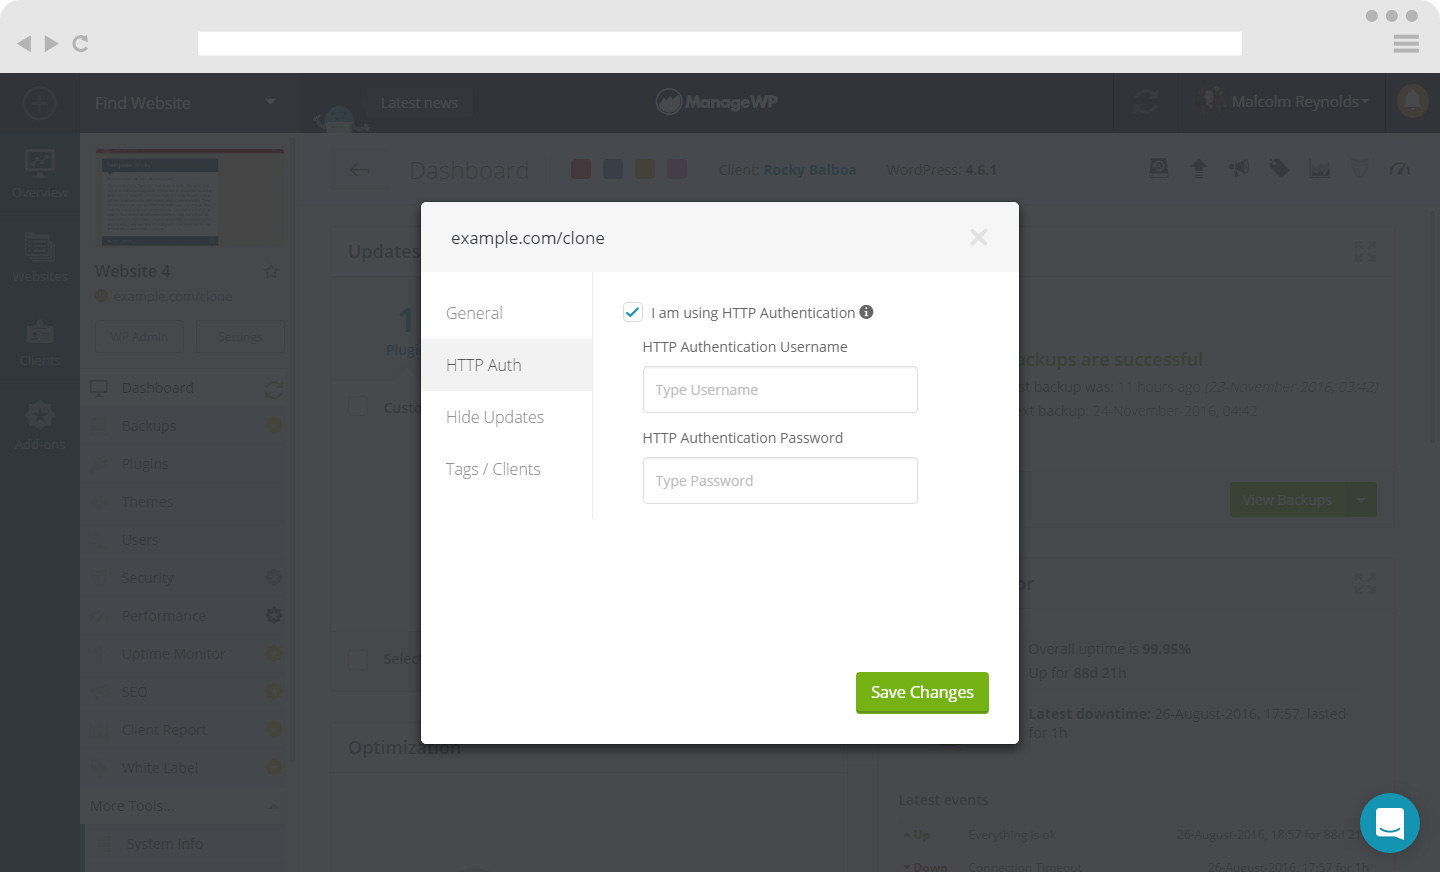
When you have added the credentials click Save Changes.
How to Hide Updates in your Site Options
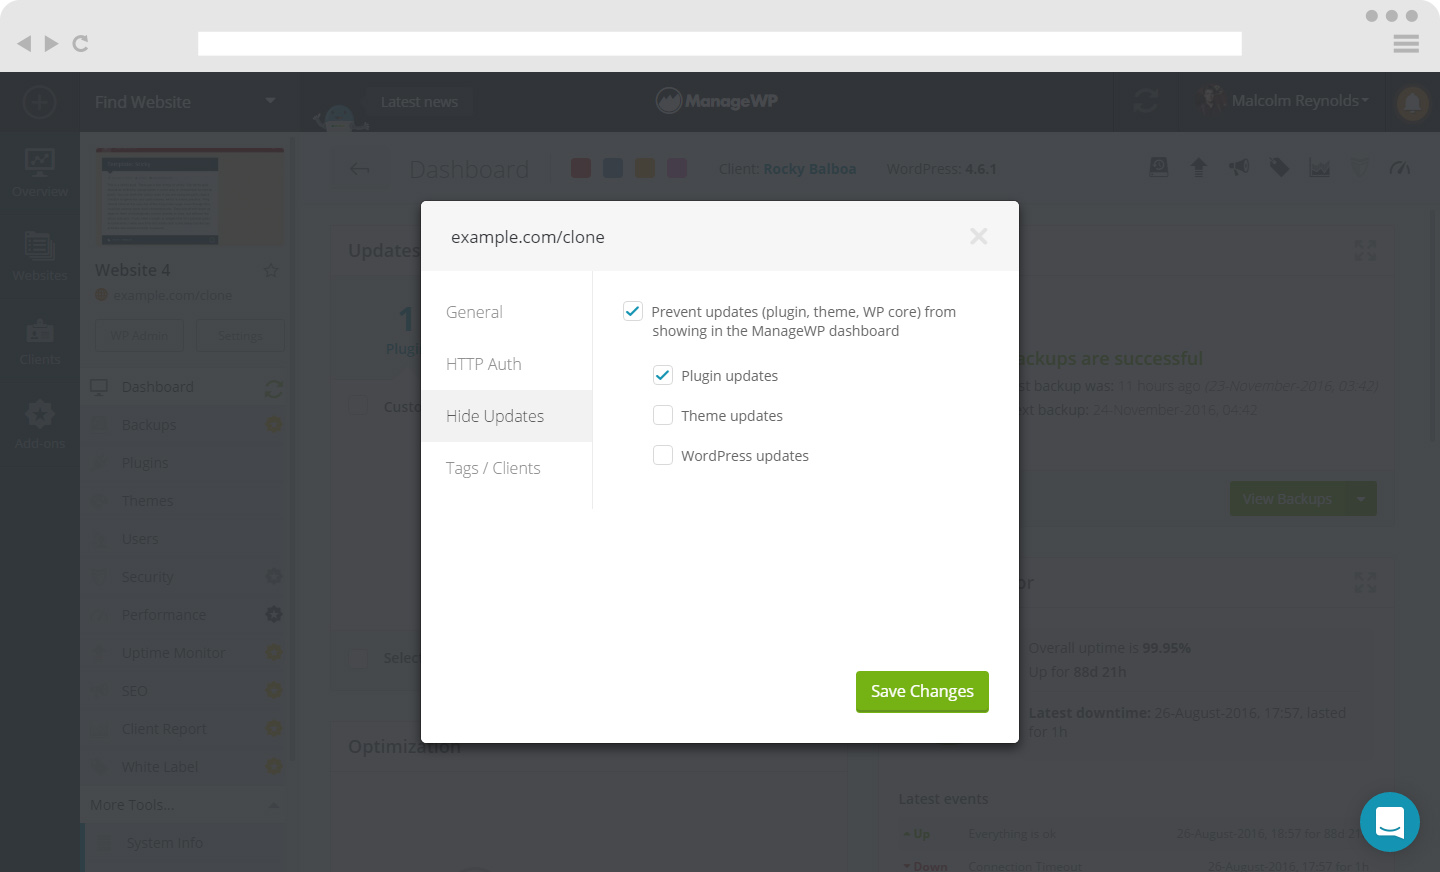
Here you can Prevent updates (plugin, theme, WordPress updates) from showing in the ManageWP dashboard. You can select all or individual boxes depending on which you wish to hide.
When you have adjusted the settings click Save Changes.
How to assign Tags and Clients to your Site
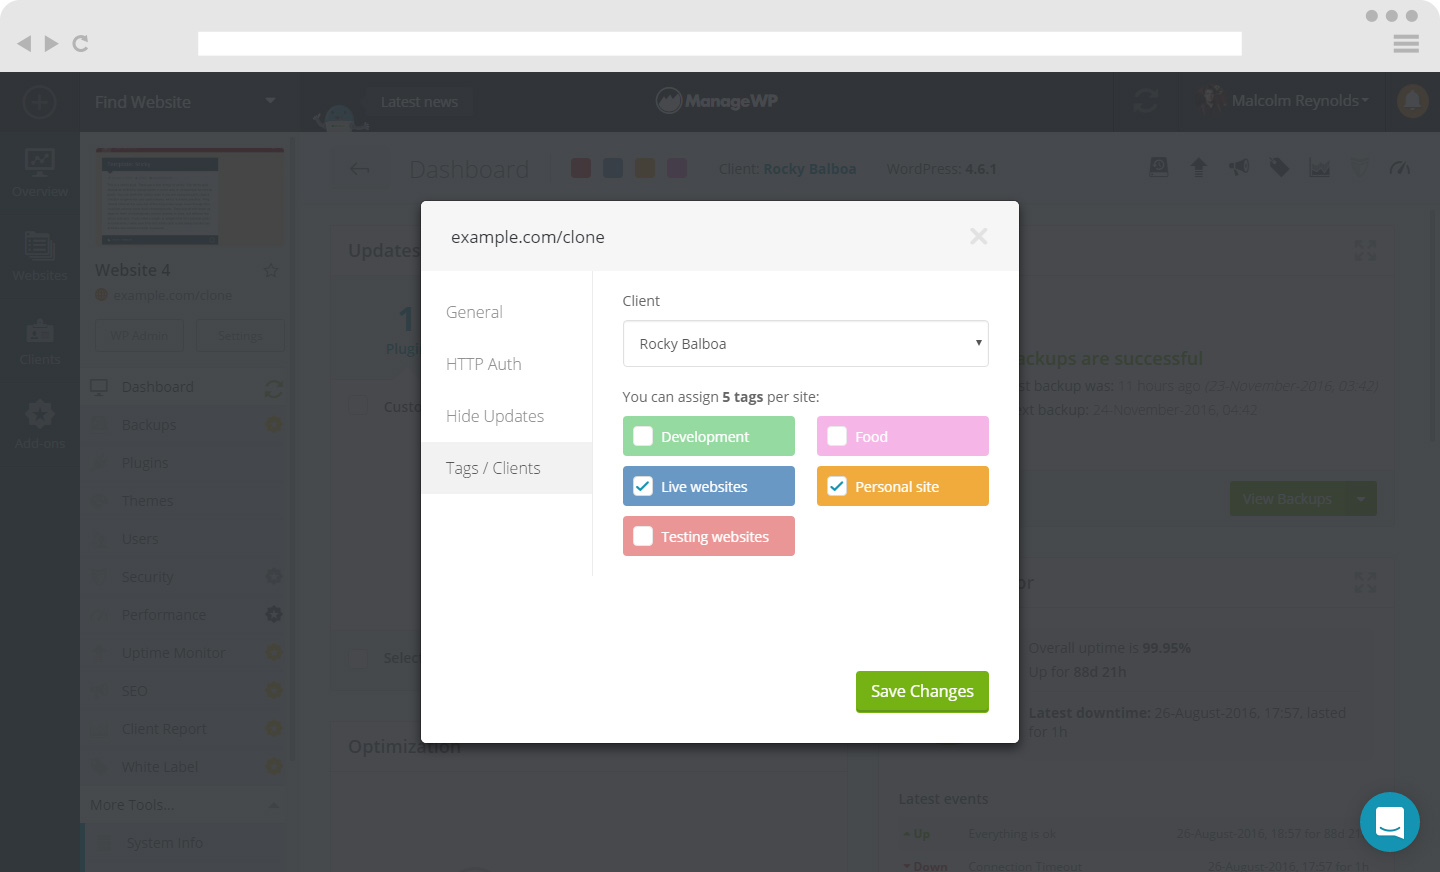
Here you will be able to see the Tags and Clients you have created and this will give you the option to assign them to the site.
When you have adjusted the settings click Save Changes.
N.B When you select a Single Website, at bottom of the left hand side sidebar you will be able to see the Tags assigned to that site.
 Yes
Yes
 No
No
