
We have reached our final milestone on the 2016 automation map, and I am happy to announce the upcoming automated Client Report. This is something that we have all been looking forward to, and we have tried to make it useful for everyone. So, let’s take a look at the details.

How much will the automated Client Report cost?
Before looking at the setup, I want to answer the most important question first. The automated Client Report will become part of the Advanced Client Report. That means that the automation tool will not be charged at an extra price. The premium add-on is the Advanced Client Report, and scheduling will just become part of this tool. That leaves you at $1 per website for Advanced Client Reports, or a bundle of $25 for a 100 websites. The price of the premium add-on has not changed, we have just added to it.
How to setup automated Client Reports?
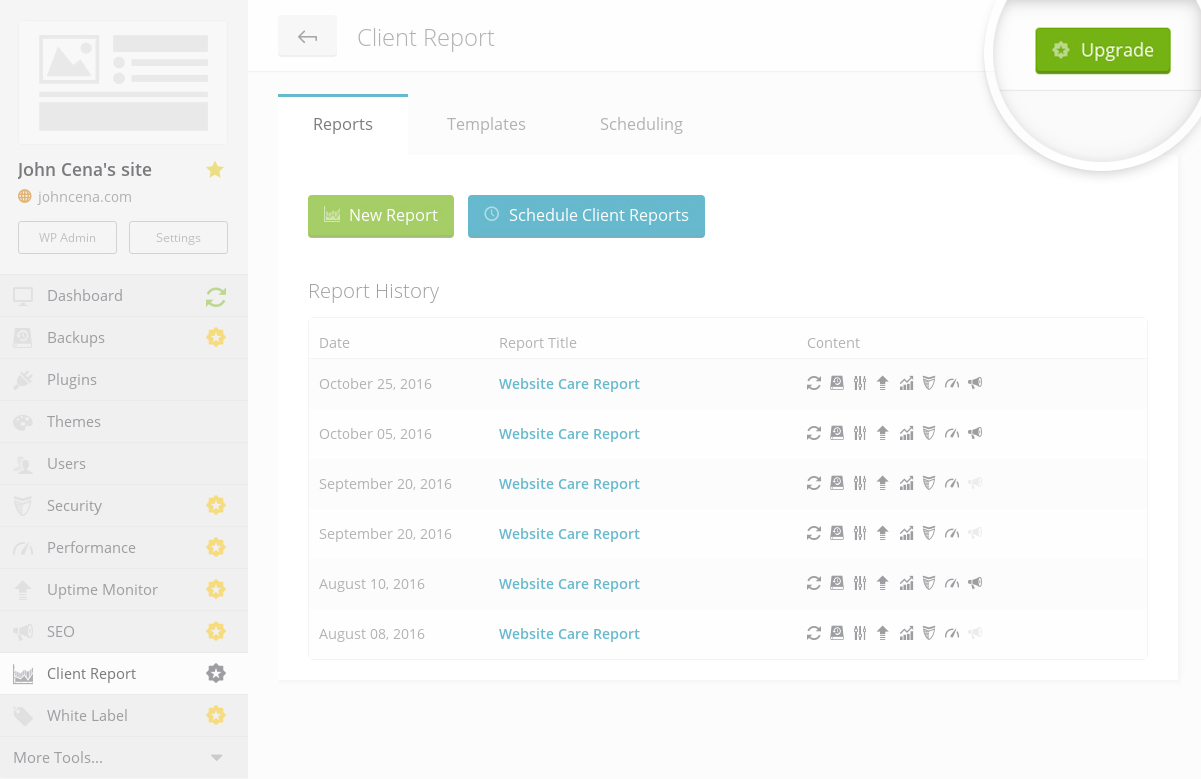
Like with all of the automation tools so far, you will need to activate the premium add-on in order to use the automation tool. To set it up, select the website you wish to enable the premium add-on. When you select the Client Report add-on you will see some changes in the dashboard. In the top right corner you will come across an Upgrade button, which will lead you to setting up scheduling.
There will be a confirmation pop-up telling you the cost of the add-on, simply click Activate to carry on with the activation. After you have successfully activated the add-on, this will allow you to start scheduling your Client Reports.
Scheduling Options
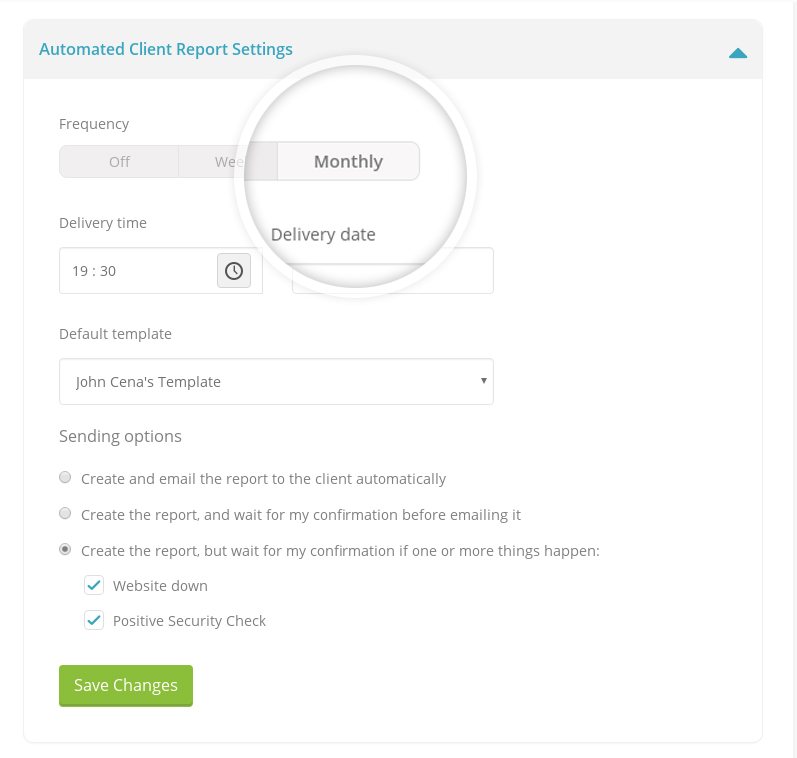
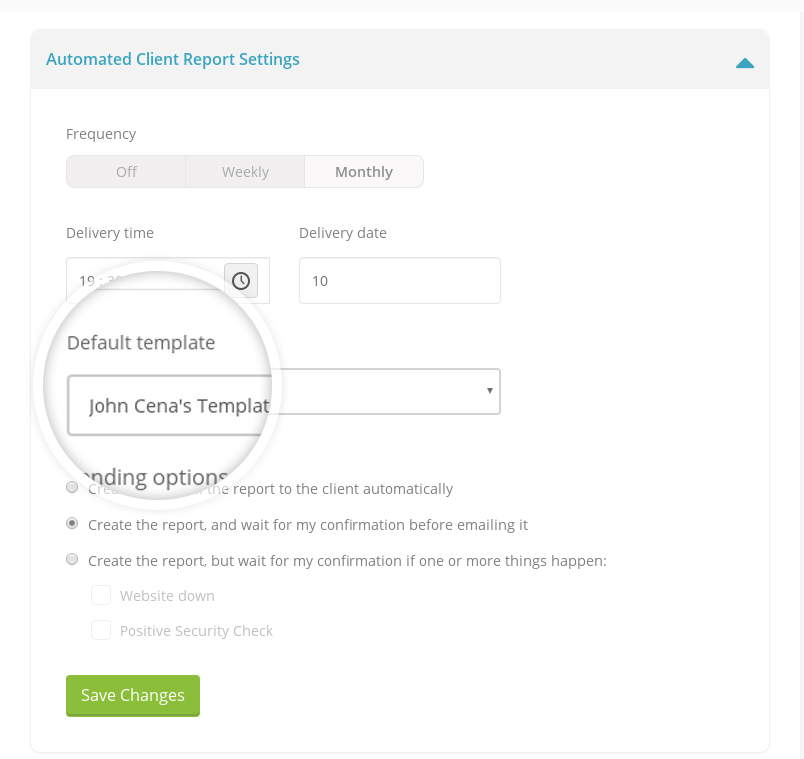
There are two options for scheduling your Client Report, you can select to schedule your report either weekly or monthly. If you choose to schedule your reports weekly, you can select your preferred day in the week. If you opt for monthly reports, you can select the date on which you wish for them to be delivered. For both scheduling options can select the time of the delivery.
Please note the timezone in which the delivery time is calculated matches the timezone that you selected for your account. If your clients are in a different timezone be sure to take that into account when setting the delivery time.
We have included the possibility to select a template you wish to send, there is a default option as always. Here you can select which template you wish to send.
Sending Options
The most exciting part is that we offer you three sending options. This is because we asked you for feedback, and some of you liked the idea of sending reports without checking them, while others found this a bit worrying. We have included both.
 You can select the option that suits your workflow the most. For those clients that you want to send raw reports to, you can select Create and email the report to the client automatically. For others, you might feel safer checking each report, even if it’s for a short glance, select Create the report, and wait for my confirmation before emailing it. The final option is what I call the middle ground. If you want to double-check reports that show a negative, then I recommend you select Create the report, but wait for my confirmation if one or more things happen. That way you can check for websites that are down, or any security breaches before your client sees it. We hope that here there is something for everyone.
Include/Exclude Options
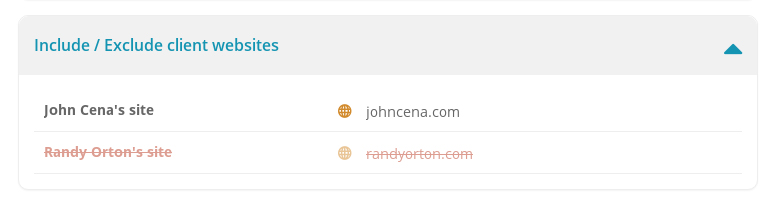
The final part of the automated Client Reports, you can choose which websites will be included or excluded in your reports. If you have enabled the Client Reports on bulk for that client, all of the websites that have them active will be automatically included. You can choose to exclude them from the scheduled reports by clicking on them.
 When you are happy with all of the above settings, click Save Changes.
How to schedule automated Client Reports from the Client Tab?
Firstly, the great thing is that we have given you two ways of setting up scheduled reports. You can schedule them by going on a single website, like we talked about above, or you can do it over your Client Tab.
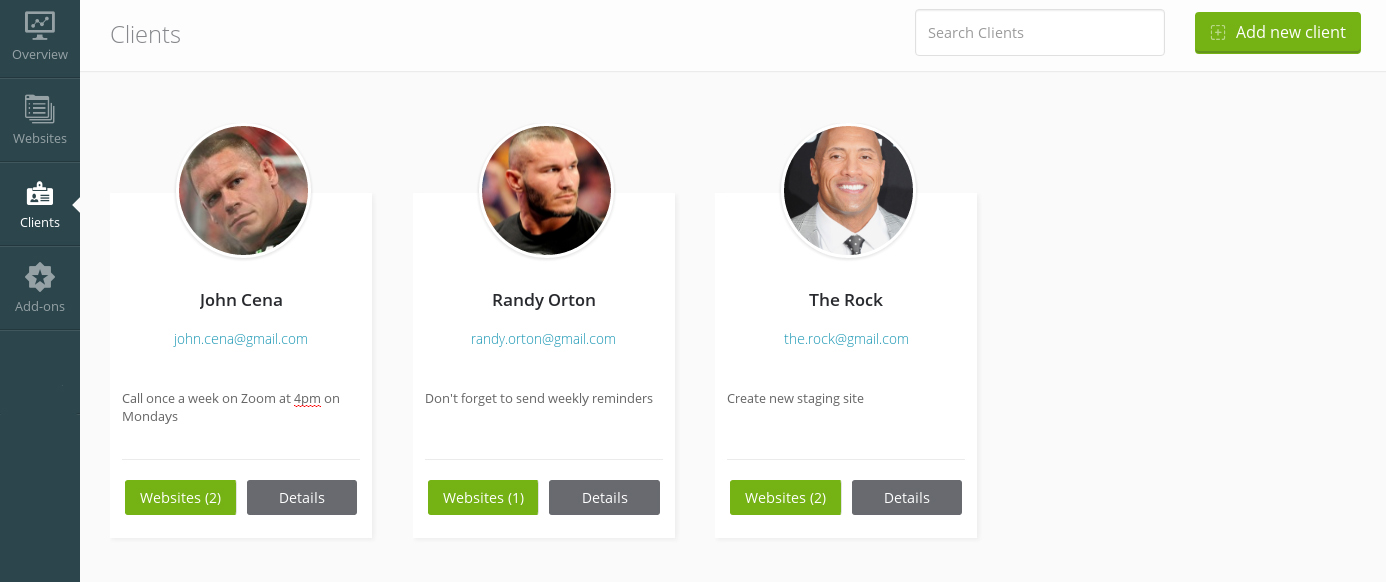
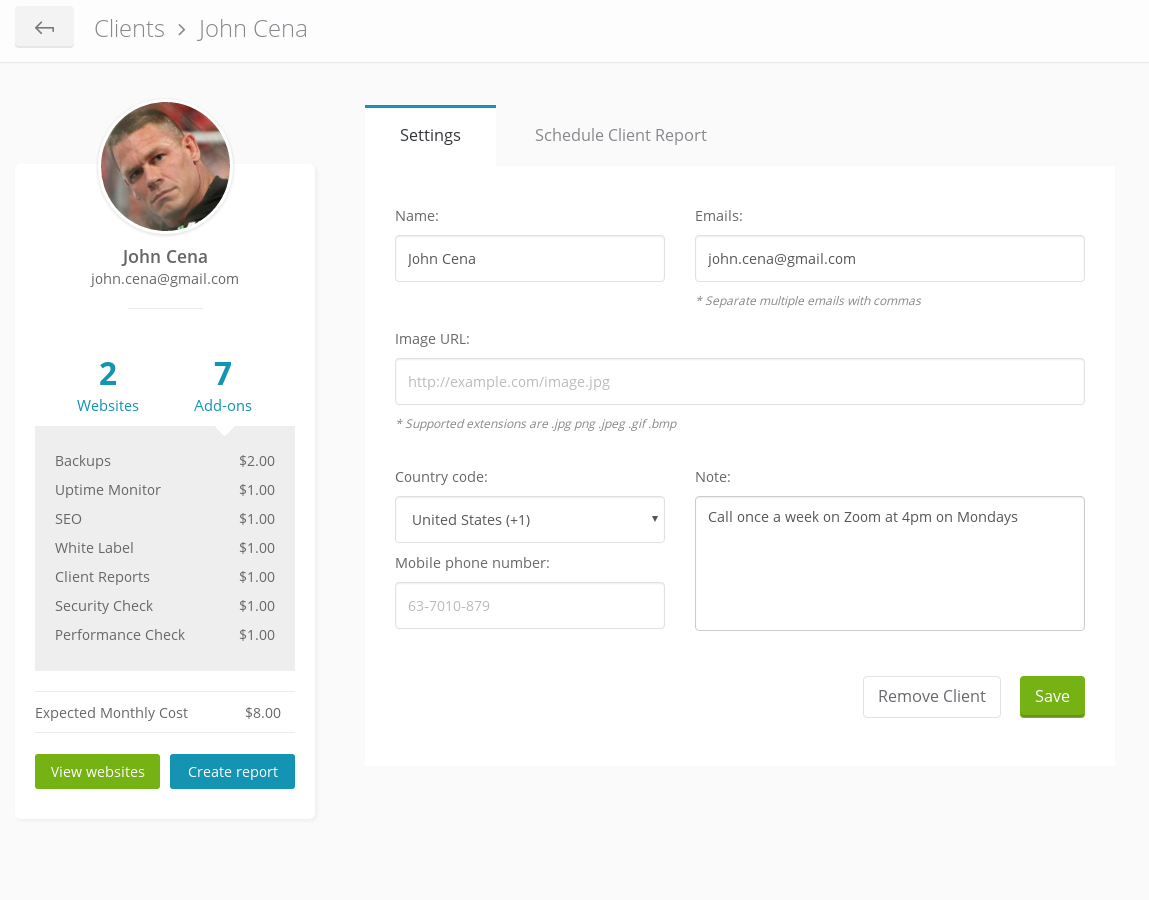
Select the client you wish to set up scheduled reports for, and click on Details. Here you will see a tab, Schedule Client Report, this will take you to the same settings.
 From here, the same applies as above, you can set up all of the details that you like, and manage reports from the Client Tab if you find that easier.
One Client, One Schedule
Our solution is to group scheduling by client. This way in one report you can include all of the client’s websites, and set up scheduling for automated sending. Here is an example. If a client, let’s call him John Cena, has 100 websites, John will receive a Client Report with all of the websites that have the activated Advanced Client Report add-on, once a month on the 5th of each month, at 4pm.
What if John has 99 websites that are blogs, and 1 website that is an eCommerce website that is particularly profitable and wants reports once a week? This is fine, and you can absolutely do this with minimum effort. You can create a new Client for that website, call him client John Cena – advanced. By doing this you can set up separate scheduling for this website on a weekly basis. This avoids confusion, and helps you stay on track with your Client Report scheduling.
Wrapping Up
When the automated Client Reports are live, we will be done with our 2016 automation journey and our map will be complete. This is a feature many of you have been waiting for, and we hope that we did it justice. Like always, let us know how we can improve our features and what you need from us.
Leave a Reply