As a website developer, there are times when you don’t want to be chained to your desk.
Instead, you’d prefer to take your work to a café, a park or anywhere, just for a change of pace. Or perhaps you want to test out a plugin that was brought to your attention by a peer or client. This article is going to introduce you to a development environment you can install on your Macbook, so you can work from virtually anywhere you want to.
So, how do we make this magic happen? It’s quite simple actually. As with most things development based,there’s a piece of software that makes it possible. For us Mac users, that software is MAMP (Mac/Apache/MySQL/PHP).When installed, MAMP allows you to locally run a webserver on your machine with access to a MySQL server and PHP.
While there are other ways of achieving the same result– like manually installing Apache, MySQl and PHP – this the quickest and most efficient way to do it. Welcome to developer freedom, folks! (You can thank me later.)
Setting up MAMP on your Mac
MAMP comes in two different flavors: a premium paid version and a free version. The free version is typically all you’ll need, as it comes with the full suite of web software needed to run most websites.
You can download it from here.
Then, locate the file from your downloads folder – it will be named something like MAMP_MAMP_PRO_3.0.5.pkg (the numbers may be different as they represent the current version number) – and install it like you would any other piece of software.
And now you have your very own living, breathing web server on your laptop. All you need to do now is learn how to use it.
Starting up and using MAMP
You’ll find your installed software package in your Applications folder.
You’ll see two new icons: one for MAMP and one for MAMP Pro. You can ignore or delete the MAMP Pro icon, we only need the MAMP icon for this article. Double click the MAMP icon to bring up the dashboard widget.
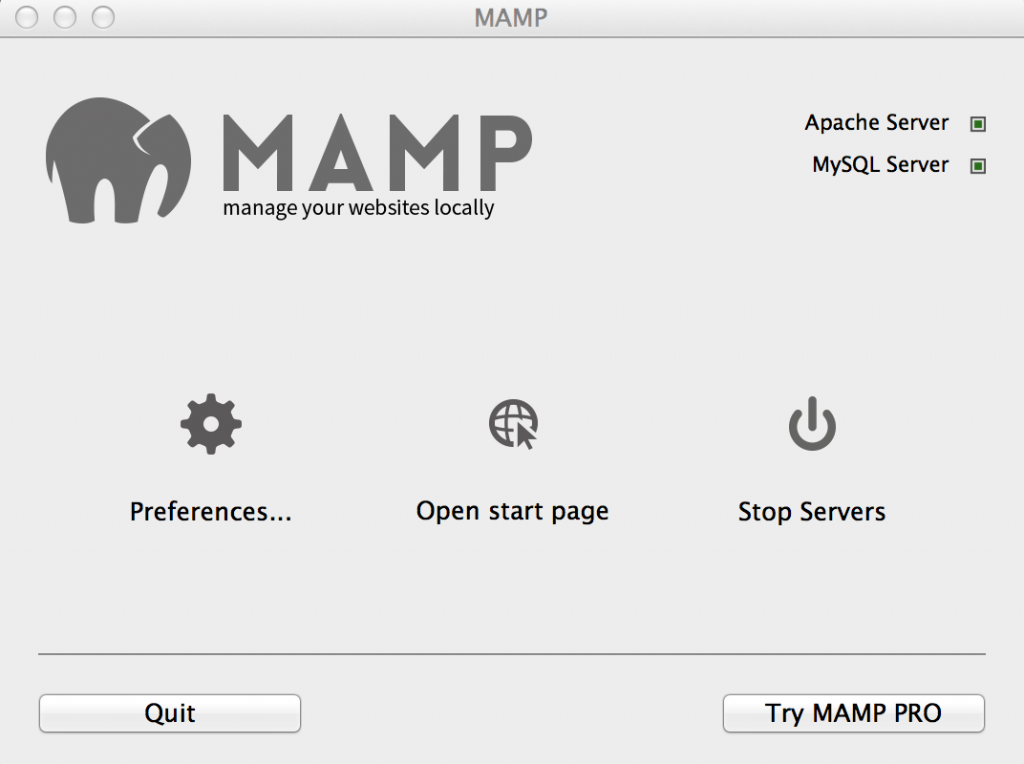
A couple of quick points: Firstly, you can tell when the apache and MySQL servers are working by looking at the upper right hand corner. A green box beside each indicates that the particular server is up and running as expected. Secondly, you can’t close the widget without shutting down the servers, so just minimize the window to get it off your screen.
You can also go through the setting found under the preferences button on the widget, but MAMP works quite smoothly out of the box and you shouldn’t need to make any changes.
The next thing you will want to do is get to the start page by clicking on the button aptly labeled Open Start Page.

On this page, there’s basic information on MAMP and its different components. You’ll be usingthephpMyAdmin feature – found under the Tools menu – for the majority of the time.
Using phpMyAdmin
phpMyAdmin is used to set up, manage and work with MySQL databases. I know that on the surface it seems strange to use a tool with ‘php’ in its title to manage MySQL databases. However, it’s a very powerful tool once you get the hang of it.
I’m now going to walk you through setting up a database and a user so you can install and run WordPress on your local machine (aka your laptop or desktop). You’ll need to do two things:
- create a database, and
- create a user that has privileges on that database.
So lets start by creating the database, which is a remarkably simple process.
If you click on the Databases tab you will see a Create Database field where you simply name your database and click the Create button. You can most likely ignore the dropdown menu located after the name field, as the default will apply in most instances.
Next up, we need to create a user that has privileges to access and work with the new database. Click on the Users tab in phpMyAdmin and then find the link to Add User.

Simply choose a username, select Local from the dropdown and type in and confirm a password. This will set up a user for the database, but we still need to configure the privileges this user has. If you’re familiar with MySQL databases, you can determine which individual privileges to check off in the Global Privileges section – or you can simply select the Check All box and grant global permission to the user. This is fine for a site that is non accessible to the public.
Now that we have a database and a user who can access it, it’s time to get a WordPress website up and running.
Installing WordPress
If you have ever installed WordPress on a hosting provider’s site, you must know that FTPing the files can take a few minutes. One of the nice things about working locally is how quickly you can have a new WordPress install up and running.
Here’s how I go about installing WordPress:
- Create a new folder in the htdocs directory of your MAMP installation. This is where all of your sites will live. The name of this folder will become your site name for step three below.
- I keep a copy of the latest version of WordPress unzipped and ready to go on my hard drive. Simply copy and paste all of the files from the WordPress folder into the one you’ve created for your site.
- Open a browser of your liking and navigate to localhost:8888/yoursitename/wp-login.php and run through the (less than) 5-minute-long installation process.
- Once you’ve done that, presto! You now have a fully functional WordPress install/site to work on at your leisure!
This should take away any hesitation you might have about installing a web server on your Mac OS laptop or desktop. Enjoy!
Leave a Reply