
Since we released the Safe Updates feature we have gotten a lot of positive feedback from you all. Making updates safer is something that we have been prioritizing recently, and right now we are back with an additional perk; the rollback option. In a nutshell, if we detect any type of issue during the update, you are now able to enjoy a fully automatic rollback to its original state.
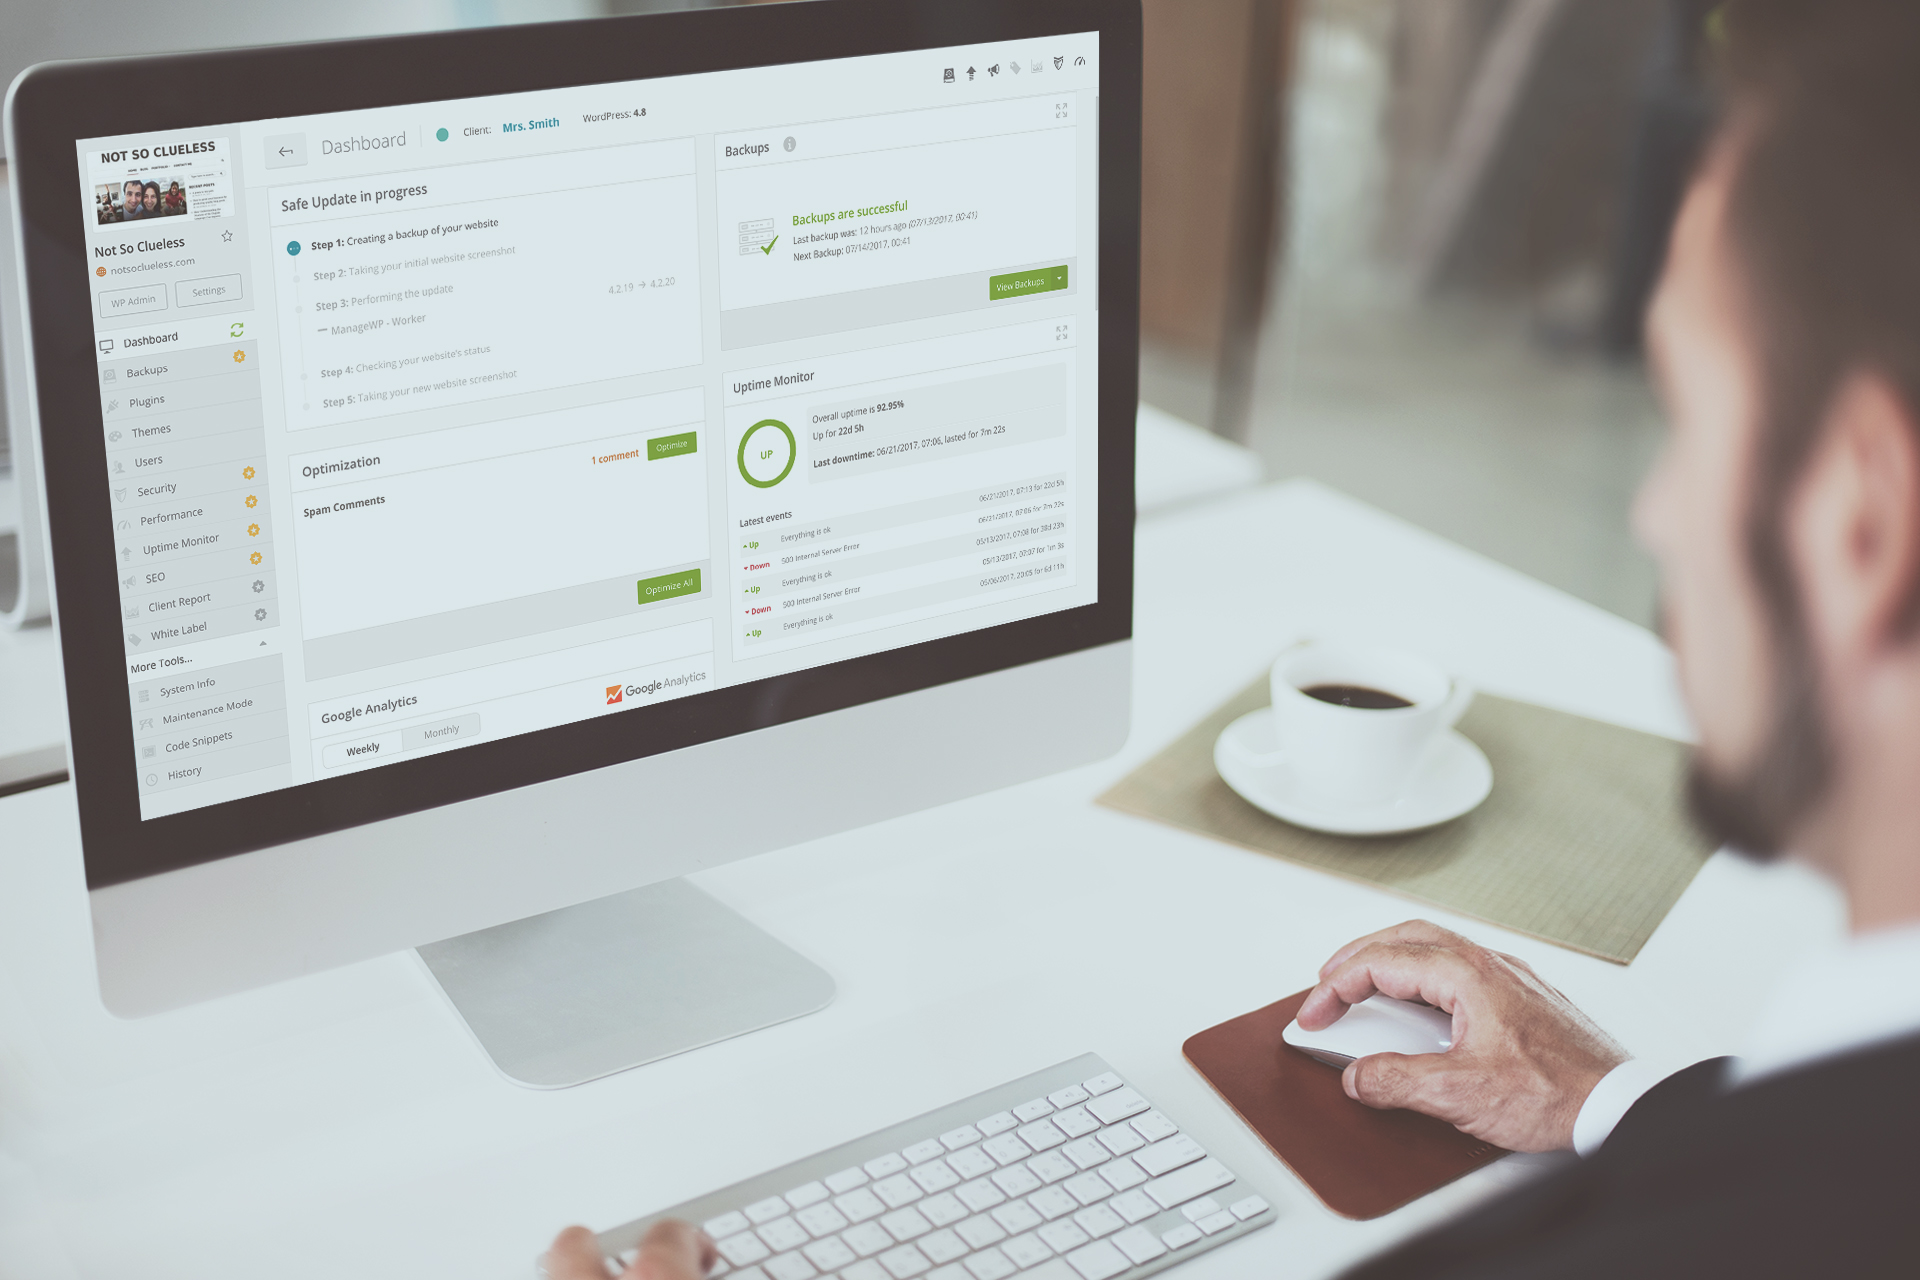
Safe Updates ensures your update of WordPress core, plugins and themes is safer than ever. Let’s quickly recap how Safe Updates are performed.
It’s a 7 step process:
- Step one – creating a restore point for your website
- Step two is sending HTTP requests to the website before the actual update to make sure everything is working smoothly on your website
- Step three – creates a before screenshots of your website
- Step four is running the updates
- Step five we send a HTTP request again to check your website response after the update
- Step six we take an after update screenshot of your website
- Step seven is your option to go in and see the screenshot comparison
What’s the rollback option?
The rollback option is an automatic restore in case something goes wrong during the update. The Safe Updates will follow the usual 7 step process, and at the end if we do detect any issues with your website you can choose to automatically restore your website to it’s previous state (to your latest restore point). When we ping your website if we get a status code between 400 and 599, we will initiate the automatic restore.
With the added rollback option you can be sure that ManageWP has your back when it comes to updates. Not only do we have the security of our Safe Updates, but now we have the automatic rollback, which ensures that your website is restored in case of any issues.
How do I set up the rollback option?
When the first time after introducing the rollback option you run Safe Updates you will get the following screen.
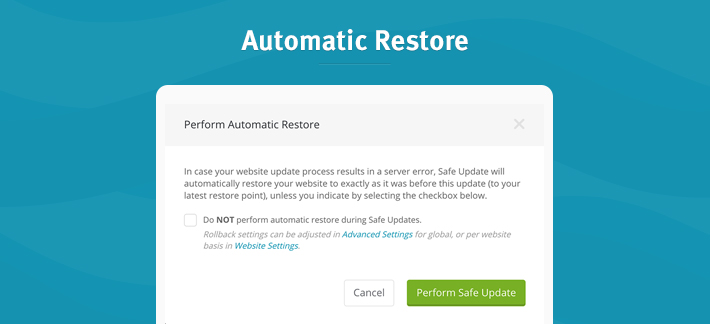
Automatically the rollback is enabled. That means unless you check the box, we will go ahead and run the automatic restore on the selected website. If you don’t want to enable automatic restore make sure you check the box.
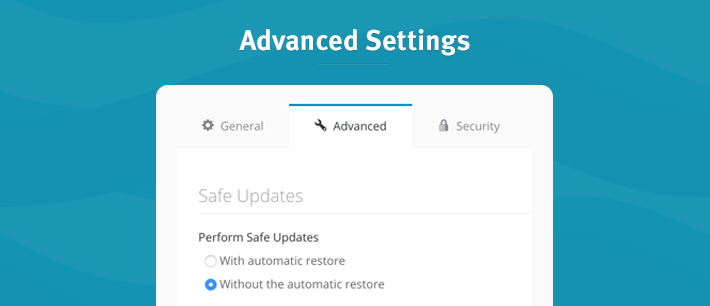
The global settings for automatic restore on Safe Updates can be adjusted by going to Advanced Settings. There you will see two options, one giving you the rollback on all website.
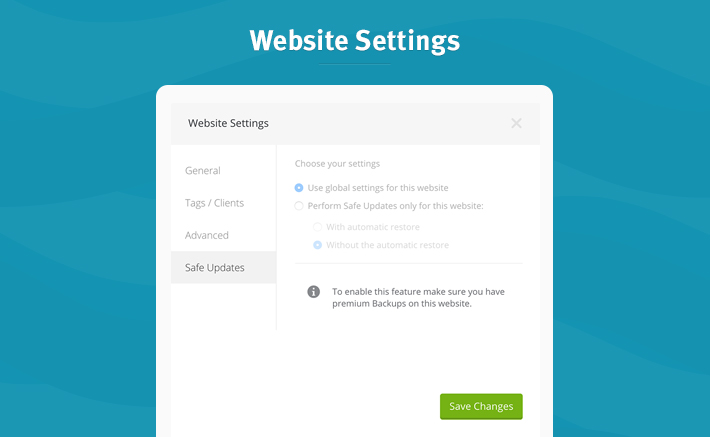
You will also be able to adjust automatic restore on a per website basis. To do that you can go to the individual website, select the Website Settings and there you will find the Safe Update tab. You can choose to apply global setting or to customize them for the website in question.
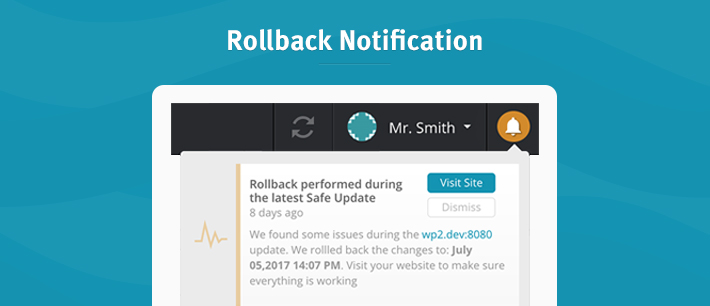
Rollback notifications
When a rollback is performed you will get a notification telling you all of the details of your rollback. When it was performed, on what website we detected the issues, and to what restore point we rolledback (it will always be your latest restore point).
Next up – bulk Safe Updates
When we talk about Safe Updates, the most requests you sent us is the ability to do updates in bulk. You’ve got 20,50, 100 websites – it does not matter, it’s still a matter of a few clicks. You can focus on important stuff while Safe Updates quietly takes care of your updates in the background
Feedback
What do you think about our Safe Update automatic restore? Let us know how you get along with this feature, and how we can improve it so that you will never again have to worry about website updates. We aim to have the safest updates in town!
Leave a Reply