
Do you ever feel like you’re getting lost in a sea of websites? Even if you only have 10-20 sites, the number of updates, spam comments and post revisions flying about can quickly get overwhelming.
That situation can of course be alleviated by using ManageWP. But as with any tool, the way in which you implement it can have an impact on its effectiveness.
ManageWP’s group feature is something that you may not have paid much attention to, or even noticed. But it is a powerful way of managing your sites more effectively, and taking a look at how best to use the feature is likely to be worth your time.
The Benefits
You may be interested to understand why groups can be of benefit to you. After all, why would you want to add an extra structural layer to your website portfolio’s hierarchy if it is not strictly necessary?
Whilst using groups certainly isn’t necessary, I think you will be quickly convinced that it is beneficial.
Selective One Click Updates
If you have a large number of websites, a one click update can take time. ManageWP has to login to each WordPress site, process the update, then move onto the next one. Whilst this process is extraordinarily faster than doing so manually, it will still take a few moments. And the fact is, you might not want to update all of your sites at any given time. In fact, if you are managing client sites, they may have very specific requirements regarding updates, so you will want to make sure that you are in full control of how updates are handled from one “type” of site to the next.
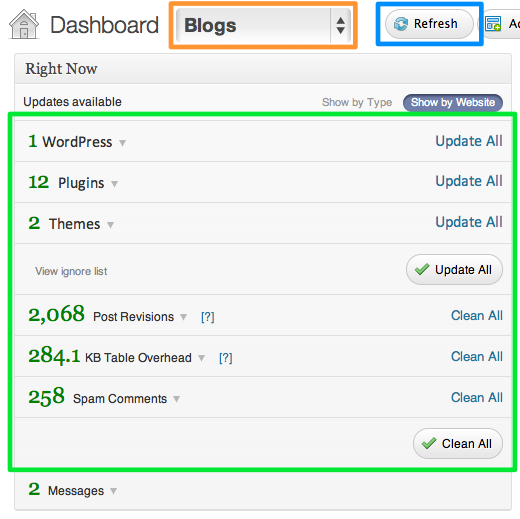
If you separate them into relevant groups, you can have that control. Just choose your group from the Dashboard drop down menu, click on “Refresh”, then action the appropriate updates:
Ease of Access
The contextual pop-out menu that appears when you hover over one of your websites in the sidebar provides you with access to a treasure trove of valuable features, including the Website Performance scan and various integrated tools. It of course also provides you with the most essential of options – access to that particular site’s dashboard.
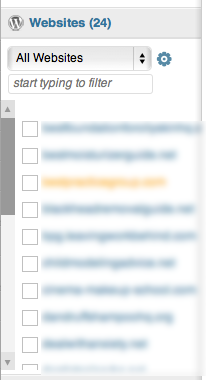
If you have a whole bunch of websites, finding the particular one that you want to access can be rather tedious:
Make the process far quicker by first selecting the relevant group, then finding your website from a much shorter list:
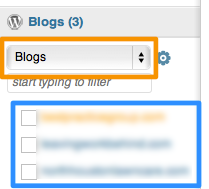
That was a lot easier, wasn’t it?
Setting Up Groups
Adding and managing groups is a piece of cake. The first time you are likely to come across the option is when you add your first site to ManageWP. Just click the “advanced +” link below the website URL and admin username. You can then either add new groups, or select from the existing list.
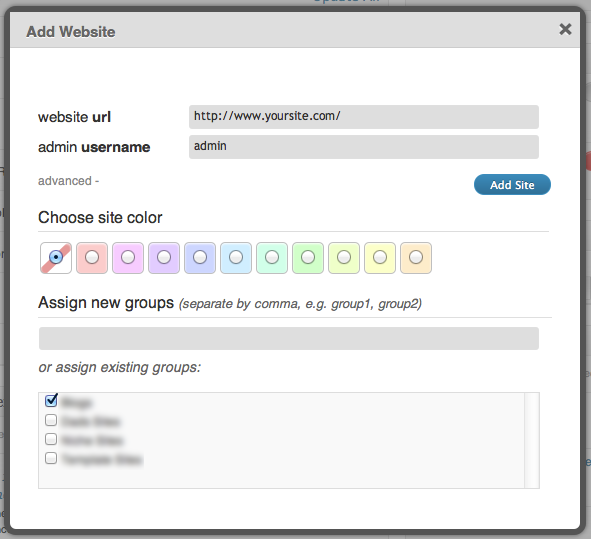
You can also manage existing groups by clicking on the cog in the sidebar:

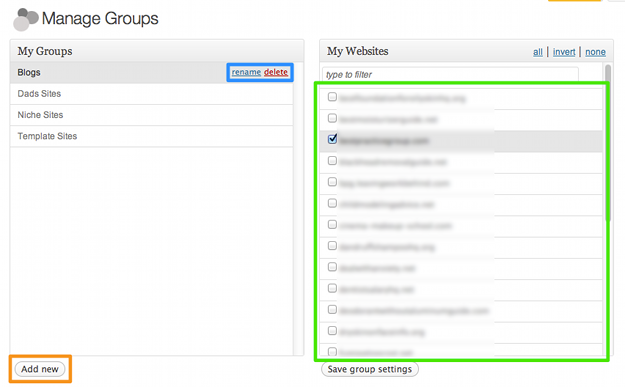
From the subsequent screen, you can add new groups, rename or delete existing ones, and add and remove websites.
How Do YOU Use Our Groups Feature?
There are plenty of ways in which you can use the groups feature to make the most of your ongoing website management. Are there any particular tips and tricks that you can share? Let us know in the comments section!
Creative Commons photo courtesy of ruurmo

0 Comments