How to monitor your WordPress websites’ SEO with ManageWP SEO Ranking
Here you will learn how to manage your Search Engine Optimization (SEO). We have included a SEO tool for you in our dashboard. This saves you time, and saves you money.
You can add keywords for your sites, and draw history for your keyword rankings from the past 3 months. This makes it easy for you to compare keywords with one another and figure out which keywords you should be targeting.
In this article
How to find the SEO tool
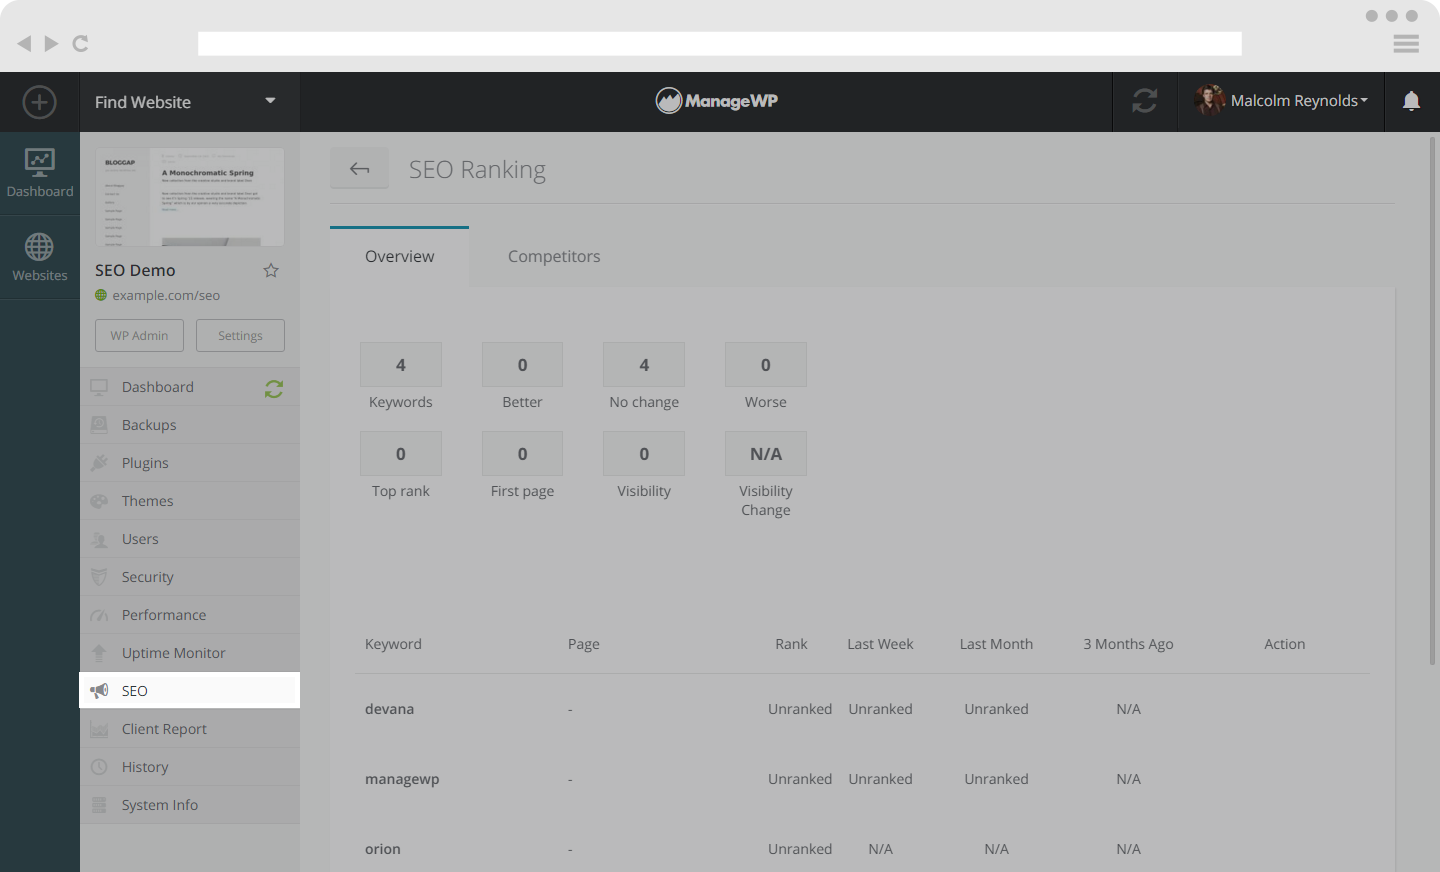
In order to find the SEO tool, select the site you want to manage SEO on. On the left hand side menu, you will see a list of option. Click on the option SEO and you will see the above screen.
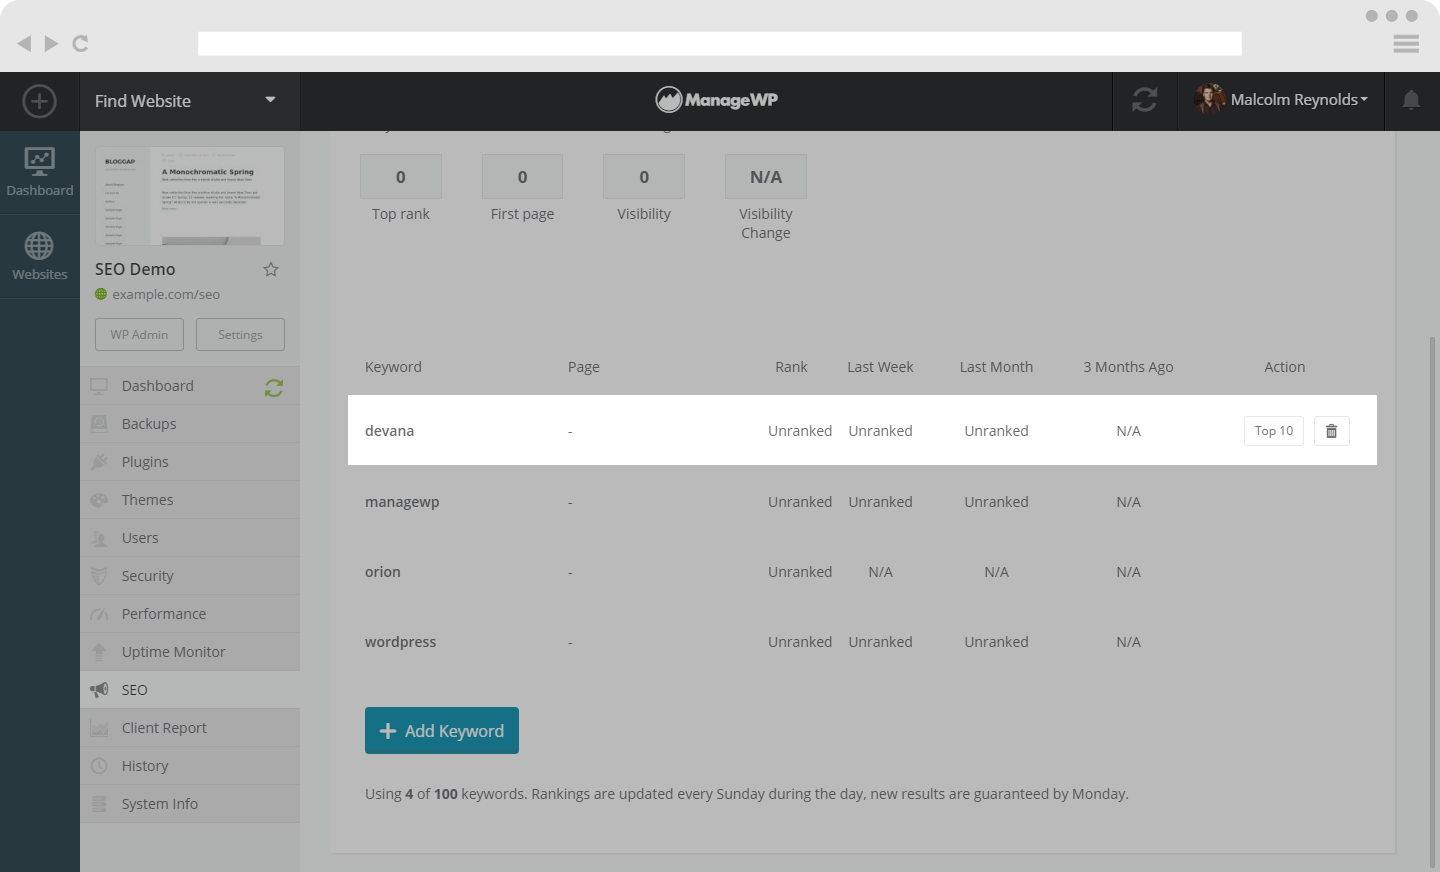
If you already have some keywords added, you will see them on your screen (picture below). If you hover over the specific keyword, in the Action column you can see Top ten and Trash icons. If you click on the Top ten icon you can see the top 10 Google search results list. If you click on the Trash icon you can delete a selected keyword.
How to add keywords
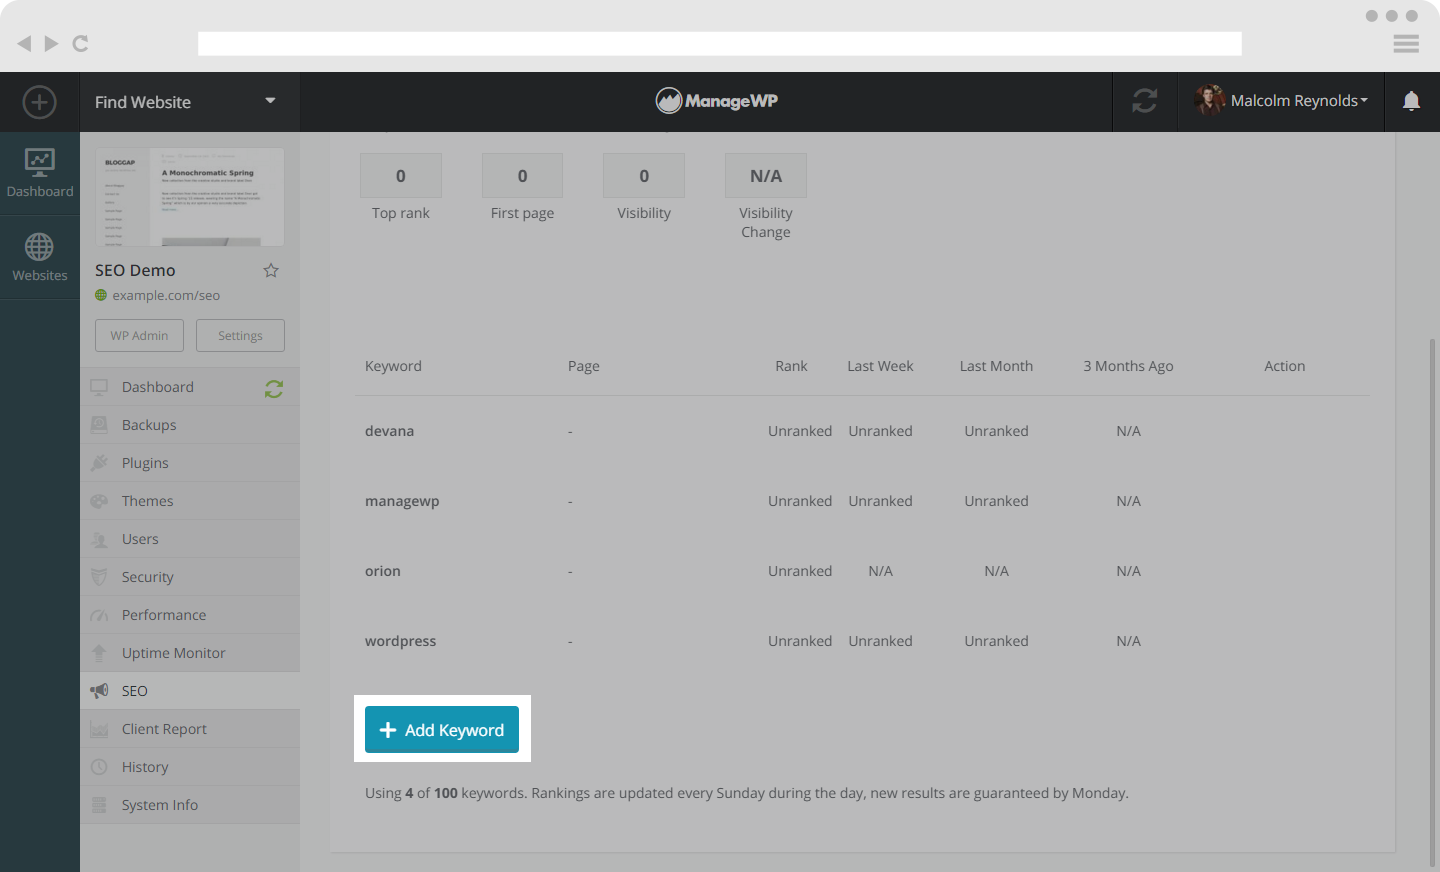
In order to add new keywords to your SEO tool, you need to click on the Add Keyword button. Write one or several keywords (each keyword on a separate line) , choose your Search Locale and click on the plus button. Your keywords are then added to your SEO tool, as easy as that.
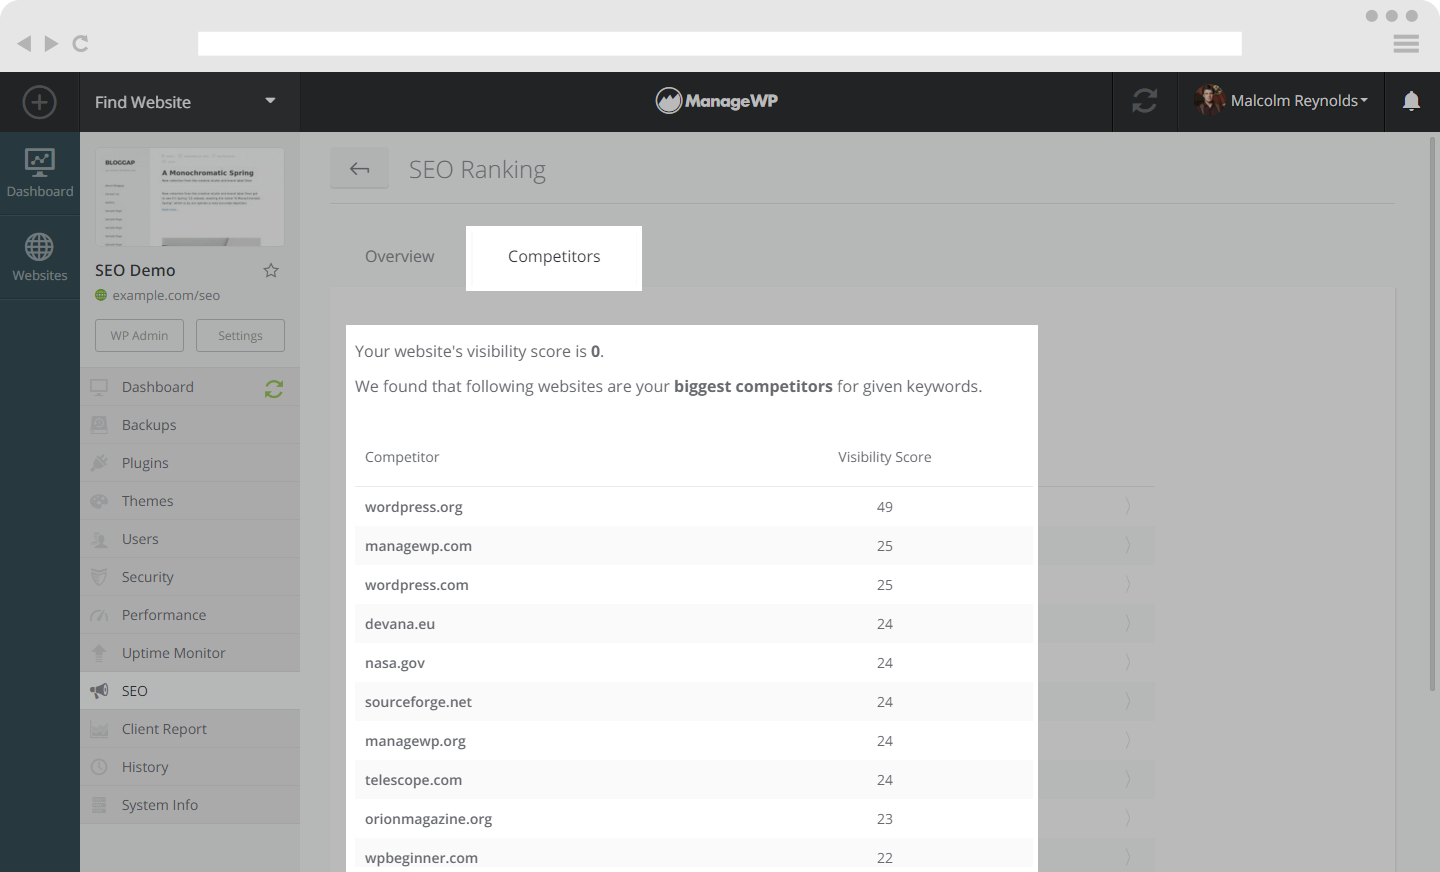
When you click on the Competitors button, you will see your competitors for the given keywords. There you can see all of your biggest competitors, as well as their visibility score.
How to track your SEO on the ManageWP dashboard
You can see your SEO rating on the general dashboard, by clicking on SEO Ranking, just below the Uptime in the Services widget.
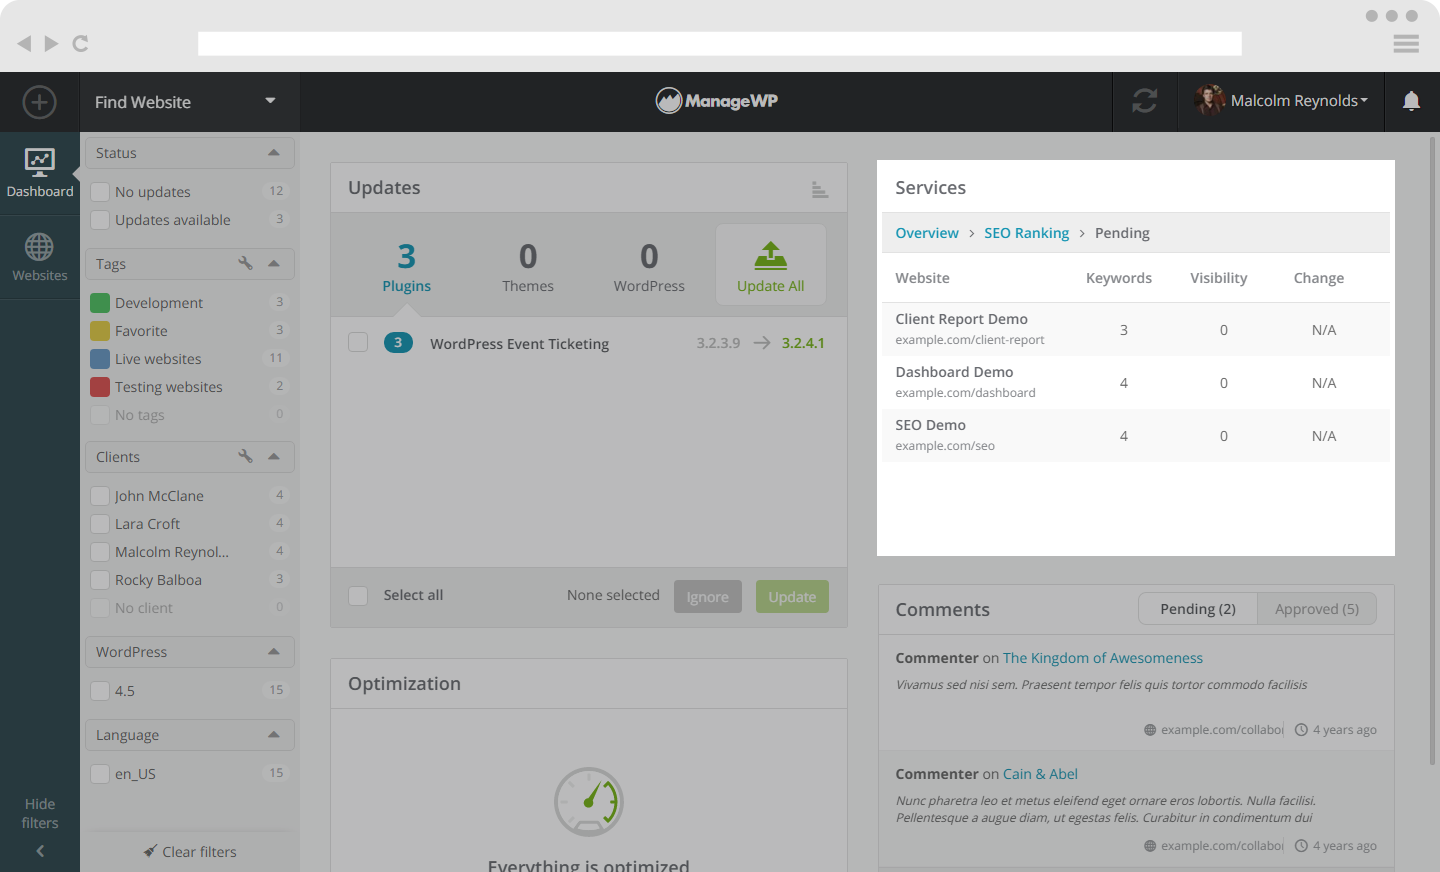
For more in detail information on how to understand the SEO Ranking in the Services widget, read about it in Get to know your ManageWP dashboard.
 Yes
Yes
 No
No
