You know you need SSL certificates to encrypt the exchange of information between your website and your visitors. This guide will teach you how to get an SSL certificate, where to get one from, and how to install it on your WordPress site.
How to Get an SSL Certificate and Install It on Your WordPress Site
The process for how to get an SSL certificate is by no means a long or complicated one. That said, it’s important to take the time to get the right SSL certificate and from the right provider the first time around. A faulty certificate or improperly installed one could be just as harmful to your website as not having one at all.
Once you’ve determined which kind of SSL certificate is best for your website, you can begin this process.
Step 1: Choose a Certificate Authority
A Certificate Authority (CA) is an organization through which you will need to get an SSL certificate. The CA will vet your credentials against the level of encryption you seek. Upon approving your application, they are then responsible for issuing the certificate and associated keys to you.
When it comes to deciding which CA to use, this is what I would suggest:
Look at your web hosting plan. Does it come with an SSL certificate? If it does, review what kind it is. If it offers the level of protection you want, ask your host to activate it.
Check with your web hosting company. If your plan doesn’t include a certificate, but your web hosting company offers them, review the options (price, certificate type, etc.) If it’s acceptable, add it on to your service and have them take care of installation.
At the end of the day, you need to choose a well-trusted CA that offers the kind of SSL certificate that fits within your budget and matches your business’s goals. If you’re wondering how to get an SSL certificate that fits the bill, I’d recommend starting with one of these trusted CAs:
Comodo
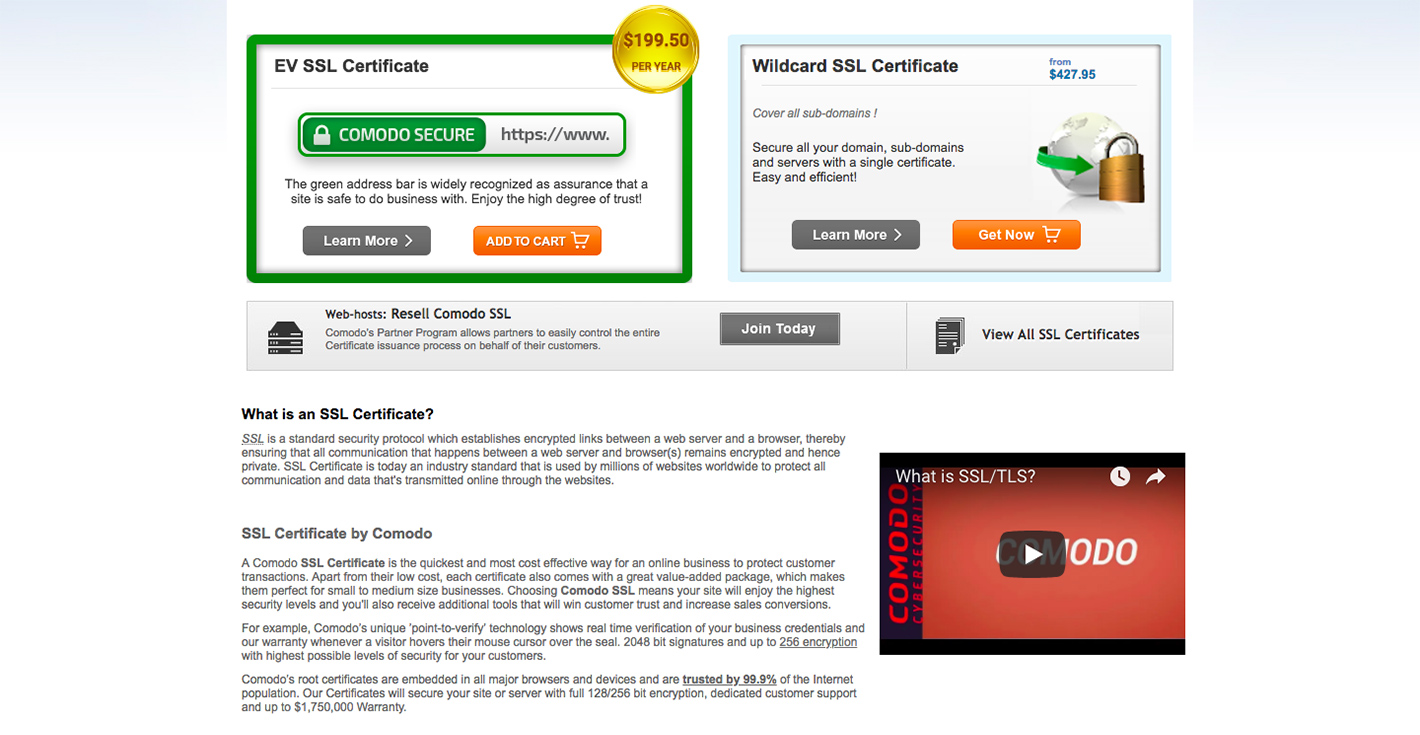 Comodo offers a vast range of SSL certificates, with categories expanding beyond the three types noted above.
- DV certificates (which they offer 90-day free trials for)
- OV certificates (referred to as Comodo SSL certificates) which come with a TrustLogo seal for your site as well as vulnerability scanning
- Wildcard certificates which cover your domain and all subdomains on your website
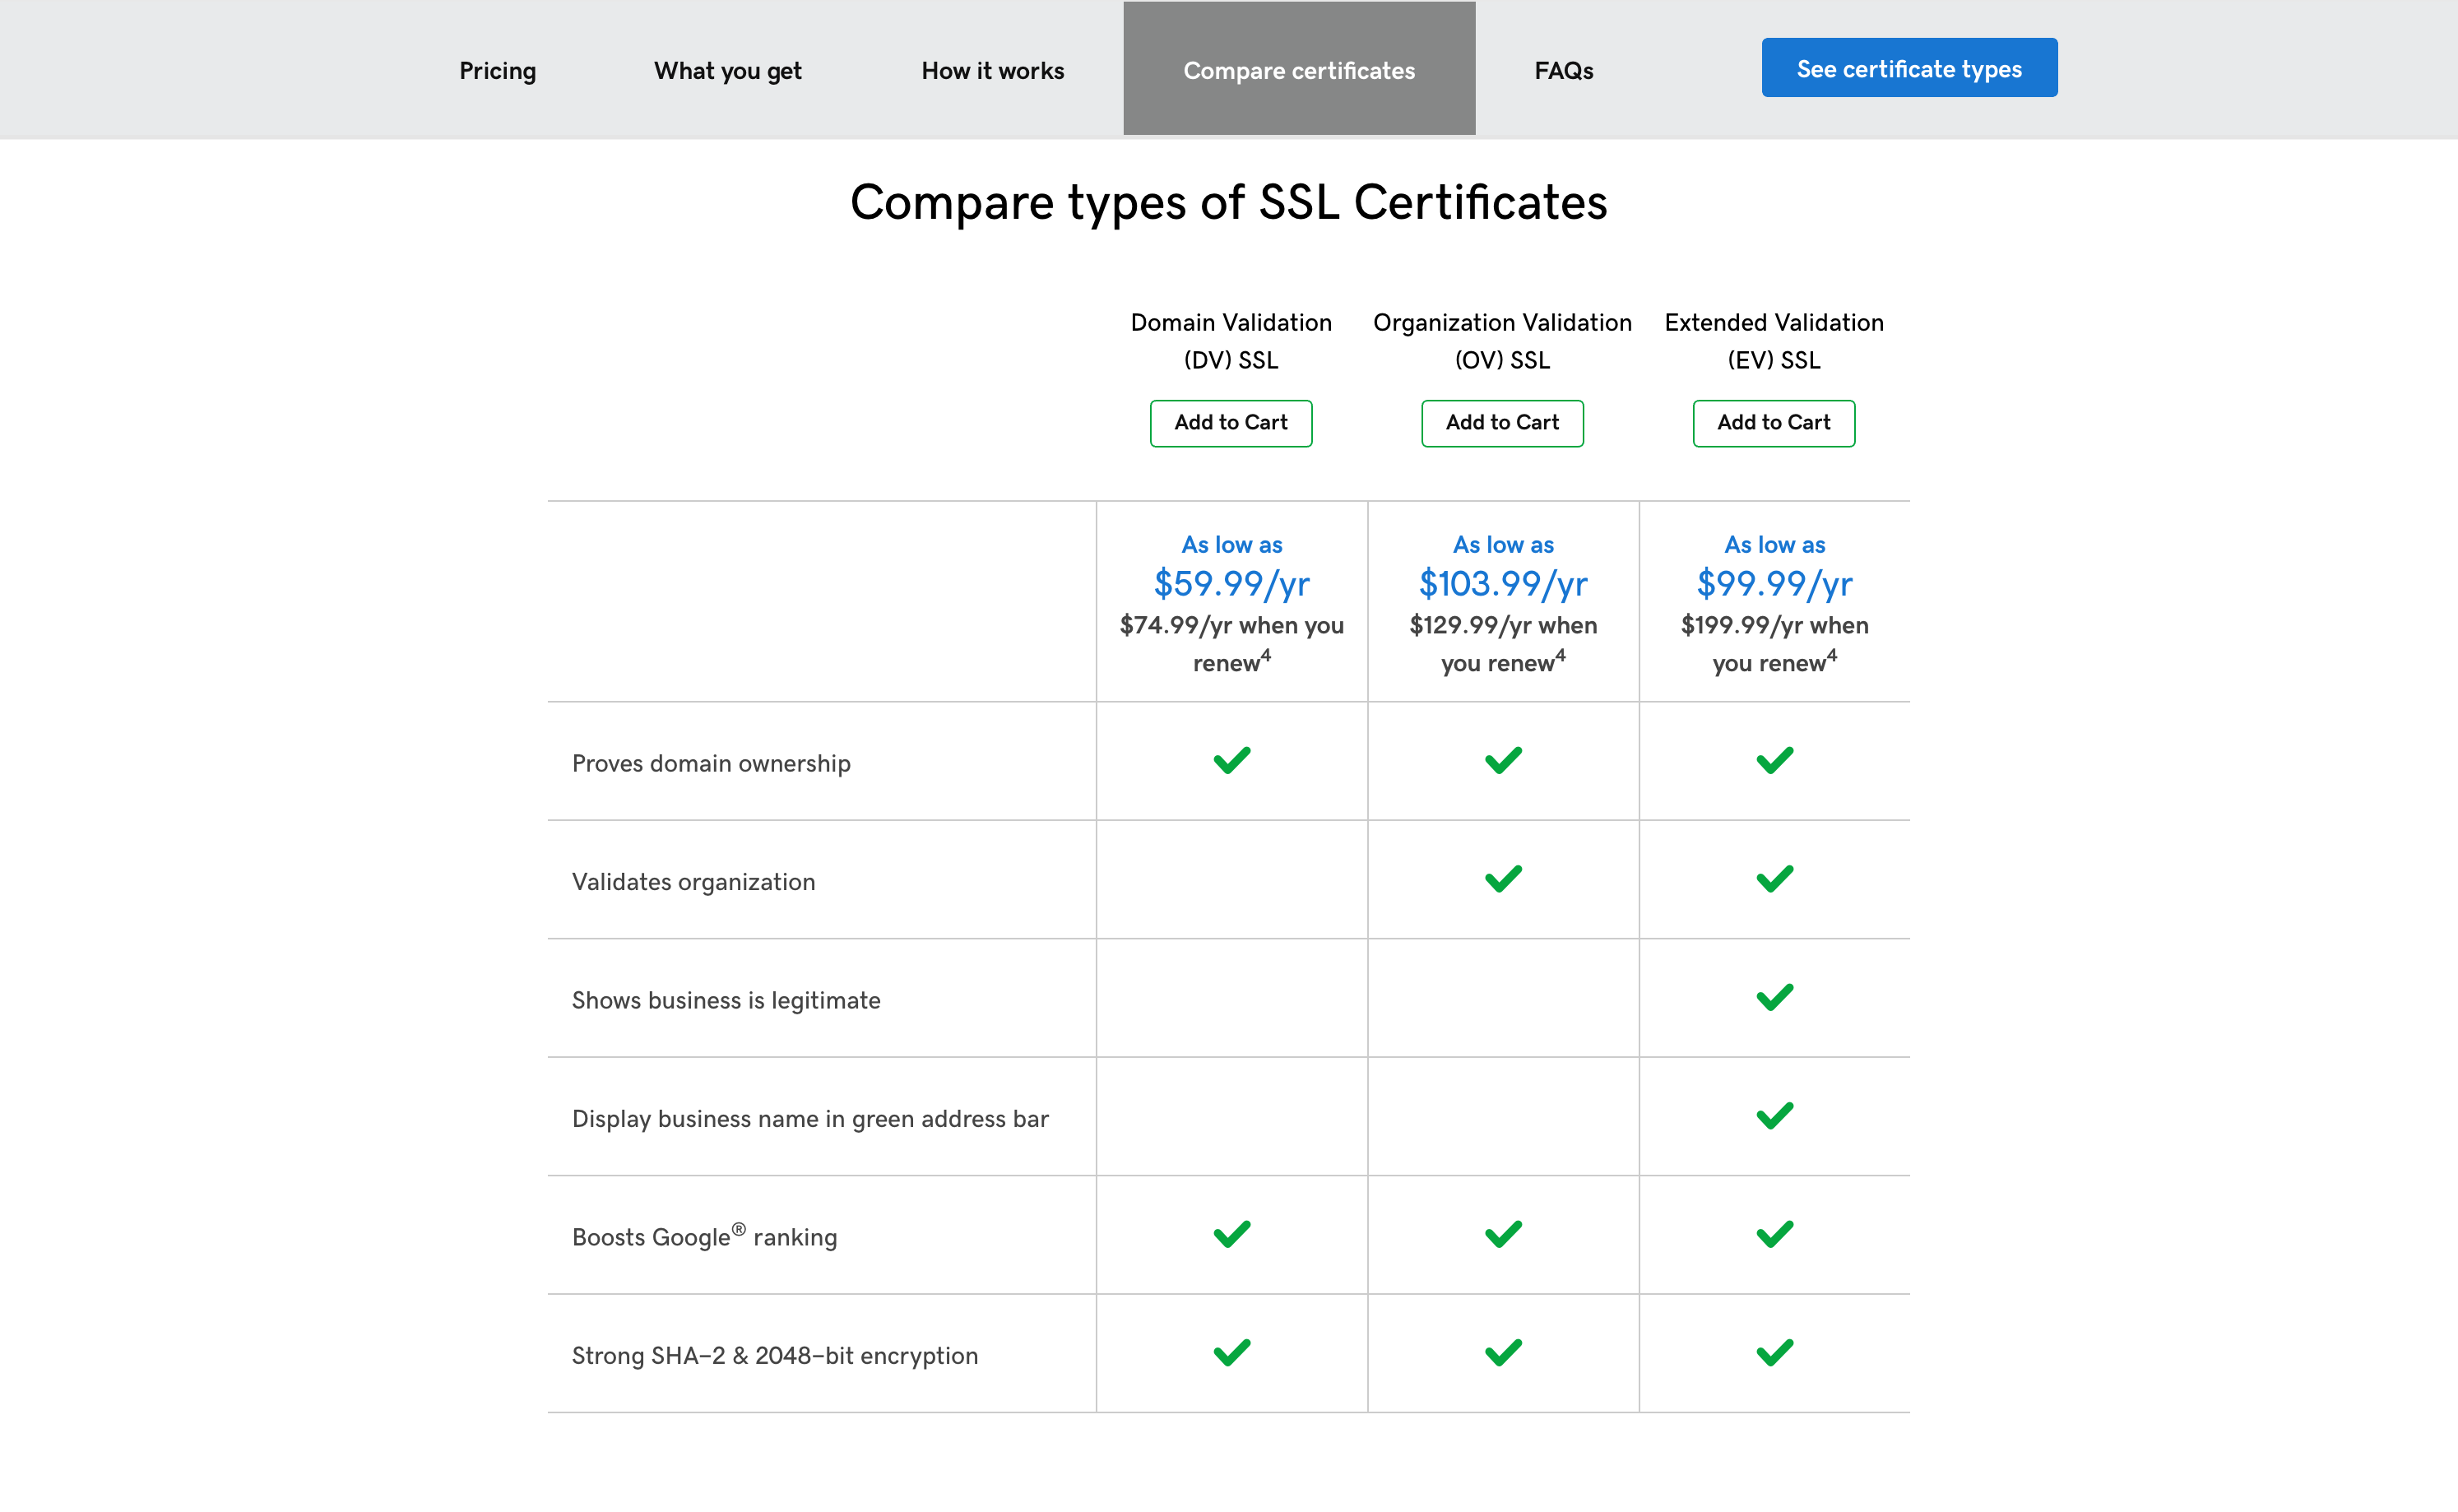
- EV certificates offer the highest level of certification and include full validation of your business and domain along with a TrustLogo seal, the green address bar, and PCI scanning
Each of these SSL certificates is recognized by, at the very least, 99.9% of all browsers and devices. The OV and EV certificates also come with a free SSL management tool which makes installation a breeze.
GlobalSign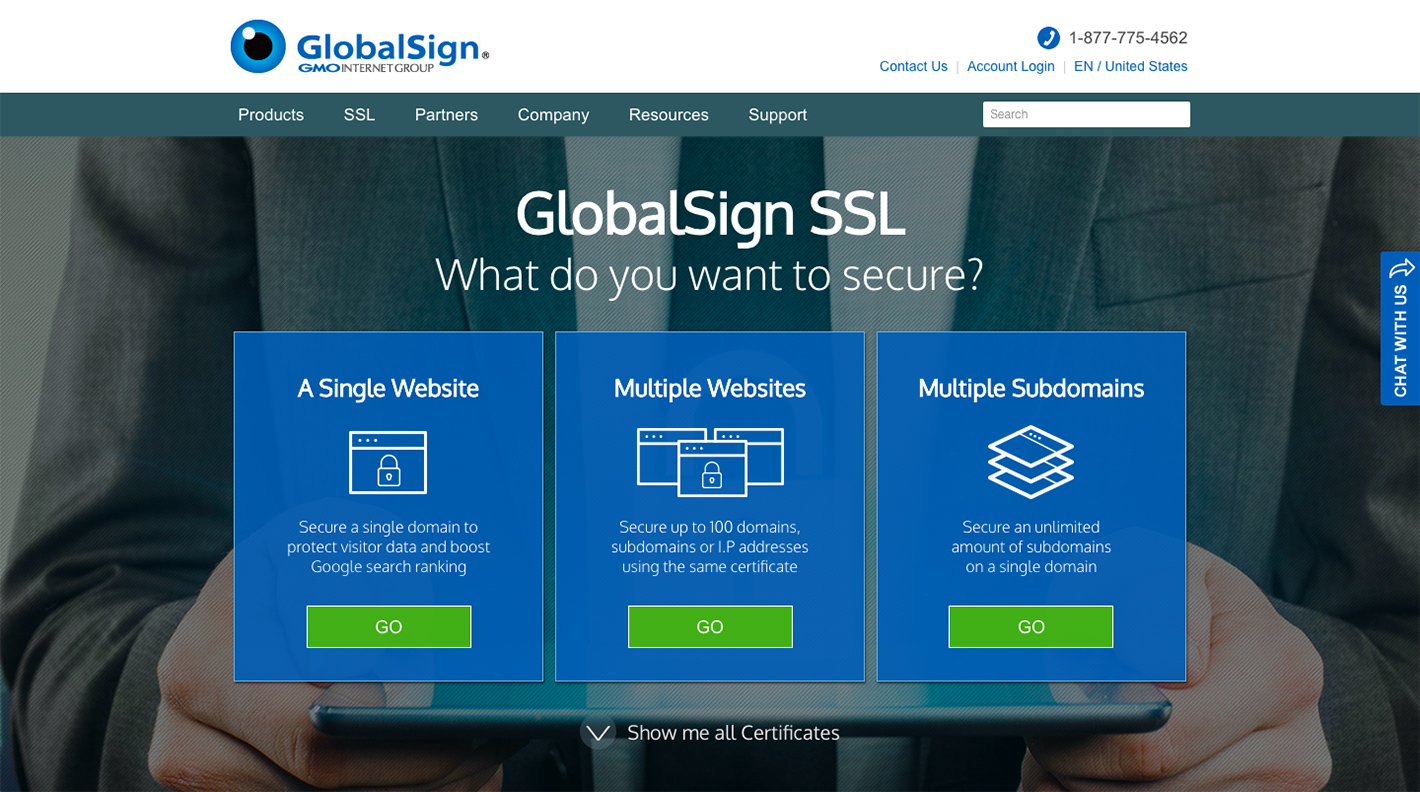
GlobalSign is a great option for both single website owners as well as WordPress developers tasked with managing multiple websites. They provide packages that cover a wide range of needs including:
- DV SSL certificates
- OV SSL certificates
- EV SSL certificates
- Wildcard (subdomain) SSL certificates
- Multi-website SSL certificates (DV and OV only)
GlobalSign has issued SSL certificates for over two decades and is a globally trusted CA. In addition, each purchase of an SSL certificate comes with free management tools for PCI compliance as well as the general management of the SSL certificate.
GoDaddy
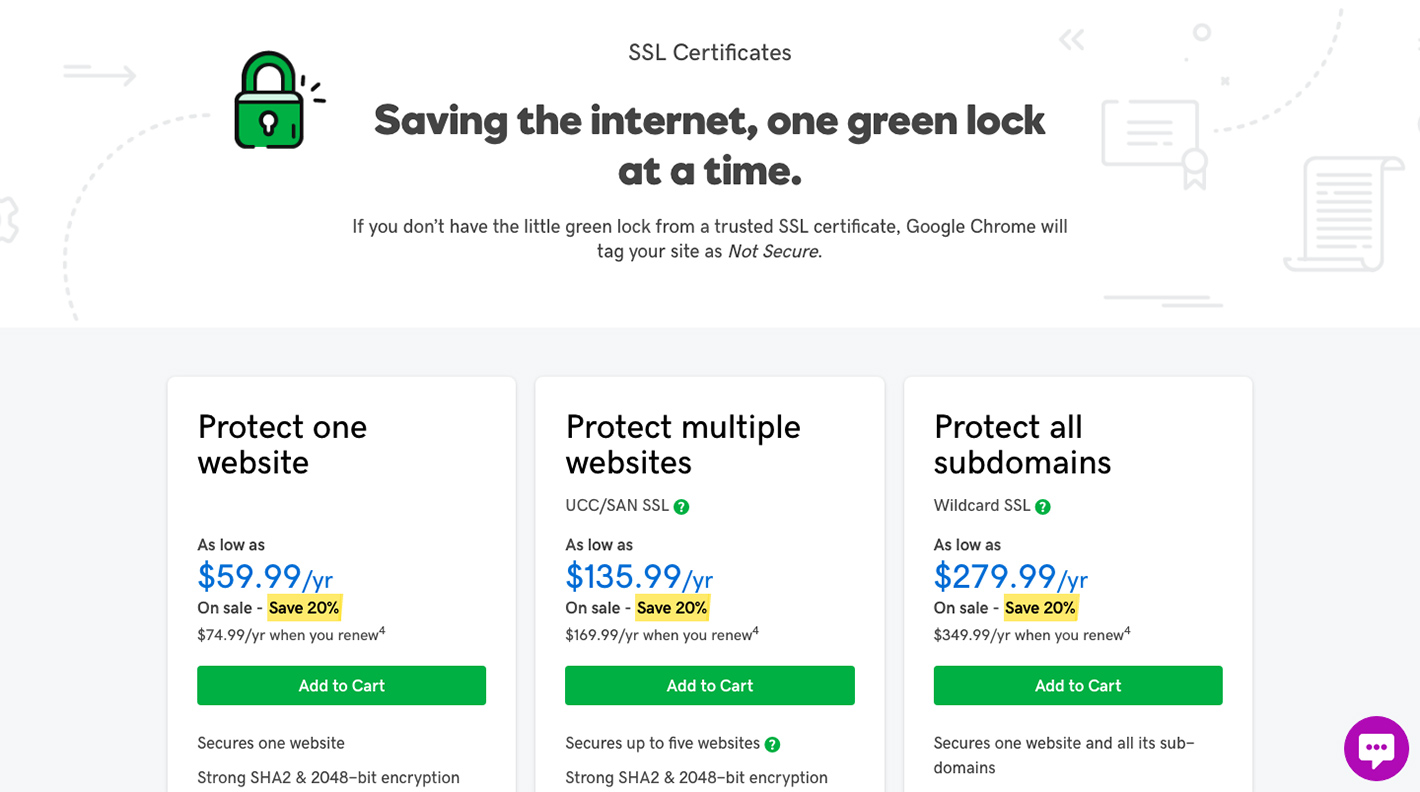
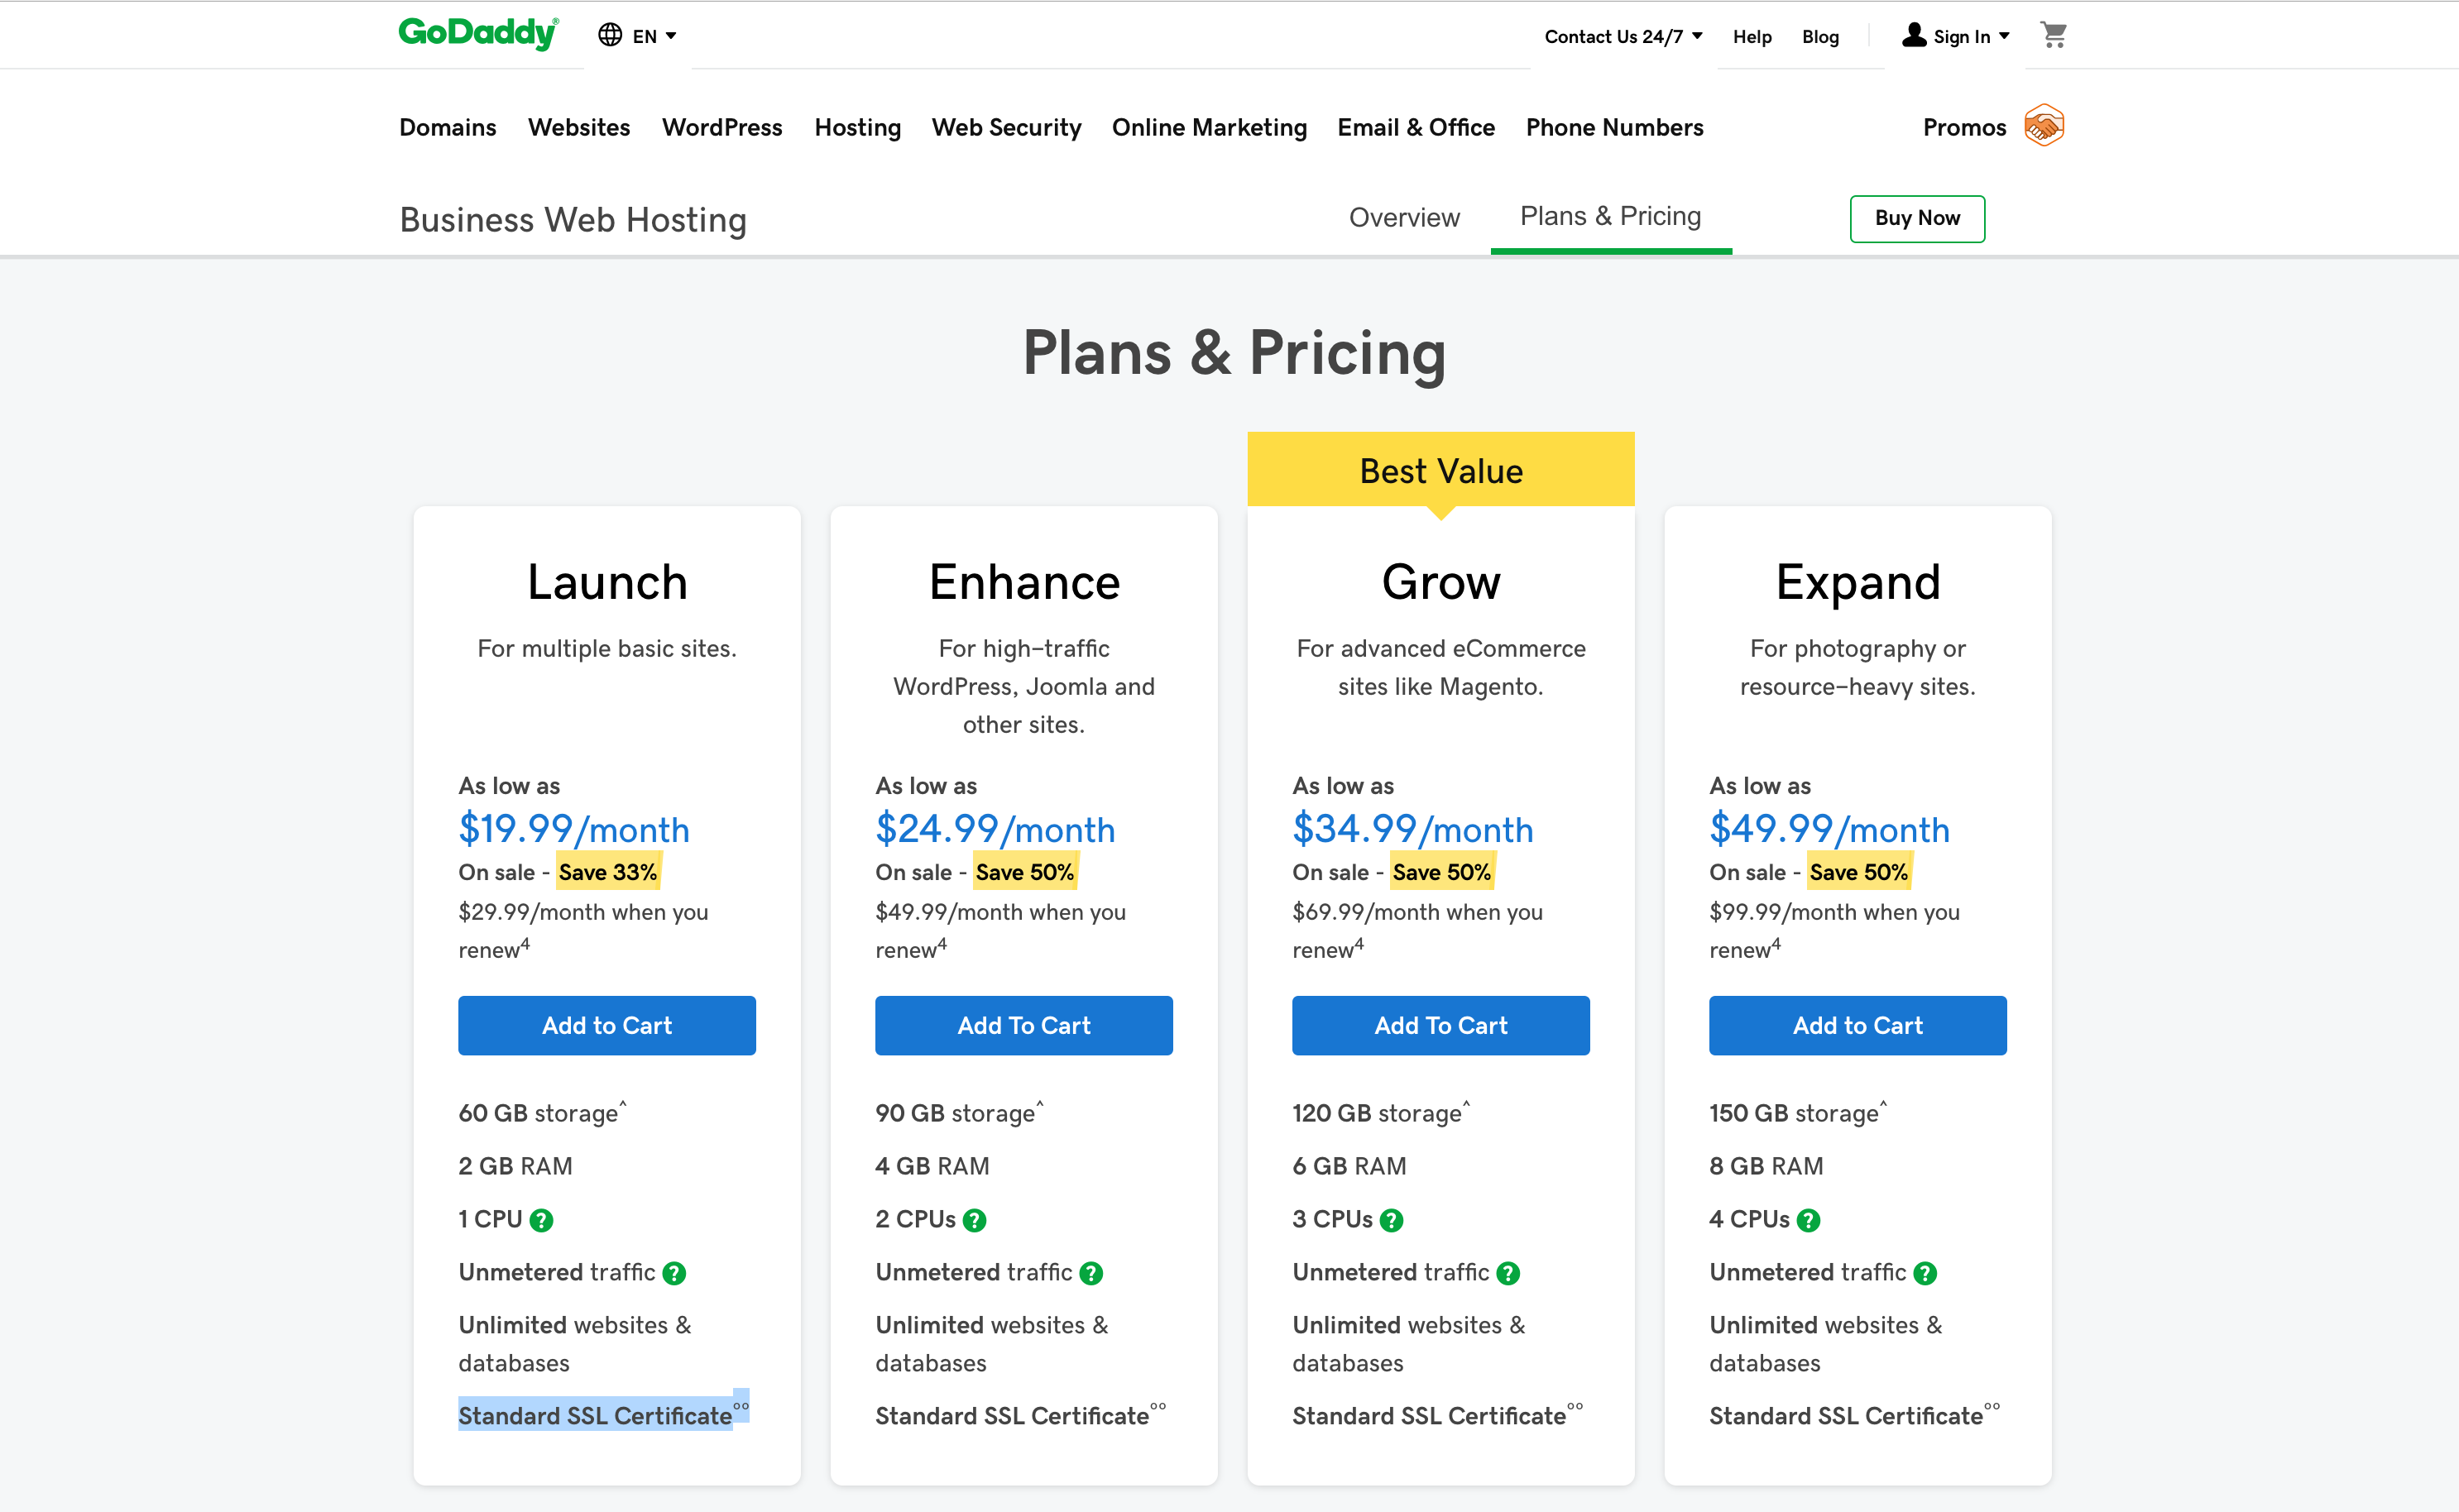
GoDaddy is already a trusted provider when it comes to securing high-quality web hosting and domain name services for your website. So, it should come as no surprise that it also sells DV, OV, EV, wildcard, and multi-domain SSL certificates to customers–at an affordable price, too.
All SSL certificates from GoDaddy include SHA-2 and 2048-bit encryption, which is about the strongest out there on the market today.
With a certificate from GoDaddy, you’ll be able to protect unlimited servers, reissue your certificate as many times as needed for free, and reach 24/7 security support.
You’ll also receive as much as $1 million in liability protection and a 30-day money back guarantee.
SSL.com
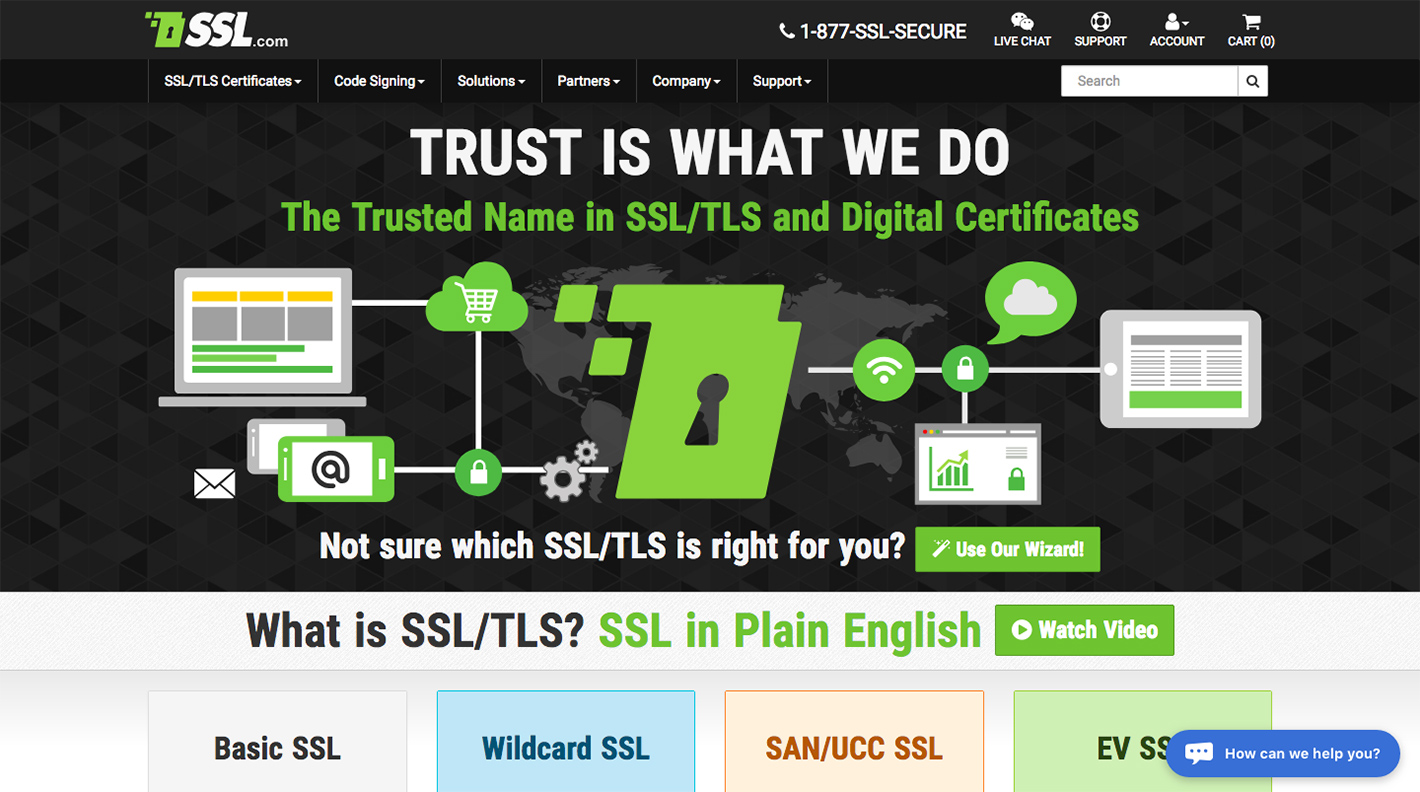
As you might imagine, a company named SSL.com is in the business of issuing SSL certificates for the web. Trusted by companies like Cisco, Microsoft, NASA, and Ford, SSL.com has proven itself a reliable leader in the SSL certificate market.
With SSL.com, you have your choice of any type of SSL certificate. Offerings also include certificates designed specifically for enterprises that require the highest level of validation.
One thing to note here is that, although these providers have their own websites through which they sell SSL certificates, you could just as well secure one of these certificates from your web hosting company.
Step 2: Purchase and Verify Your SSL Certificate
Once you’ve selected an SSL certificate provider and a certificate type, go ahead and purchase it. This will initiate the verification process. This could take anywhere from a few minutes (for DV certificates) to a few days (for EV and multi-domain certificates).
In the meantime, review the documentation provided by the SSL certificate company. Usually, the knowledgebase will provide information on the next steps for your SSL certificate.
Upon receiving verification and approval from your CA, download your SSL certificate files.
Step 3: Install Your SSL Certificate
This next step depends on where you got your SSL certificate from. For instance, if you procured one from your current web hosting provider, they may streamline installation for you once the approval process is complete. So, before you make a purchase through your preferred provider, check with your web hosting company to see if they resell them.
Let’s use GoDaddy as an example.
SSL certificates are automatically included in GoDaddy’s new hosting lineup: Business Hosting, VPS, and the upcoming Pro Managed WordPress hosting. (As they roll out more new products, they are aiming to have SSL for each of them as a part of the package, at no extra charge.)
For anyone who’s signed up for a plan without an SSL certificate, or who wants to purchase one separately from GoDaddy, I would strongly suggest not being deterred by the cost.
While there are some web hosts who offer “free” certificates from the likes of Let’s Encrypt, those solutions are typically only good for basic websites. Anything more and you should be looking at a reliable Certificate Authority. The additional value that comes with GoDaddy SSL certificates–the strongest encryption on the market, top-level customer support, and 24/7 assistance–is worth the fee.
Plus, they make installation incredibly easy with this simple-to-use and yet incredibly robust installation guide.
For those of you who purchased an SSL certificate outside of your web hosting account, search for your web host’s directions on how to install a third-party certificate. The steps will roughly be the same for everyone, though there may be slight variations depending on which type of hosting plan you have.
In sum:
- Log into your WHM.
- Find the option for “Install SSL Certificate”.
- Enter the domain name protected by the SSL certificate, your key, as well as the SSL certificate itself. You should receive the latter two from your CA.
- Click “Install.”
That should be all you need to do to add your new SSL certificate to your WordPress site.
Step 4: Validate the SSL Certificate Is Working
Next, log out of the WHM, log out of WordPress, and visit your website. Check the address bar to confirm that the SSL certificate is reflected there. And make sure that all the trust seals you paid for are present:
- HTTPS address
- Padlock
- Business name (for EV)
- Green address bar (for EV)
- On-site security trust seal (depends on the certificate and CA)
Then, expand the certificate and verify that all the details are correct regarding your business, the date of issue, as well as the CA.
I would also suggest running your domain through an SSL checker tool, just to be on the safe side. SSL Shopper has a free tool you can use for this:
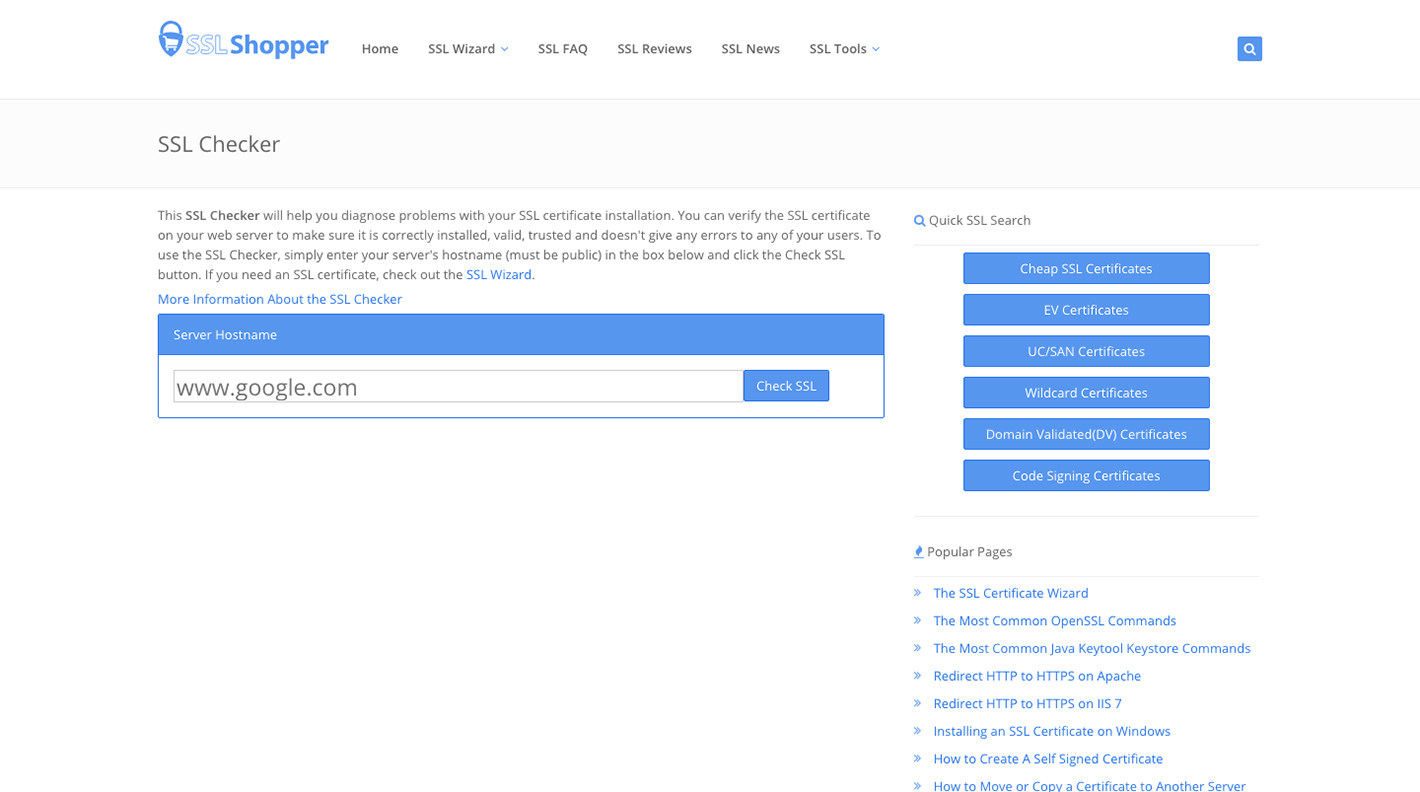
Simply enter your domain with “https://” appended to the front.
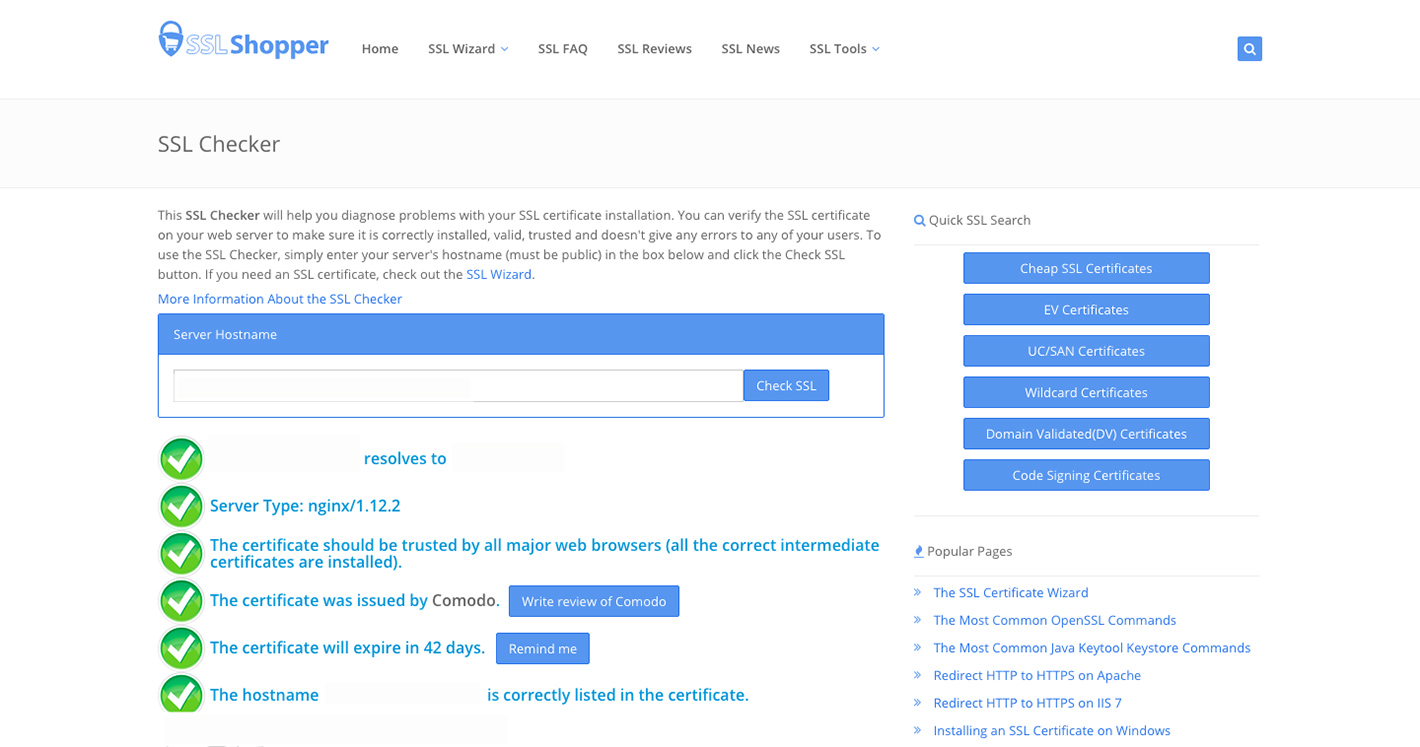
The checker will run through your domain’s verified credentials, the CA’s credentials, and confirm that encrypted sessions now take place without issue.
If you should encounter any problems, remove the SSL certificate from your site and repeat the installation process once more. If you continue to have problems, reach out to your web host to see if they can provide you with assistance in installing the certificate correctly.
Step 5: Update Links to Your Website
One of the nice things about installing an SSL certificate directly through your control panel is that the transfer of your website from HTTP to HTTPS is seamless. That said, you’re only accounting for links that currently exist within your website. Everything outside of your site that points back to it still refers to the HTTP address… which is a problem.
To start, comb through all of your other properties on the web that contain links to your site:
- Social media bios
- Forum profiles
- Blogs where your content appears
- Profiles you’ve set up for the purposes of marketing and sales
- Partner websites that link your logo to your website
- And so on
This doesn’t address the fact that search engines and embedded links to your content (even in social media posts you shared) still point to the HTTP address. To prevent people from stumbling upon old links and encountering a warning on your site, this needs to be fixed.
Step 6: Set Up Redirects
A 301 redirect tells browsers that the link they’re looking for now exists in a new location. This redirect usually goes undetected by your visitors as they’re immediately passed to the HTTPS counterpart even after typing in or clicking on an HTTP link.
For search engines, however, they will notice a change, which is okay. Because a 301 redirect informs them that this is a permanent redirect, search engines know to pass the original “link juice” from the old URL to the new one, which helps you preserve SEO.
Really, you’d be doing your website a great disservice if you don’t set up 301 redirects after adding an SSL certificate. Plus, it’s incredibly easy to implement.
From your control panel, open up your .htaccess file (for Apache servers). Add this line of code:
Redirect 301 / https://yourdomainname.com/
This tells anyone trying to access any page (“/”) on “http://yourdomainname.com/” to go to the corresponding counterpart on “https://yourdomainname.com/”. Just remember to update it with your actual domain name.
After you’ve saved your changes, open a new browser window to test this out. Enter the HTTP address of your domain. It should automatically redirect to the encrypted server connection.
Step 7: Submit A New Sitemap to Search
Finally, you’re going to need to talk to Google and let them know about the change in address. You can do this through Google Analytics and Webmaster Tools.
In Google Analytics, go to Admin > Property > Property Settings. Then look for your Default URL.
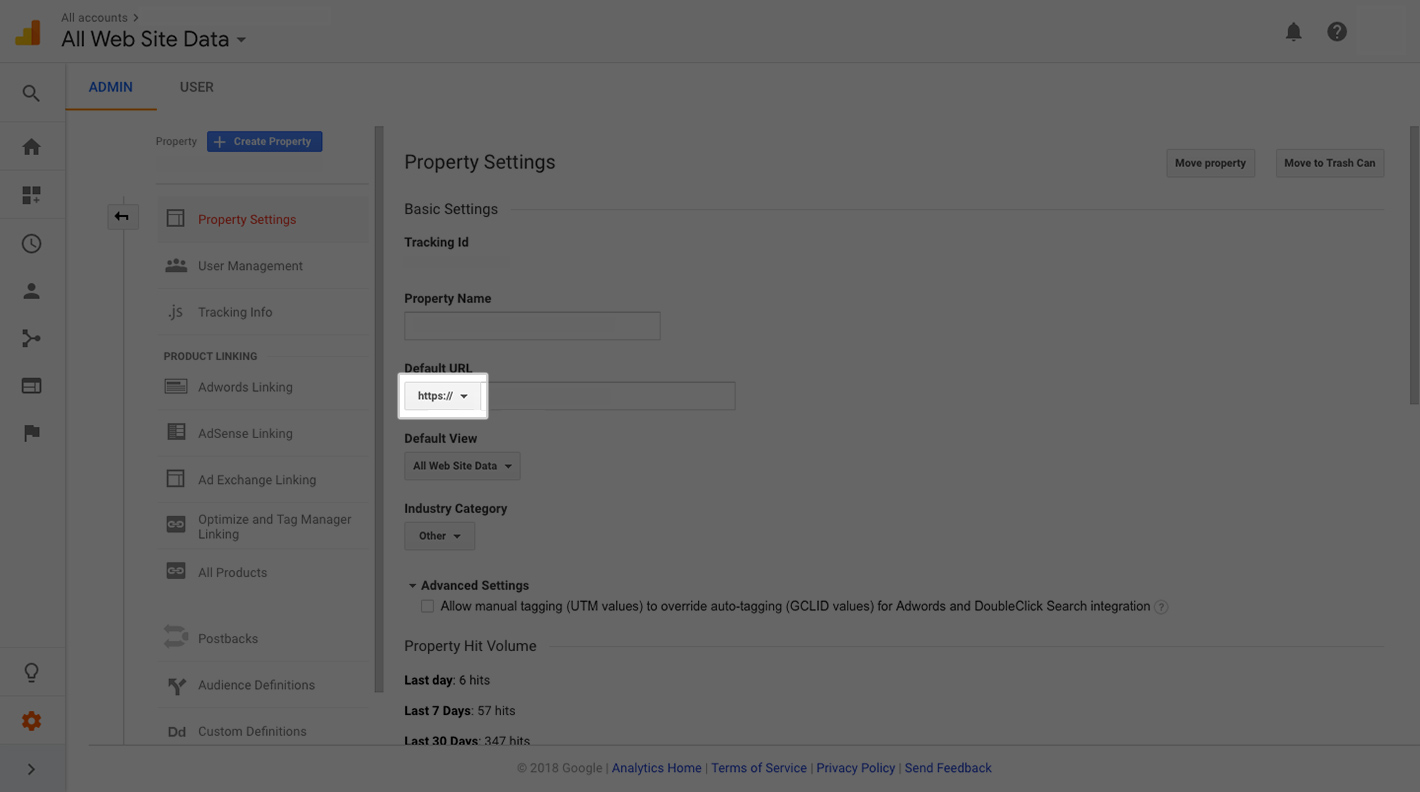
This should still say “http://”. Update it to “https://” and click Save. This will update your web property in Google Analytics.
Next, go over to your Webmaster Tools.
Open the Search Console and click on the gear icon in the top-right. Select Change of Address.
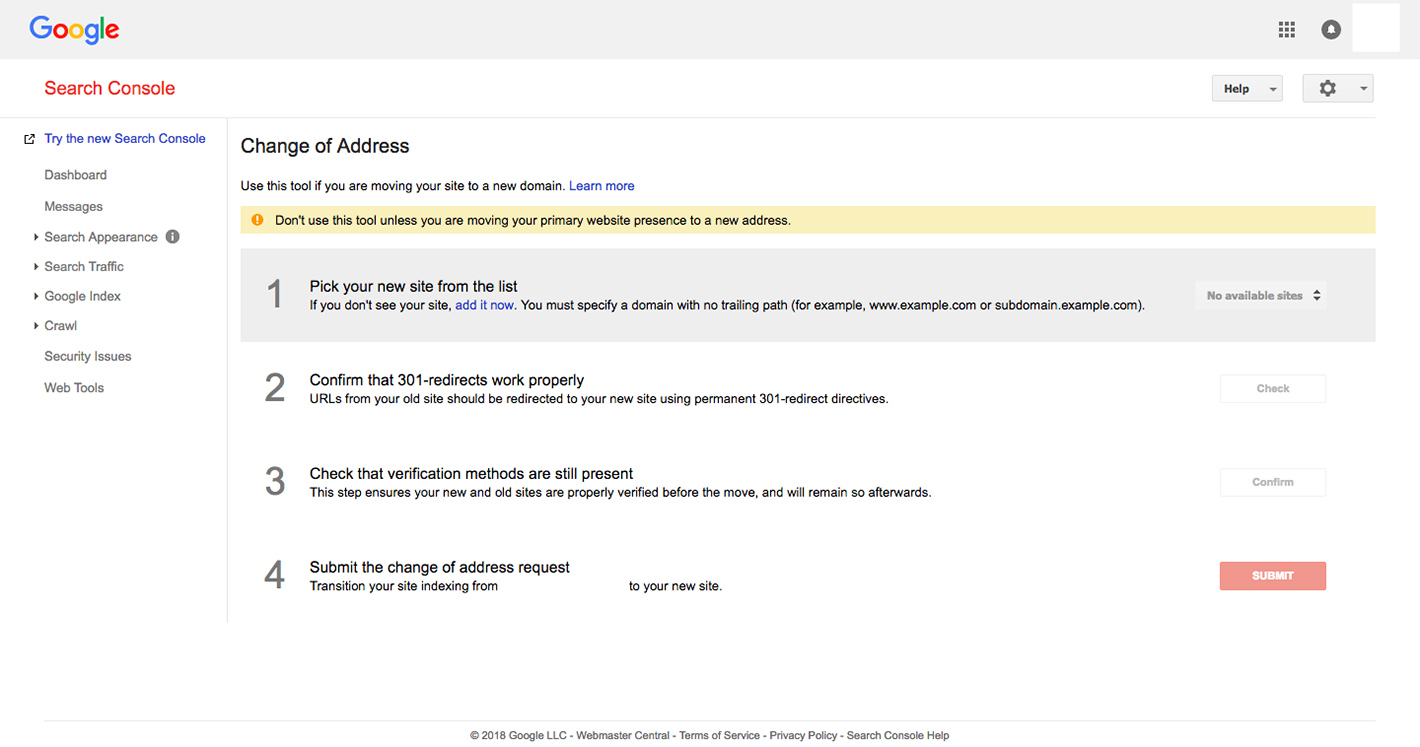
From here, Google is going to walk you through the steps of:
- Selecting your new site (which you will have to add to your list of properties)
- Confirming your 301 redirects work correctly
- Verifying the old and new sites
- Submitting the change, so a new sitemap can be issued and Google can crawl it
Once that’s done, “Submit” and let Google take care of the rest.
Final Notes
As you can see, the matter of how to get an SSL certificate and install it on your WordPress site isn’t too painful or time-consuming. It’s more a matter of taking time to research the various certificate types and determining which will serve your business best. Then, you have to find a Certificate Authority to purchase one from while also keeping it within your budget.
Once you’re approved for the SSL certificate, installation is easy enough with the help of your control panel and perhaps even your web hosting company. Sure, updating links around the web might seem tedious, but it’s worth it if you can keep the momentum going around your website. And, with the help of Google, you can simplify and speed up this process even further.

somnath
Thanks for this article. My website is not SSL enabled.
William Rojas
Thanks Suzanne for sharing this article. I really need this kind of information regarding SSL. Keep Sharing!
Develop
Thanks for step by step guide. Now i have enabled SSL certificate on my website.