Images are essential for catching and holding readers’ interest. However, they’re also one of the slowest-loading elements on the web. Poor performance can cause visitors to abandon your site, so overcoming this issue is vital to its success.
If you want a lighter, faster website, image optimization is a solid place to start. Through optimization, you can continue to catch your audience’s attention with beautiful, high-quality visuals without significantly increasing your page loading times.
In this article, we’ll share five ways to boost your website’s performance via image optimization. Let’s get started!
An introduction to image optimization (and why it’s important)
Image optimization is all about striking a balance between reducing the size of your image files and maintaining an acceptable level of quality. This can reduce your page loading times without negatively impacting the visitor experience with blurry or pixelated visuals.
Visitors care about how long a page takes to load. Studies suggest that 40 percent of people abandon websites that take longer than three seconds to render. By optimizing your images, you can avoid losing out on traffic.
Page load times can also have an impact on conversions and revenue. Research suggests that if your site is making $100,000 per day, a one-second delay could cost you $2.5 million in lost revenue per year.
Additionally, Google uses page speed as a ranking factor. By improving your site’s loading times, you can climb the search engine rankings and boost your organic traffic.
By reducing the size of your images, you can often help Google crawl and index them faster. This can help you start drawing traffic from Google Image Search. For time-sensitive visuals such as those related to current events or flash sales, this is particularly important.
Last but not least, image optimization could reduce the size of your website backups. This can make the process faster, and the resulting files smaller. Depending on your hosting provider and plan, this may even prevent you from surpassing your allocated storage space and incurring additional fees.
How to set a performance benchmark
Before carrying out any kind of optimization, it helps to have a performance baseline. By testing your site before and after, you can identify the tangible benefits of all your image optimization efforts.
Every site is unique, so some optimization techniques may yield greater results than others. To identify the ones that deliver the best results for your website, you may want to run performance tests after implementing each strategy. You can then place the strongest-performing techniques at the heart of your future efforts.
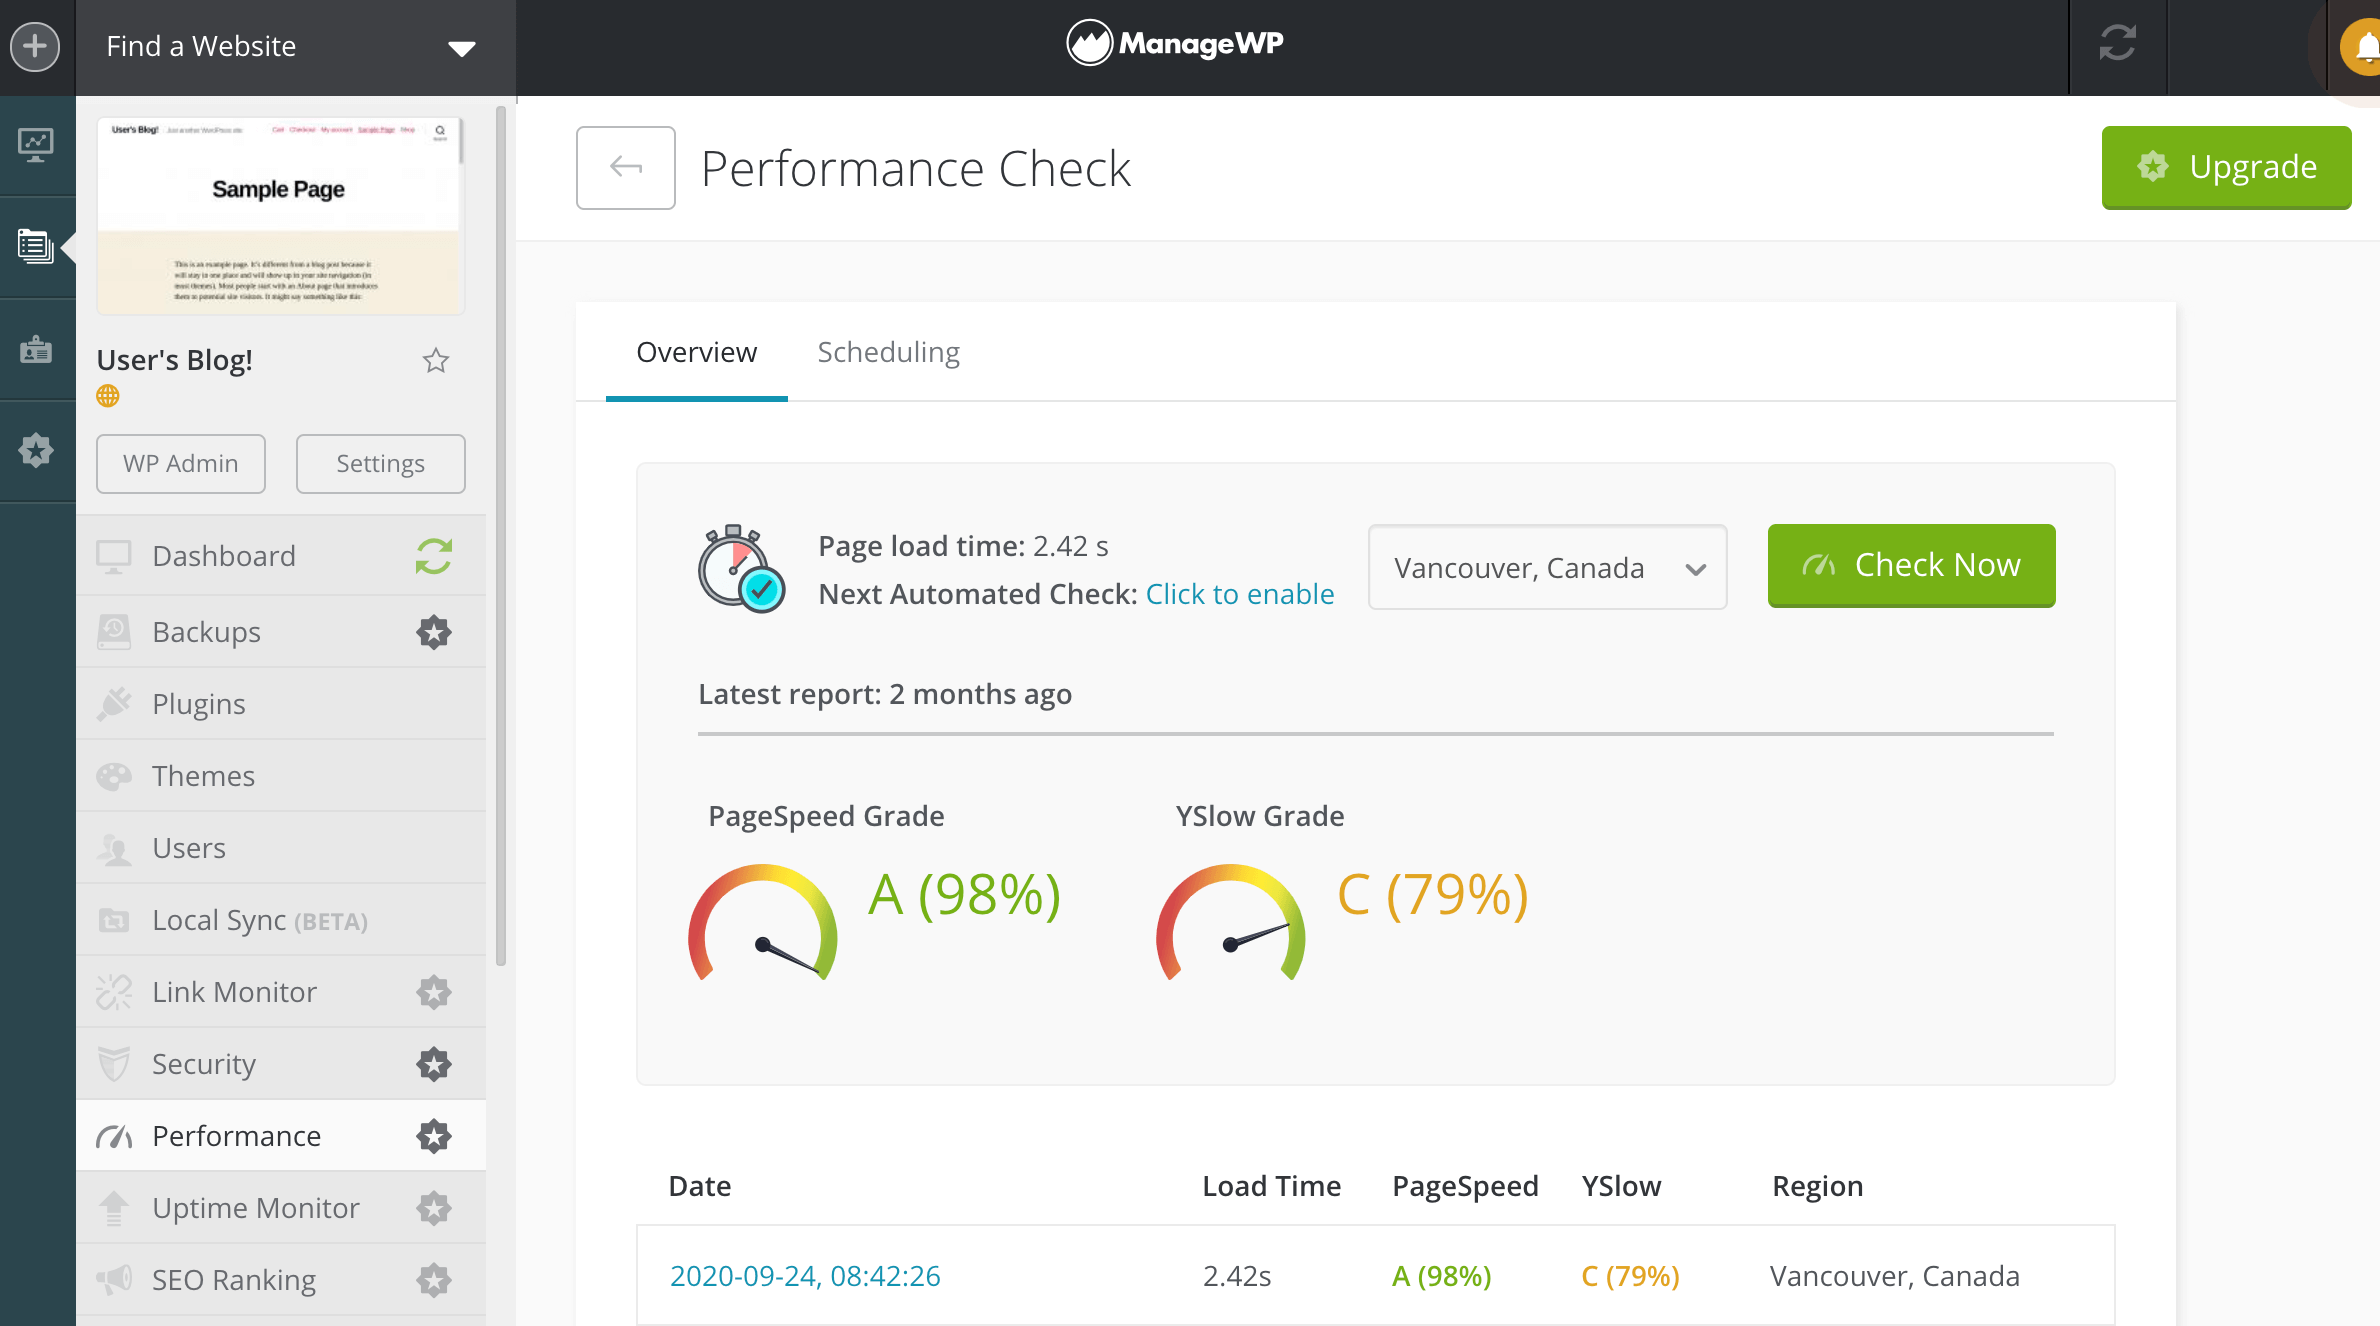
You can measure your site’s performance using tools such as Google PageSpeed Insights, Pingdom, or GTmetrix. Alternatively, you can automate the process using ManageWP’s Performance Check feature:

ManageWP tests your site using Google PageSpeed and Yahoo! YSlow ruleset. It also archives all your performance checks for future reference. This can be invaluable for evaluating the impact each optimization technique has on your website and tracking how your site’s performance changes over time.
5 tips to speed up image loading on your WordPress website
Once you’ve created your performance baseline, it’s time to start working to improve it. Here are five ways to optimize your images and reduce page loading times.
1. Choose the right file format
Before you start optimizing your images, it’s important to ensure you’re using the most appropriate image file format. There are several that you can use, including some more exotic options, such as JPEG XR and WebP.
Although these can significantly improve your image loading speeds, they’re not supported by all browsers. To ensure your site is accessible, you’ll generally want to avoid the more unusual formats.
JPEG or JPG images can use both use lossy and lossless optimization. This typically makes it the best file format for images with lots of color. You can also adjust the quality level. This can help you strike that all-important balance between displaying crisp, clear images and reducing file size.
Meanwhile, PNG files produce higher quality images but at larger sizes. You may be able to format simple images as PNGs without the file size growing out of control. However, you’ll typically want to avoid PNGs for more complex visuals.
2. Use an image compression tool
Compression can reduce the size of an image by removing or grouping together certain parts of the file. This compression can either be ‘lossless’ or ‘lossy’.
Lossless compression reduces the size of a file without affecting the quality. Lossy compression typically provides greater size savings, but it involves discarding parts of the file. This can affect the image’s quality.
Typically, we recommend lossless compression for high-quality visuals such as photographs. For simpler images, you may want to opt for lossy compression for a bigger impact on performance.
There are various compression tools that you can use, including the free TinyPNG service. TinyPNG uses lossy compression and selectively decreases the number of colors in the image. Despite its name, TinyPNG can compress both JPGs and PNGs.

There’s also a TinyPNG plugin that automatically compresses any images you upload to WordPress. It can optimize any previously uploaded files as well. This is useful if your site already has a large volume of visuals, and it isn’t feasible for you to compress each image manually.
Alternative image optimization plugins include Optimole, Imagify, and Smush Pro.
3. Enable browser caching
Instead of downloading your images directly from the server every single time, browsers can store these files locally on visitors’ computers. This kind of caching can significantly reduce page loading speeds on subsequent visits.
You can enable browser caching using a WordPress caching plugin such as W3 Total Cache or WP Super Cache:

Alternatively, you can enable browser caching by editing your site’s .htaccess file. This is an important file, so we only recommend this method if you’re comfortable with editing code.
If you do decide to edit the .htaccess file, it’s wise to create a backup first. This ensures you have something to restore in the event you encounter any issues.
4. Disable hotlinking
When using an image from another website, it’s polite to download that image and then upload it to your own server (assuming you have permission to do so and properly credit the original creator). However, this doesn’t always happen, as some websites are guilty of ‘hotlinking’.
Hotlinking occurs when a third party links to an image that’s hosted on your server. Every time the other party’s website loads this image, it eats into your bandwidth.
Hotlinking can degrade your website’s performance without even delivering you any page views. Depending on your hosting provider, hotlinking may even result in additional charges.
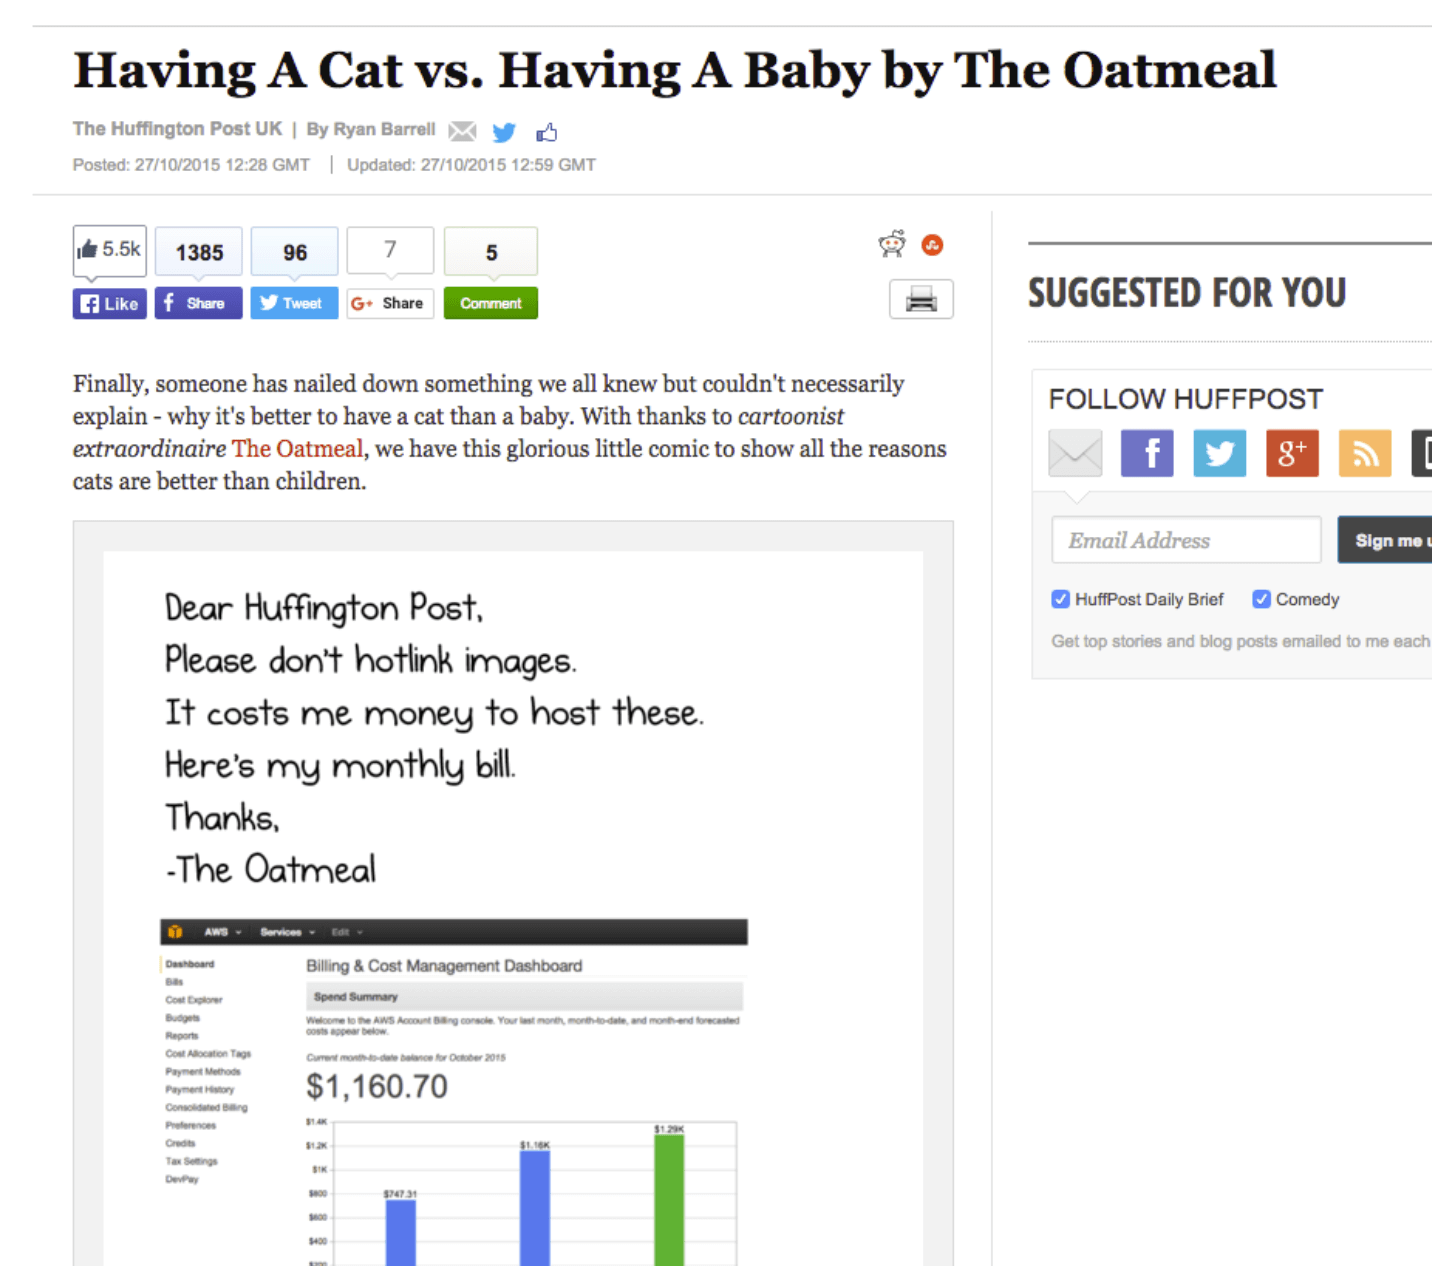
Famously, the Huffington Post hotlinked to The Oatmeal, incurring cartoonist Matthew Inman hefty hosting fees. When Inman discovered the post, he retaliated by replacing the original image with a screenshot of his bill.
Due to the hotlink, this screenshot appeared on the Huffington Post’s website:

To prevent other sites from consuming your bandwidth, you can disable hotlinking using a plugin such as All In One WP Security & Firewall. After activating the plugin, you can find this feature by navigating to WP Security > Firewall > Prevent Hotlinks.
5. Consider using a Content Delivery Network (CDN)
When you select a host and plan for your website, you may have had the option to choose a data center location. For example, your website may be physically located on a server in New York.
When data has to travel longer distances, it causes latency. As a general rule, the further the distance, the longer your site takes to load. If your host server is located in New York, a visitor in the U.K. will typically experience longer loading times than someone located in Boston.
A Content Delivery Network (CDN) can reduce latency caused by geographical distances. By delivering optimized images via a CDN, you can significantly reduce page load times.
A CDN is a network of servers located around the world. These servers, sometimes referred to as Points of Presence (POPs) host and deliver copies of your site’s static content, including images.
Whenever someone visits your site, the CDN will use geolocation routing to detect the origin of the user’s requests. The visitor can then load your images from the data center that’s physically closest to them.
There are plenty of CDN providers, but popular choices include Sucuri, KeyCDN, and Cloudflare. It’s also worth checking your existing hosting provider’s services, as many offer CDNs.
Once you’ve subscribed to a CDN, you can integrate the network using a WordPress plugin. Popular solutions include W3 Total Cache, LiteSpeed Cache, and CDN Enabler.
Conclusion
Those beautiful, high-resolution images may be capturing your readers’ interest, but they’re also slowing down your website. By optimizing your images, you can strike a balance between creating appealing, eye-catching content and delivering a high-performing website.
To reduce the size of your images, we recommend the following:
- Choose the right file format.
- Use a compression tool or plugin such as TinyPNG.
- Enable browser caching.
- Disable hotlinking.
- Consider using a Content Delivery Network (CDN).
Do you have any questions about optimizing your WordPress website? Let us know in the comments section below!
Image credit: Pexels.

Alekh Verma
In WordPress, if we compress the Image most of the time the quality of the image is not acceptable. what should we do in that scenario? any tool suggestion for the compression?