
Multisite is a wonderful WordPress feature that lets you create a network of websites for any purpose you need. Adding a new site to your network takes only minutes. However, importing one that already exists is a bit more involved.
Fortunately, there are several ways you can approach this task. Once your website becomes part of your multisite network, you’ll be able to run it side by side with as many other projects as you want.
In this guide, we’ll talk about when it makes sense to use WordPress multisite and how it works with ManageWP. Then we’ll show you how to move an existing website into a network. Let’s get to it!
When to use WordPress multisite
Multisite is a WordPress feature that enables you to link several websites under a single installation. With a multisite network, you can take care of several administrative and management tasks from one dashboard.
At the same time, you can still access individual dashboards for each website within your network and even assign different administrators to them. One network can encompass as many sites as you need and as the super administrator, you retain full control.
What that means is you can decide which plugins and themes your ‘subsites’ can access. You can also manage users at a network level and remove or add sites as you wish.
As for why you’d want to use a multisite network, it can come handy in a variety of situations, such as:
- Running multiple WordPress websites that all use similar plugins and themes.
- Creating multiple sites for the same organization, each one with a different purpose.
- Managing client websites so you can aid users with little WordPress experience.
In a way, a multisite network works very much like managing multiple websites using ManageWP. You have one central dashboard that connects to everything and gives you a bird’s eye view.
That said, ManageWP does offer a ton of extra features that you don’t get with multisite, including automated backups and safe updates for plugins and themes:
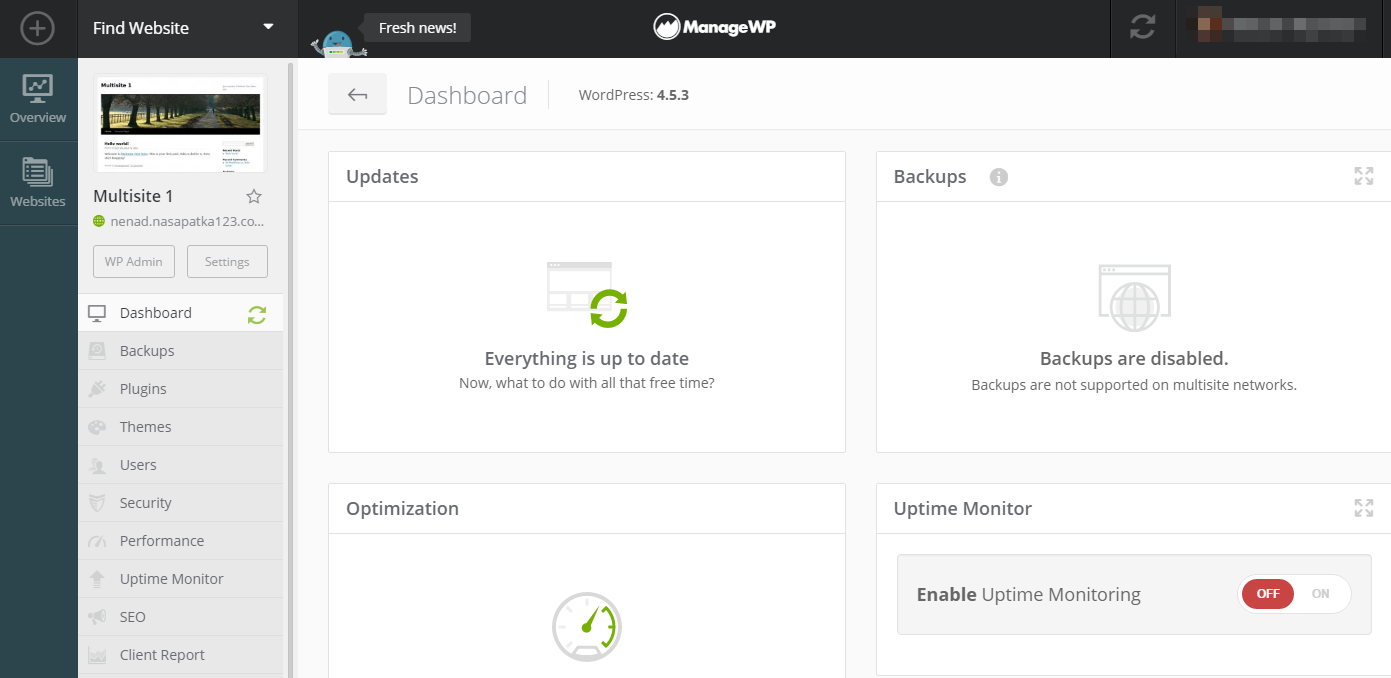
However, you don’t need to decide between using one or the other. ManageWP enables you to connect multisite networks with your account. That means you can use the service to manage websites at a network level and also make changes to them independently.
What to do before you move a WordPress website into a multisite network
There’s one thing you need to do before you make significant changes to any WordPress website and that is create a backup of it.
Ideally, you’ll use some tool or service (such as ManageWP) that enables you to automate backups. That way, you’ll always have access to a recent copy of your full site in case something goes wrong.
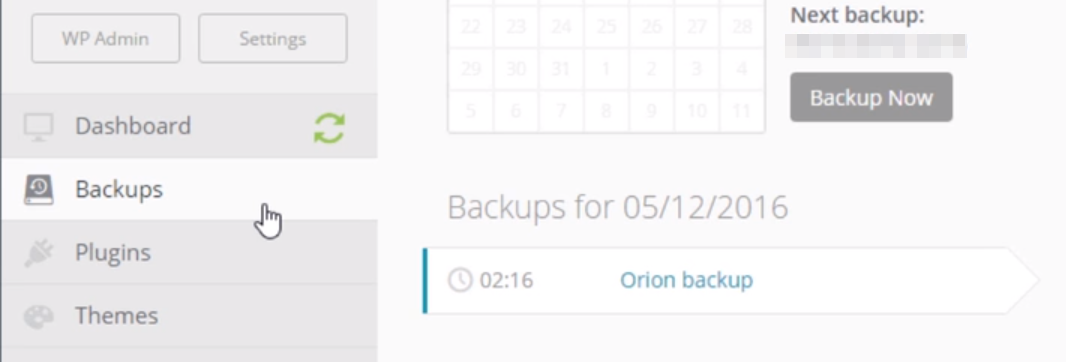
Moving a website into a multisite network certainly counts as ‘making significant changes’. With that in mind, if you don’t have a backup of your website yet, make one now.
How to move a website into a multisite network (in 4 steps)
There are many tutorials available to help you enable the multisite feature. If you’re looking for guidance in this area, we suggest checking out the official WordPress Codex article on the subject.
If you only have one existing WordPress website, following the steps for enabling multisite will automatically convert it into your network’s primary site. You can then add new subsites as needed.
The steps below are for those who have multiple existing WordPress sites that they wish to consolidate into a multisite network. Once you’ve enabled the feature and have your primary site configured, you can move your other websites over as well.
Step 1: Export your existing site’s content
There are a lot of ways to move, migrate, or clone a WordPress website. In most cases, we recommend using migration plugins or ManageWP’s own cloning tool.
However, with a multisite network, you might not always be able to set up the migration plugins you need on the destination site. With that in mind, we recommend you do things the old-fashioned way.
By that, we mean exporting the content of your WordPress website into a .xml file. Then, you can import it into a blank subsite within your multisite network.
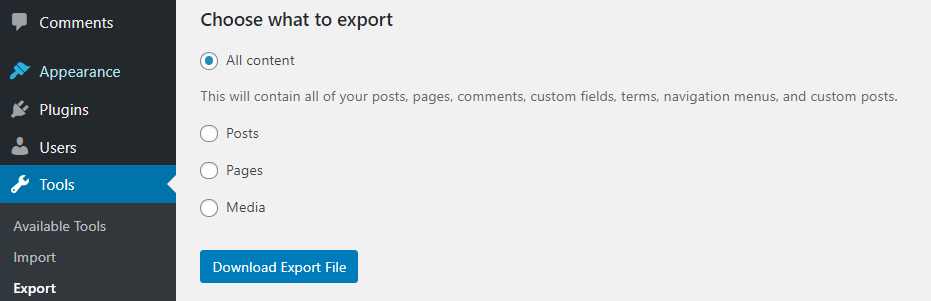
To do this, log into the dashboard of the website you want to move into your multisite network. Go to Tools > Export. WordPress will ask you which content you want to save. Select the option that says All content, then click on the Download Export File button:
WordPress will automatically create a .xml file and a download will begin. How long the process takes depends on the size of the site you’re exporting.
Step 2: Add a new subsite to your network
Now, log into your multisite network’s dashboard and go to Sites > Add New. You can create a new site by configuring its URL, title, language, and admin email:
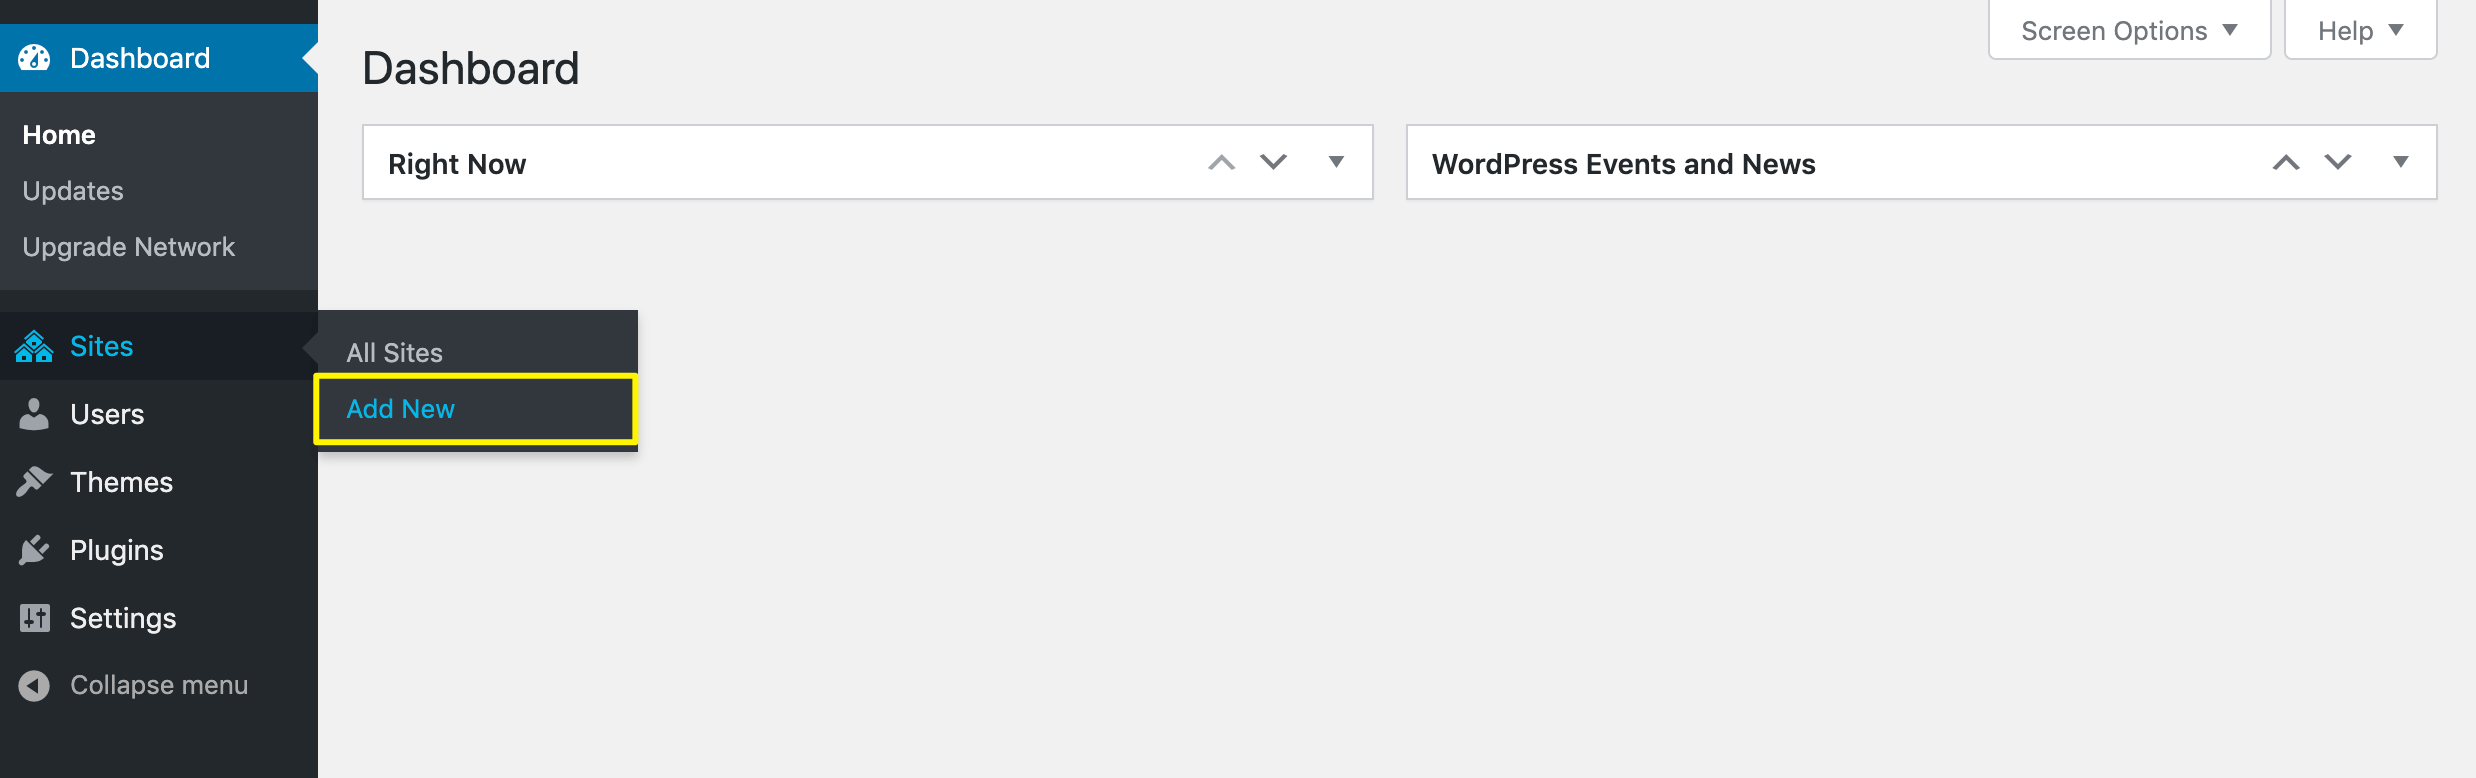
Note that you want this information to match that of the site you’re moving into your multisite network as much as possible. Once all the required information is in, click on Add Site. Now you have a blank slate you can transform into a copy of your existing single website.
Step 3: Set up the plugins and themes you want to use
Next, you need to do a bit of preparation. That means installing the same theme you used on your former site and all the plugins that were active on it as well.
Reference the Plugins and Themes tabs on your old site as needed. Then, install those tools at the network level on your multisite installation so they’re available for your incoming site.
Installing themes and plugins in your network dashboard works exactly the same as doing so on a single site. Just go to the Themes and Plugins screens and click on the Add New buttons to get started.
Note that not all plugins and themes are compatible with multisite. In some cases, you may need to find alternatives to your preferred products.
Once you have a theme and all your plugins installed, navigate to your new subsite’s dashboard via the My Sites link in the toolbar:

Here, activate your theme and plugins. With those tools in place, you can import the .xml file you created during Step 1.
Step 4: Import your content into the new subsite
Now that you’re done with your preparations, go to Tools > Import in your new subsite’s dashboard. Scroll down until you find the option labeled WordPress and click on Install Now:

WordPress will install the tool in the background and replace the Install Now link with one that reads Run Importer – click on it.
The importer will ask you to select the .xml file you want to use from your computer. Choose the one you created during Step 1:
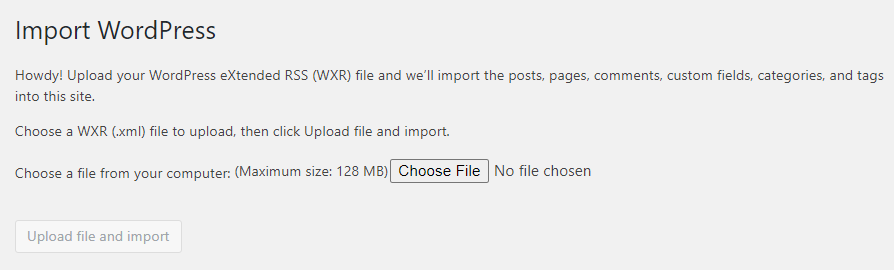
Click on Upload file and import. On the next page, you’ll need to configure who should be listed as the author for all the pages and posts you’re importing. WordPress will also ask if you want it to move over the media files from your old site:

You can either assign posts to a new user or to an existing one, as you prefer. When you’re done, click on Submit. Now WordPress will work its magic. When it’s done, you’ll see a log of all the files, pages, and posts it brought over.
Now you can start to work on making sure your new/old website looks precisely how you want it to, as all its content should be in the subsite now. You can take down the old single WordPress installation as you see fit. Just remember to set up 301 redirects first to avoid hurting your search engine rankings.
Conclusion
Multisite networks are perfect if you plan to run several websites that are linked in some way. For example, you can use one to set up an internal forum for your business, while using another subsite as an online store, and so on. If you use ManageWP, you’ll be glad to know our platform fully supports this feature.
To move an existing website into your network, here’s what you need to do:
- Export your existing site’s content.
- Add a new subsite to your network.
- Set up the plugins and themes you want to use.
- Import your content into the new subsite.
Do you have any questions about how to move a site into a multisite network? Let’s talk about them in the comments section below!
Image credit: Pixabay.
Leave a Reply