
There are almost two billion websites on the internet today. With this kind of competition, it can be challenging to convince customers to choose your brand. Moreover, you may struggle to sell new clients on your products and services if you don’t have a track record.
With client testimonials, you can display positive feedback from prominent customers. Doing so can improve your reputation and convince new users to choose your products or services. Fortunately, it’s also straightforward to add customer reviews to your site.
In this article, we’ll look at the value of displaying client testimonials on your WordPress site. Then, we’ll explore how to do so with a few different methods. Let’s get started!
Why you should consider adding client testimonials to your WordPress site
Client testimonials are reviews about your products and services from your previous or existing customers. For example, here’s one of the testimonials that we display on our homepage:

There are several reasons why you should consider showing off positive feedback on your website. For starters, reviews can show potential clients that your business is worth the investment. Around 86 percent of buyers use ratings to influence their purchasing decisions. Therefore, reading your positive testimonials could convince customers to choose your company.
Additionally, your clients’ reputation can lend extra credibility to your business. If you display feedback from high-profile customers, your company can look more professional by association. New clients may be more likely to partner with you if you already work with other giants in their industries.
Finally, customer testimonials can increase the amount of time users spend on your site. If they get invested reading the feedback, they’re likely to stick around for longer. In turn, this can improve the chances of conversions and lead generation.
How to add client testimonials to your WordPress site (3 methods)
Now that we’ve explored the importance of displaying client testimonials, let’s look at three different ways you can show them on your WordPress site.
1. Use the Strong Testimonials plugin
The Strong Testimonials plugin is a user-friendly add-on. It enables users to submit their feedback directly through forms, and then you control what to do with the reviews:

First, you’ll need to install and activate the plugin. You can then find the add-on’s settings by navigating to Testimonials in your WordPress dashboard. Here, you can head to Forms to set up the template to collect feedback from your clients:
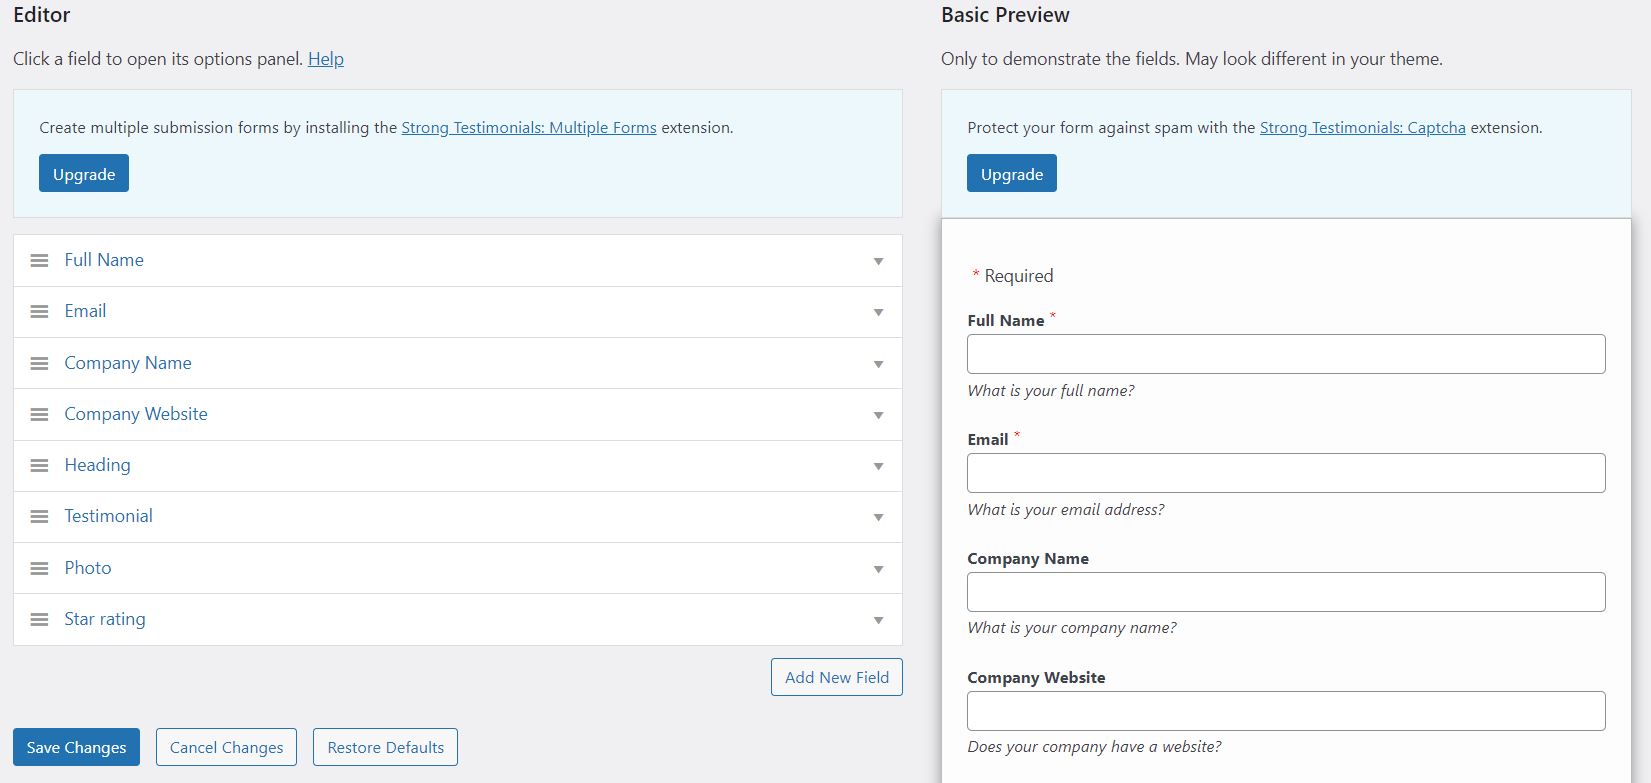
By default, the template contains multiple elements, including your client’s name, rating, photo, and testimonial. You can insert extra fields by clicking on Add New Field. You can also see the front-end preview on the right side of the form. When you’re happy with the setup, click on Save Changes.
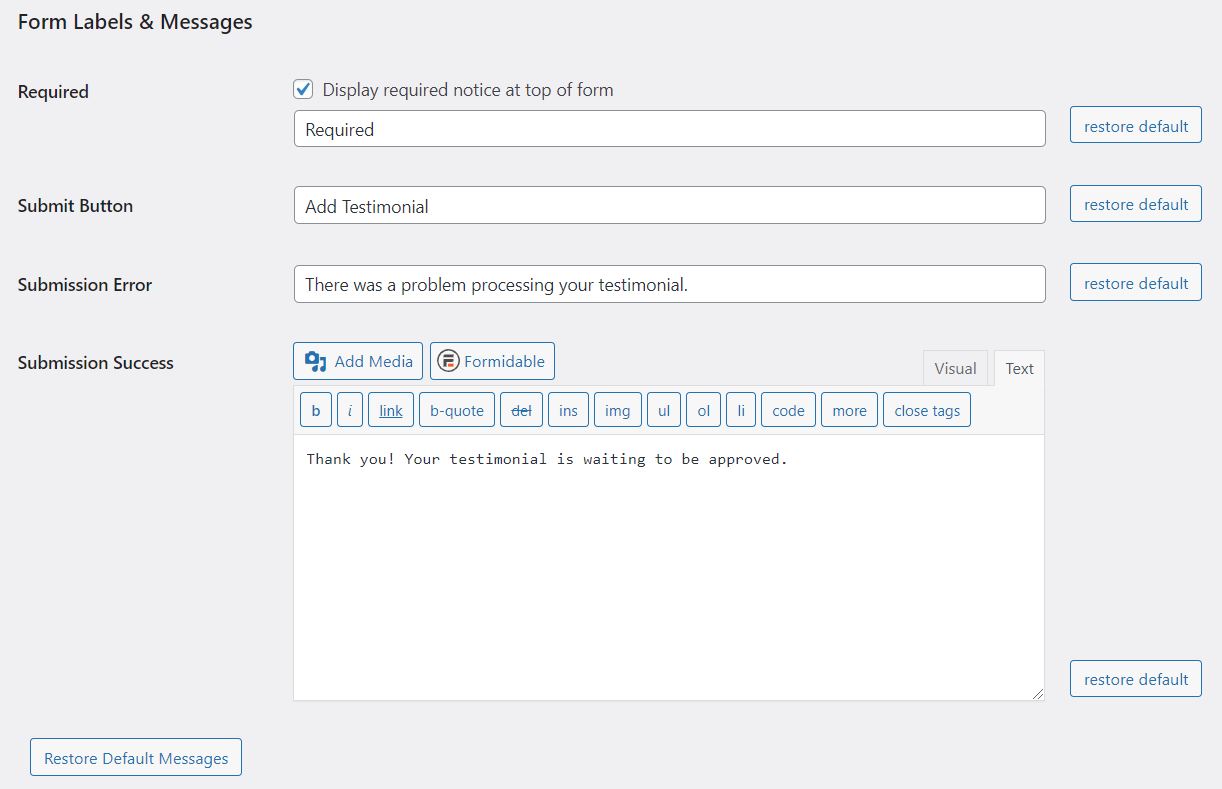
If you click across to Settings, you can customize several elements. For example, you can choose the name of the submission button and the message that displays when users send their feedback:
If you scroll down, you can find more settings. For example, you can set up automated emails when clients submit their testimonials. Additionally, you can use spam controls to prevent messages from bots:
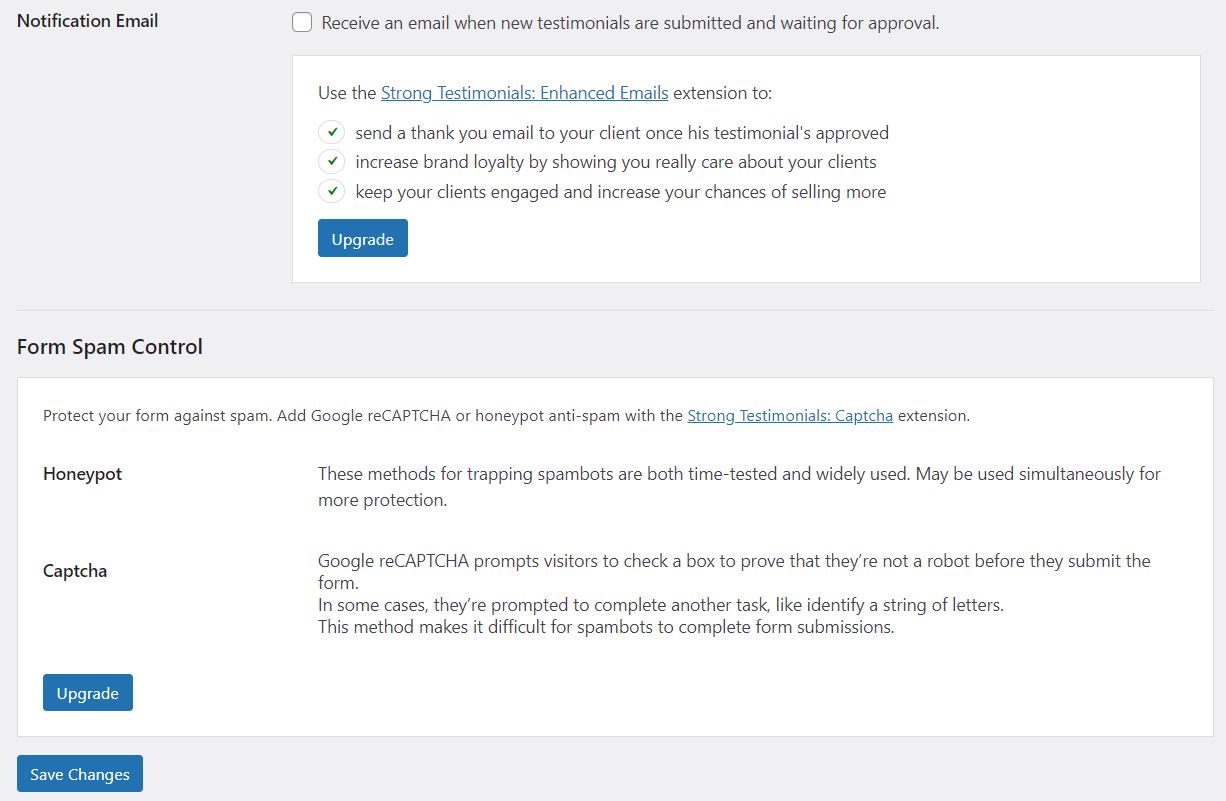
When you’re happy with all the settings, click on Save Changes. Once your clients submit their testimonials, the feedback will appear on your All Testimonials page.
Additionally, you can adjust how reviews will display on your site. Head to Views > Add New:
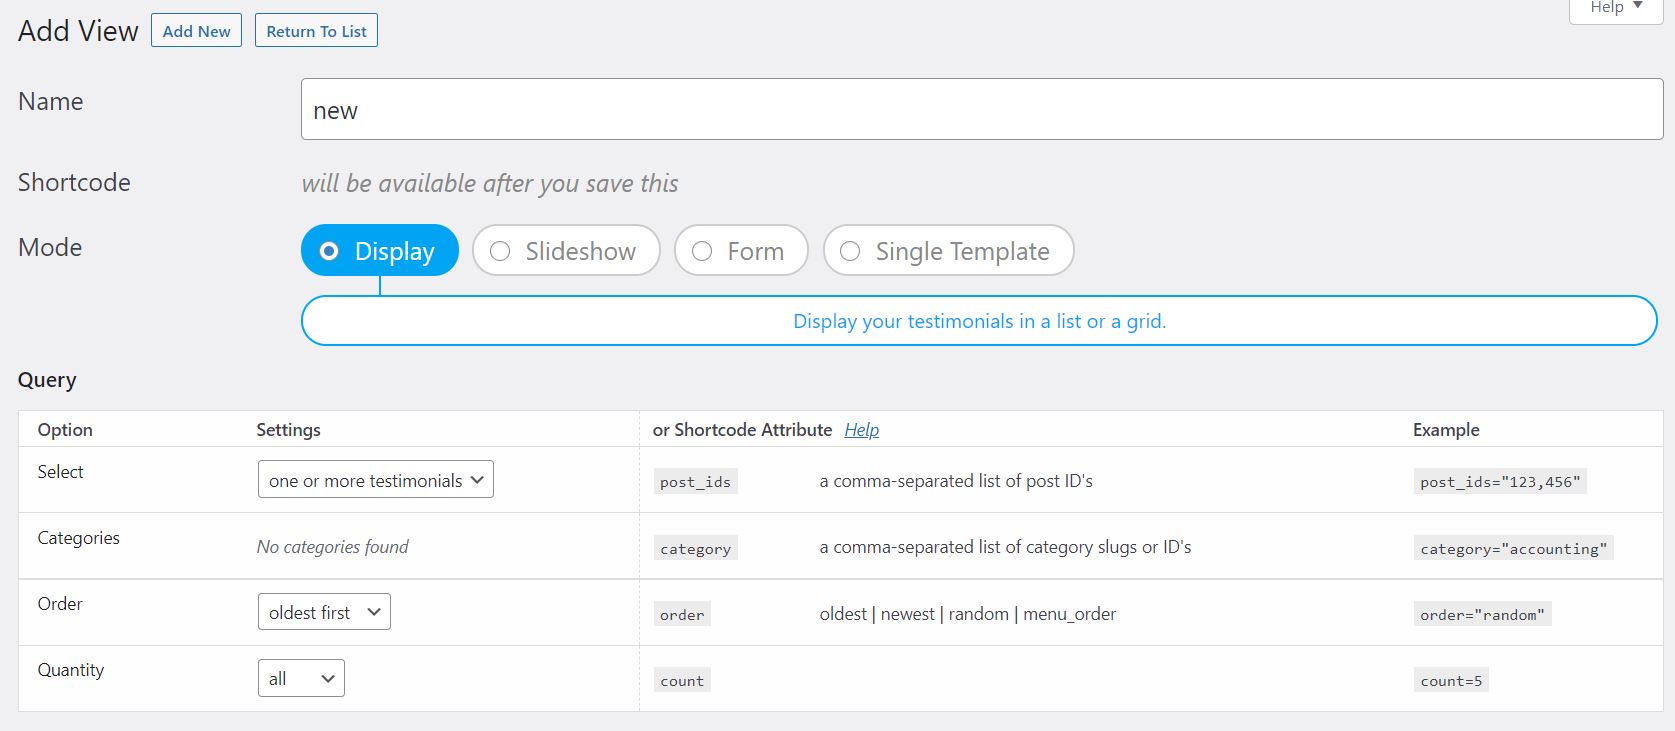
You can choose which testimonials will display according to categories, age, and total quantity. If you scroll down, you can also customize the style and appearance of the View. Once you’ve finished setting it up, click on Save Changes at the bottom of the page.
The plugin will then generate a shortcode. You can copy it and paste it into any post, page, or widget section to display your client testimonials:

Additionally, upgrading to Strong Testimonials Pro gives you access to more features. For example, you can import reviews directly from third-party sources such as Facebook or Yelp.
2. Manually add testimonials to a WordPress page
If your clients send you feedback via email, you can take those reviews and manually display them on a WordPress page. For example, you might like to create a dedicated testimonials page on your site:

First, you can reach out to your previous and existing clients via email or social media. Encourage them to leave thoughtful feedback and ask if you can use it on your site.
Then, you can format the feedback however you like. Start by heading to your WordPress dashboard and navigating to Pages > Add New. Here, you can paste your testimonials and format the page to fit the design of the rest of your website. You may even like to put client photos next to their feedback using the Media & Text block:

This method isn’t the quickest, as you’ll need to format each element manually. However, it can give you greater control over how you show client testimonials on your site.
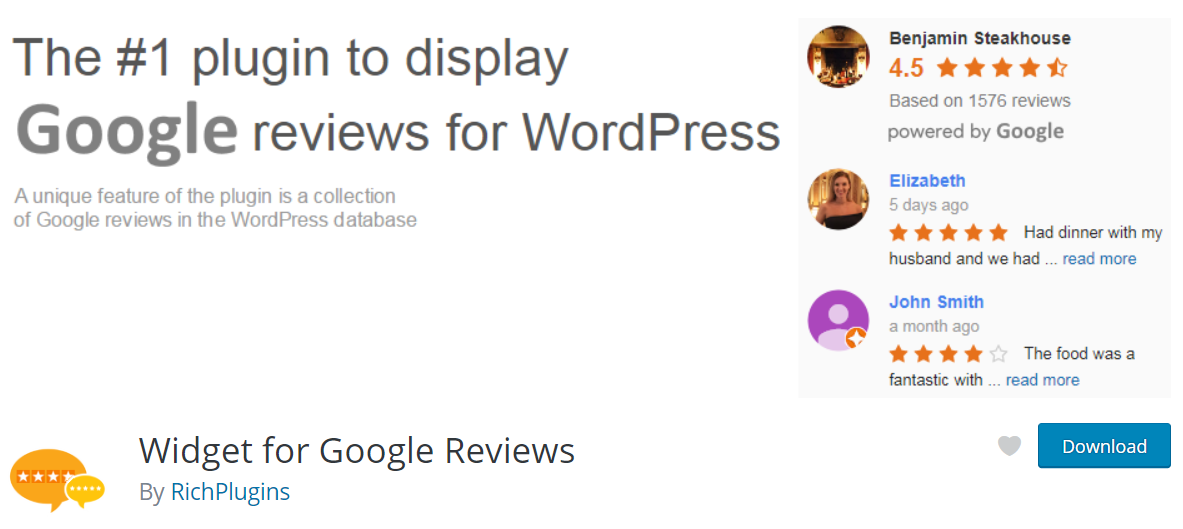
3. Embed Google reviews with the Widget for Google Reviews plugin
If your business has a physical location, you can also display Google reviews. These are testimonials submitted directly to your Google My Business listing. As they come from a third-party source, they can lend more credibility to your feedback.
Using the straightforward Widget for Google Reviews plugin, you can display these testimonials on any WordPress post or page:
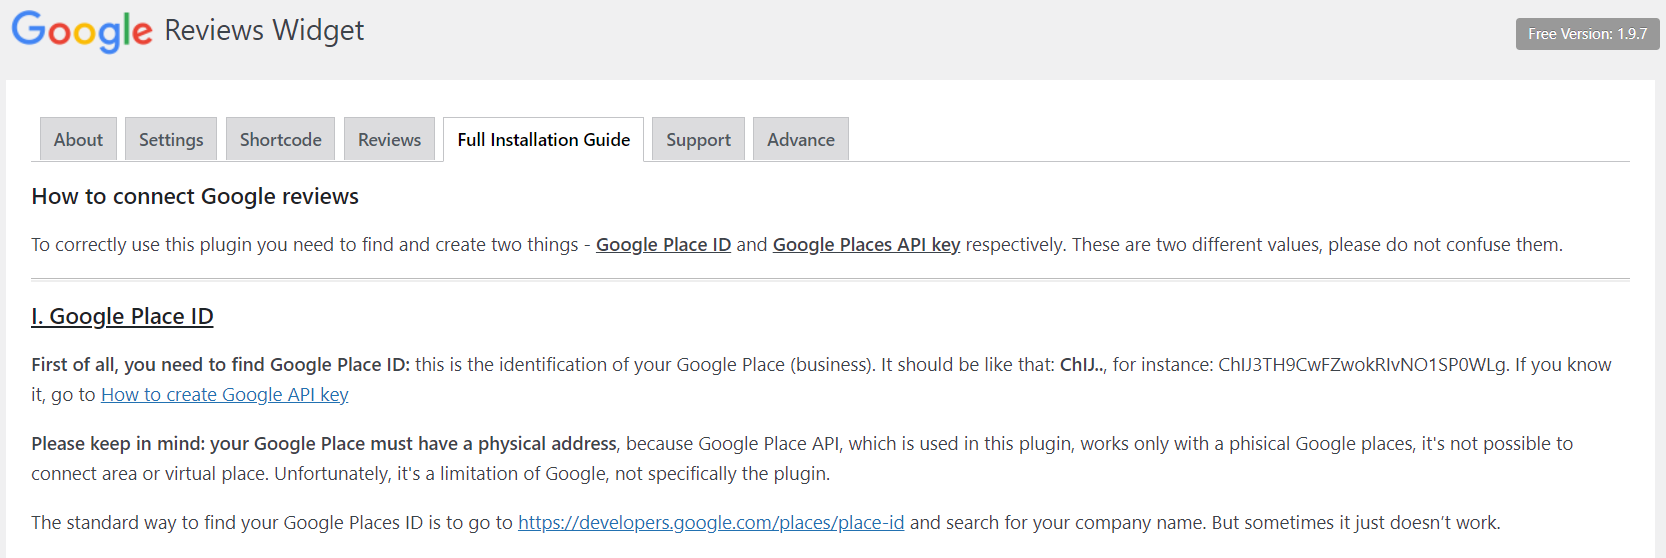
Once you’ve installed and activated the plugin, you can navigate to its main dashboard by going to Settings > Google Reviews Widget > Full Installation Guide. It will walk you through detailed setup instructions:
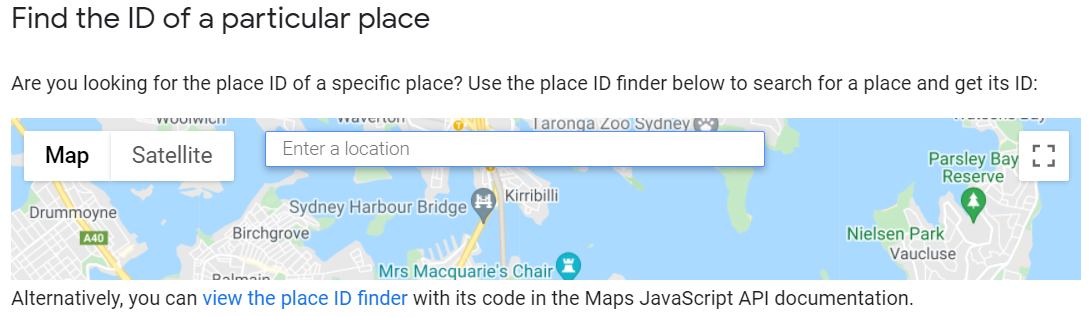
To start, you’ll need to get your Google Place ID. You can do this by typing your business name into the Google Place ID Finder tool:
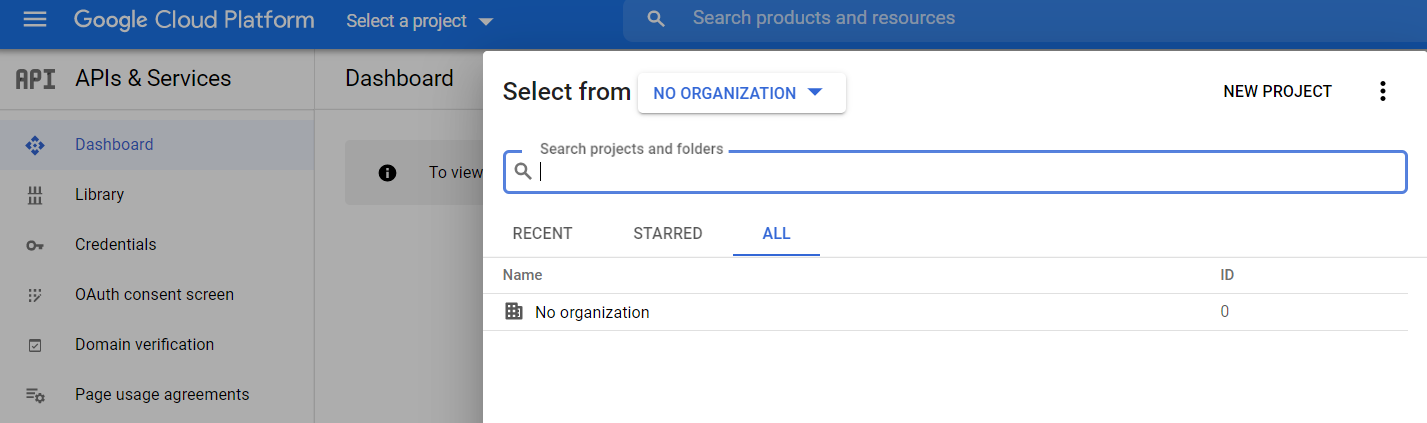
The next step is to get a Google Places API. Go to your Google Console account dashboard and navigate to Select a project > NEW PROJECT:
Save that project and head to ENABLES APIS AND SERVICES. Click on Places API > ENABLE. Now, open your navigation menu and click on APIS & Services > Credentials. You’ll be directed to this page:
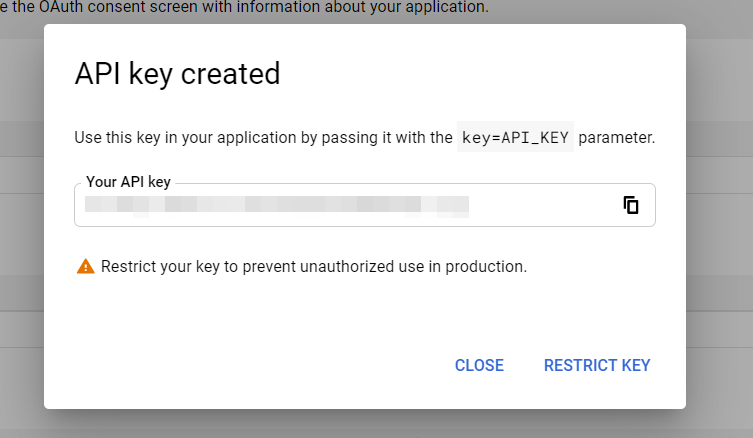
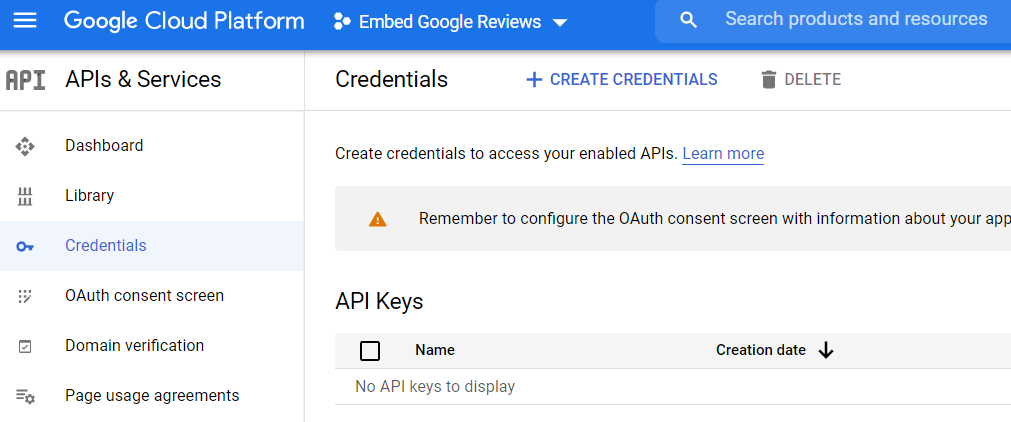 Now, select + CREATE CREDENTIALS > API Key. This will bring up a code that you should copy:
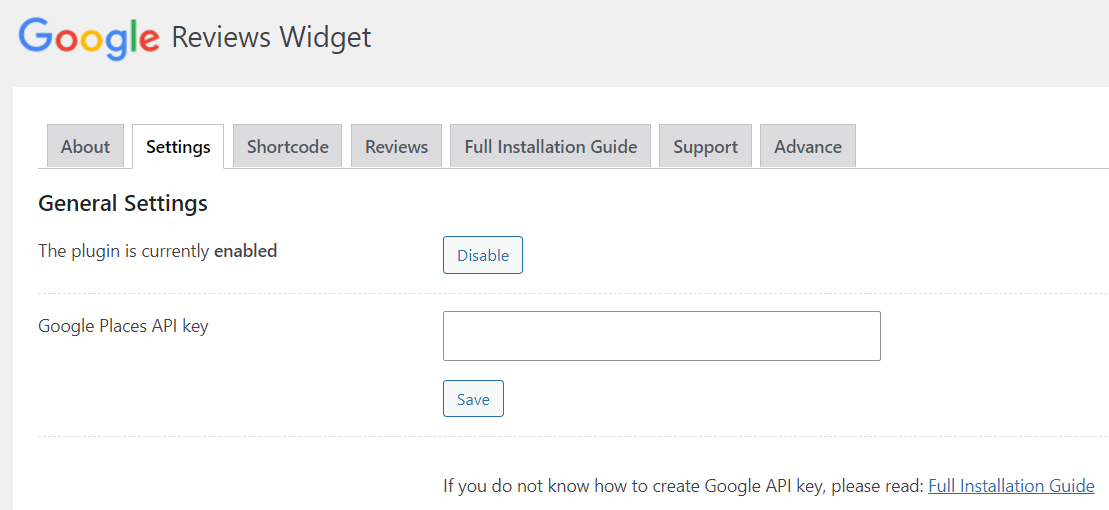
 You’ll also need to connect a billing account to your Google console. Then, head back to your WordPress dashboard and go to Settings > Google Reviews Widget > Settings. Paste your API key here:
Next, jump across to the Shortcode tab and paste your Google Places ID:
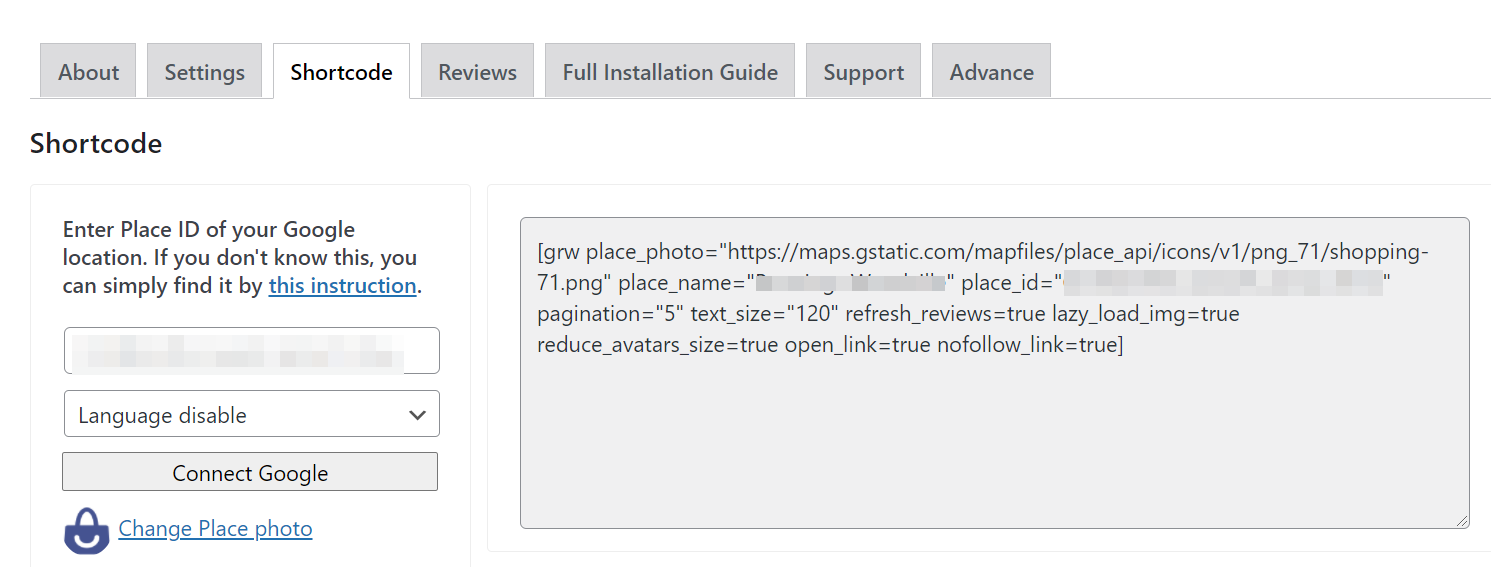
Now the plugin will create a shortcode to display your testimonials. You can insert it into the body or widget areas of your posts and pages. Then, your Google reviews will show and update automatically.
Conclusion
Displaying customer testimonials on your website can boost your reputation and convince new clients to choose your business. As such, it’s worthwhile to show off your positive feedback on your WordPress site.
To recap, here are three ways to add customer feedback to your site:
- Use the Strong Testimonials plugin.
- Manually add testimonials to a WordPress page.
- Embed Google reviews with the Widget for Google Reviews plugin.
Do you have any questions about displaying client testimonials on your WordPress site? Let us know in the comments section below!
Image source: Pixabay.
Leave a Reply