
Creating a staging website for WordPress has many benefits. For instance, you can test any changes before pushing them to your live site. However, it can be challenging to clone your website if you’ve never done it before.
Fortunately, our ManageWP tool makes it super easy to create a staging website for WordPress. Using our dashboard, you can quickly clone your site in just three easy steps.
In this post, we’ll explain what a staging website for WordPress is and why you might want to make one. Then, we’ll show you how to create a cloned site with ManageWP. Let’s get started!
Why you might want to use a staging website for WordPress
A staging website is a ‘cloned’ version of your existing site. It contains all of the same material, but readers won’t be able to see updates until you push them onto your live website.
Essentially, you can use a staging website as a testing platform to simulate changes without affecting your live site. This setup can come in handy if you update your site design, add new functionalities, or upload significant amounts of content. During this process, you might make errors that affect your overall User Experience (UX) or even take down your site. Therefore, it’s safer to trial your changes on the staging site to ensure that they won’t cause any issues.
A staging website can also be handy if you’re working with WordPress clients. Your customers can sign off on changes before you make them live. This way, you can offer a better customer experience and attract positive testimonials after the job is finished.
Finally, creating a staging website for WordPress is relatively easy. We’ll show you how to do it in the next section.
How to make a staging website for WordPress with ManageWP (in 3 steps)
Now that you know why having a staging website can be useful, we’ll explain how you can set one up. Our video below can walk you through the process:
However, if you prefer written instructions, we’re going to cover them in this article. Note that before starting this tutorial, you’ll need to install and set up our premium ManageWP tool.
Step 1: Add your live website to ManageWP
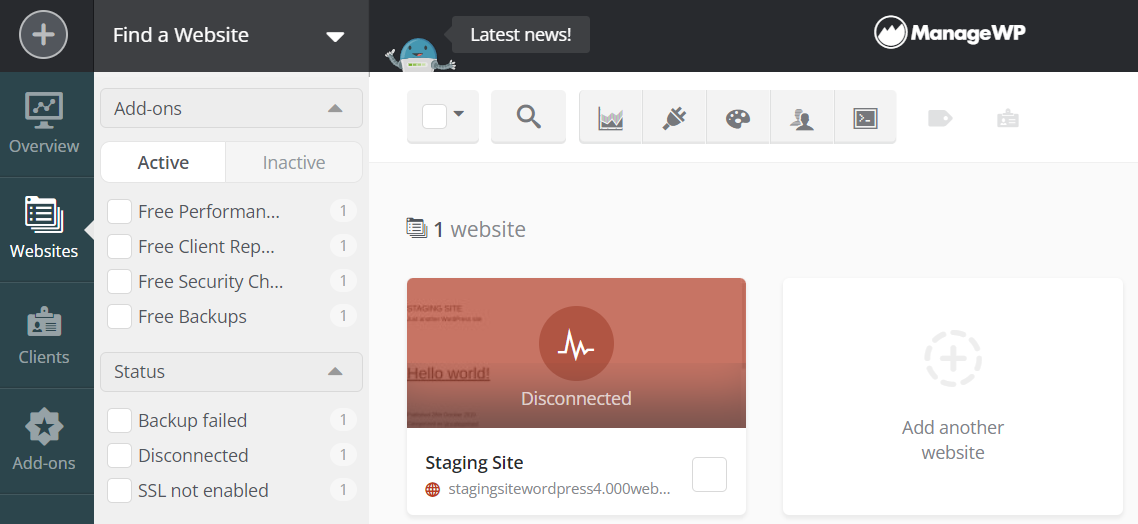
First, you’ll need to add your site to ManageWP. Open your dashboard and navigate to Websites. Then, click on Add another website:
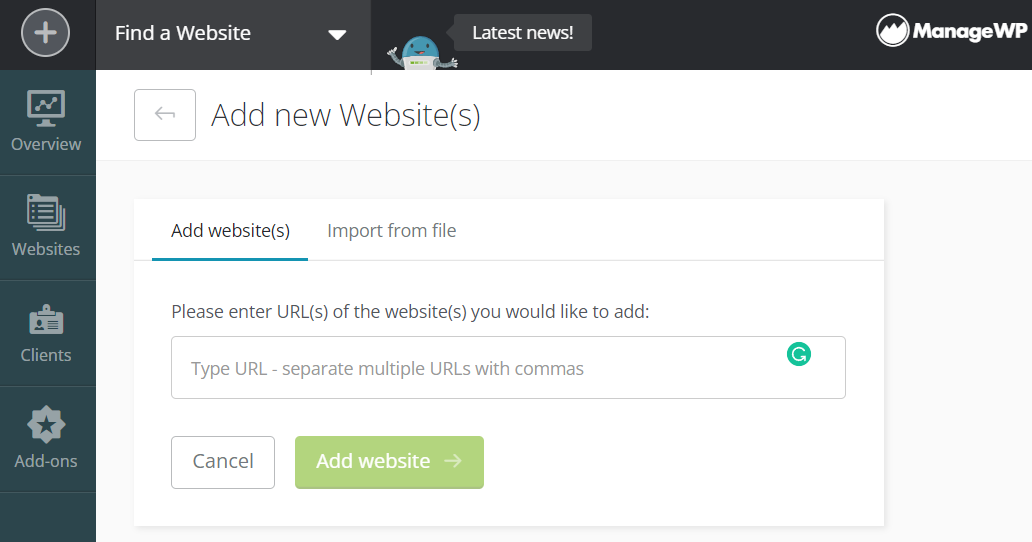
Next, you’ll need to enter the URL and WordPress sign-in details for the website you want to clone. Fill out the information and then hit Add website:
If you entered your credentials correctly, you should see a success message. You can now select Go to website dashboard.
In some cases, you might need to connect your website manually. You can do this with our ManageWP Worker plugin.
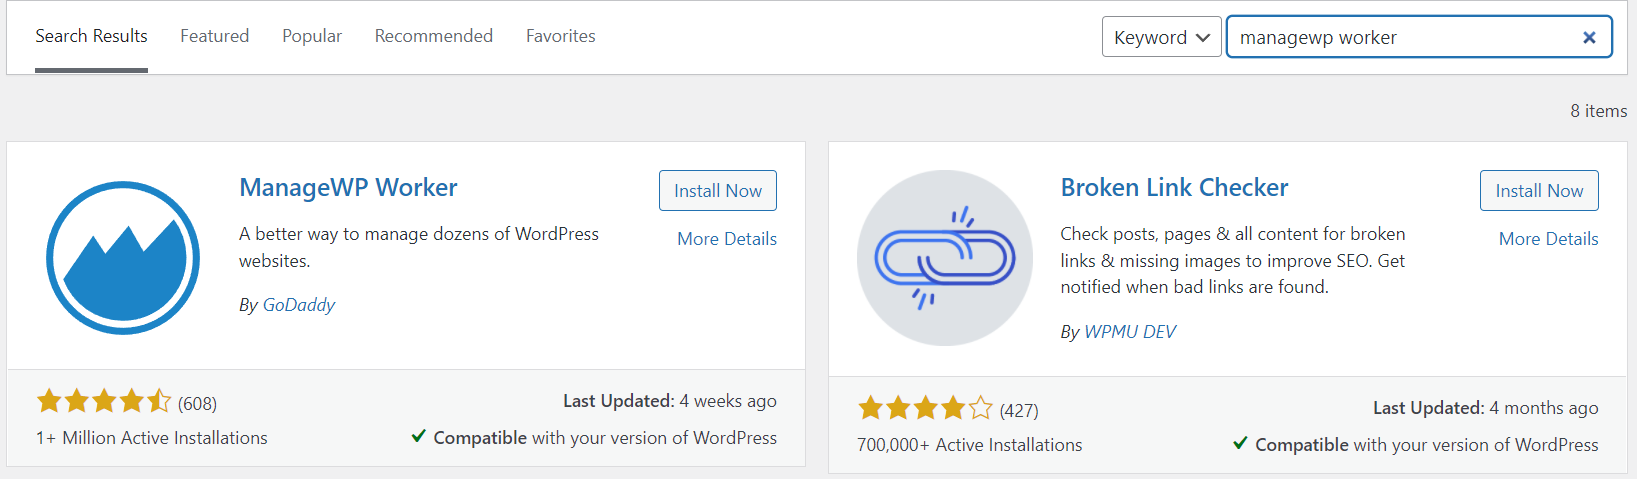
Navigate to your live website’s WordPress dashboard and head to Plugins > Add New. Then, search for “ManageWP worker” and click on Install > Activate next to the first tool that appears:
Next, click on Connection Management underneath the installed plugin. You should now see a screen with a connection key to link your website to ManageWP:
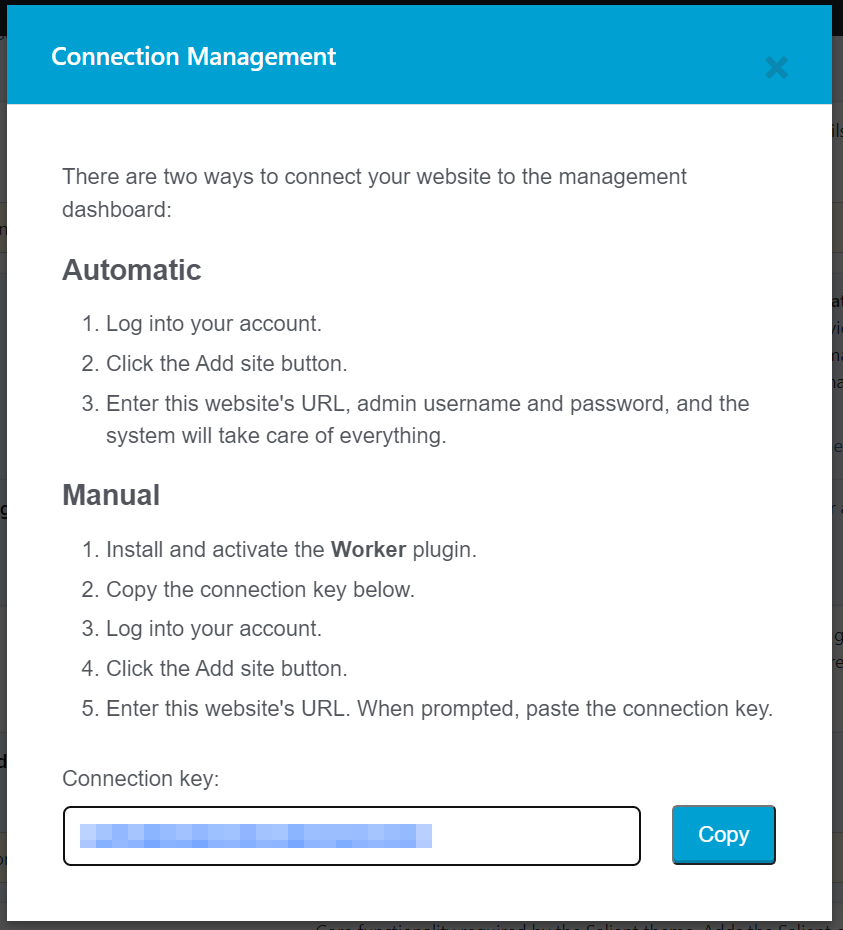
Copy and paste the key into the credentials box on ManageWP. When you’re ready, hit Add website and it should connect your site. You can then click on Go to website dashboard.
Step 2: Clone your website
You should now see the ManageWP dashboard for your live site. If you need to update any WordPress plugins or themes, you can do so by selecting them and clicking on Update. You might also take this opportunity to optimize your database:
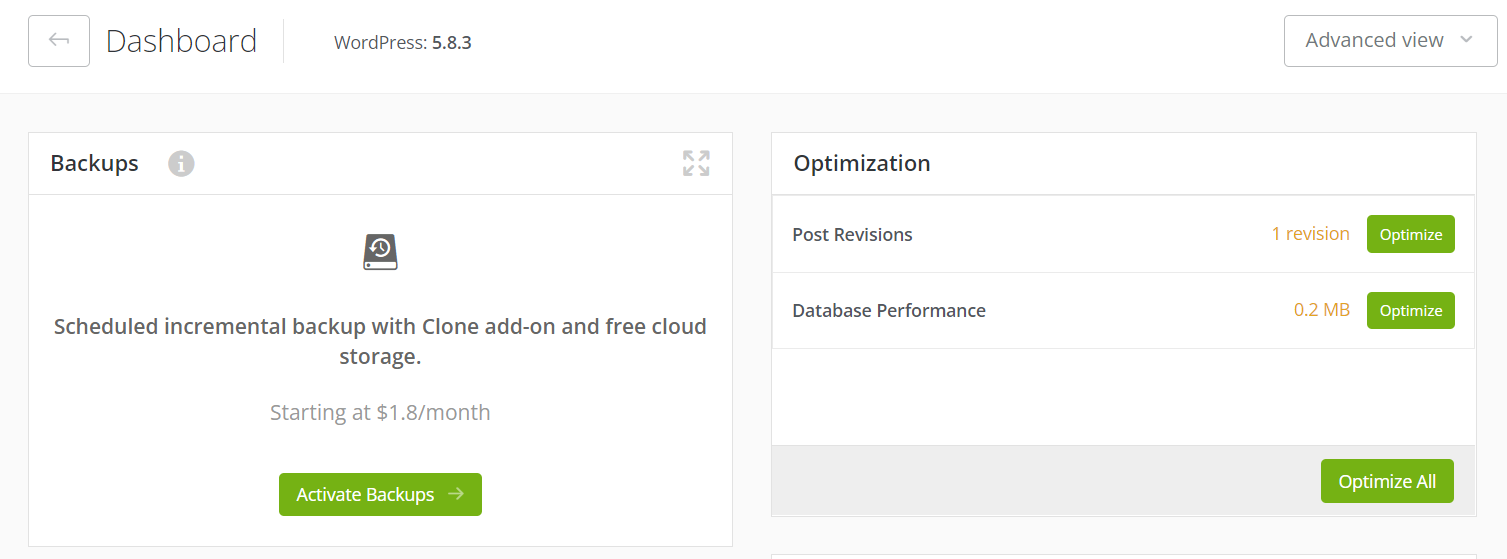
If you haven’t done so already, you’ll need to activate backups and choose the premium version of our tool. Once your website files are backed up, you should see a success message:
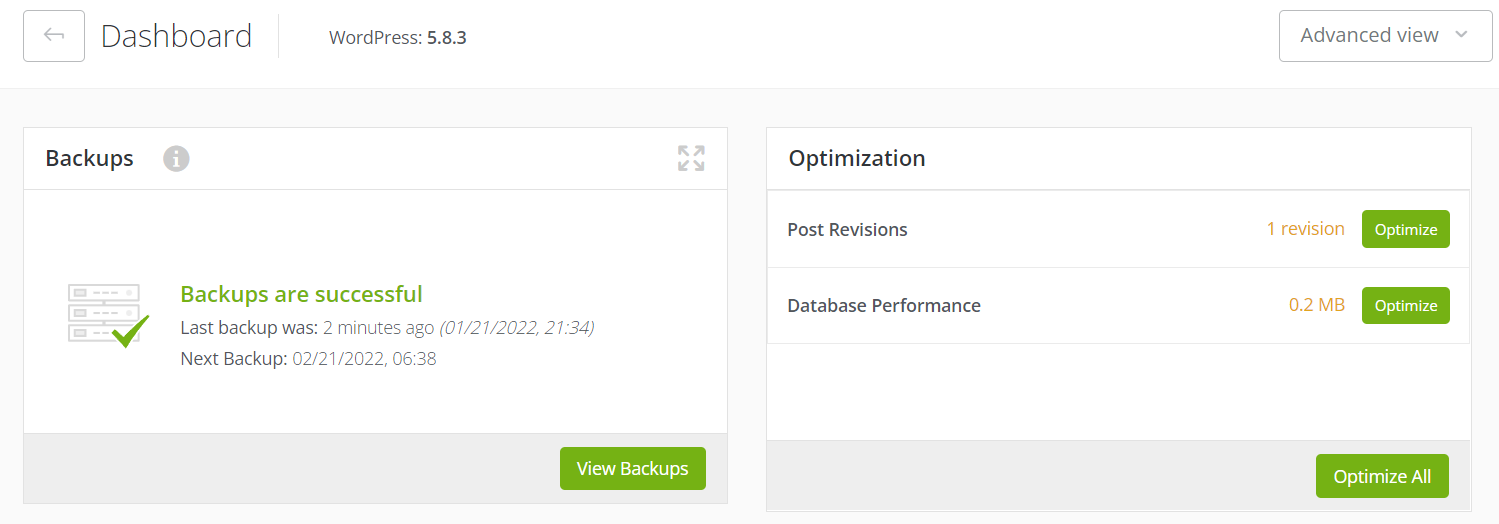
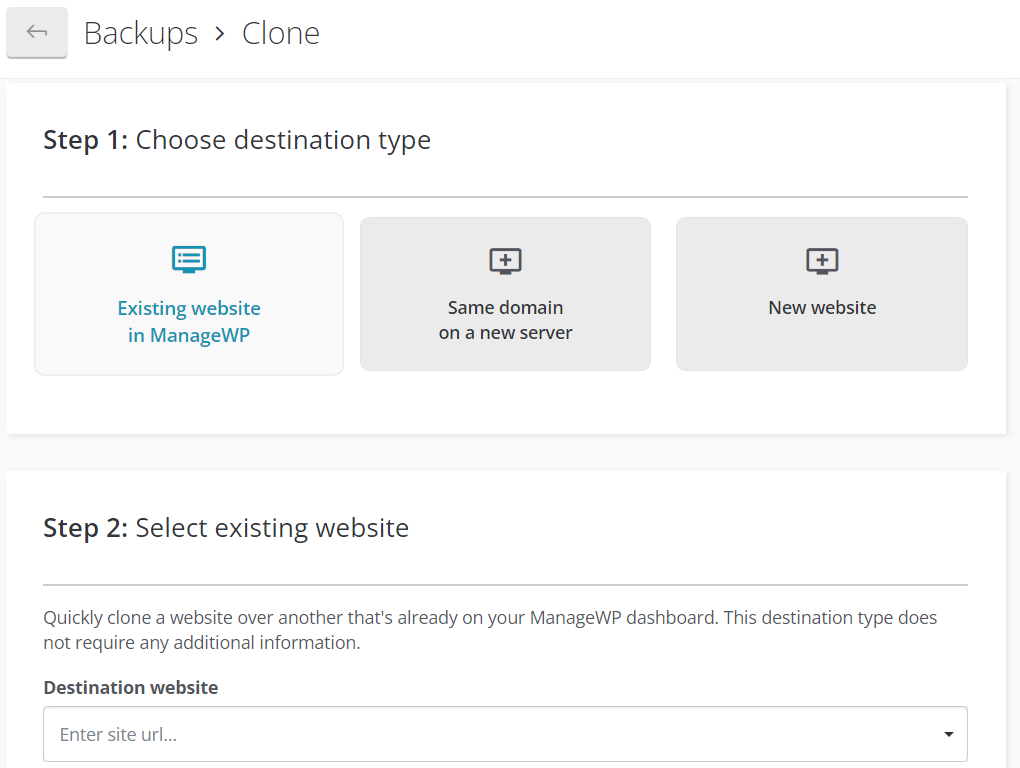
Now, go to Backups and select Clone website:

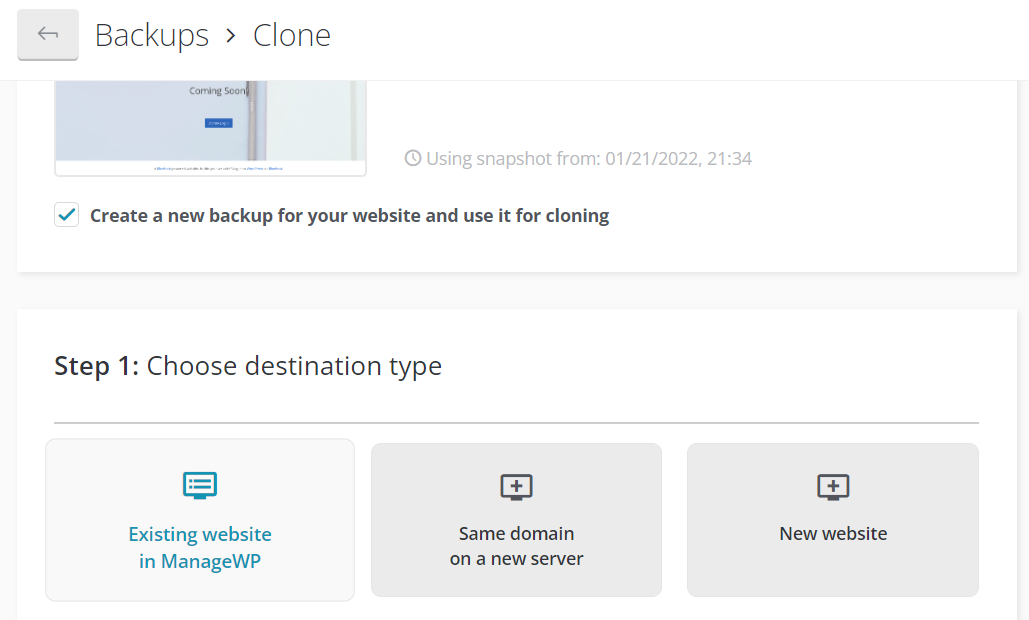
Next, check the box underneath your site that says Create a new backup for your website and use it for cloning. This setting ensures that you create the most recent version of your website for staging purposes.
Now, select the destination type for your staging website. You can choose from an Existing website in ManageWP, the Same domain on a new server, or a New website:
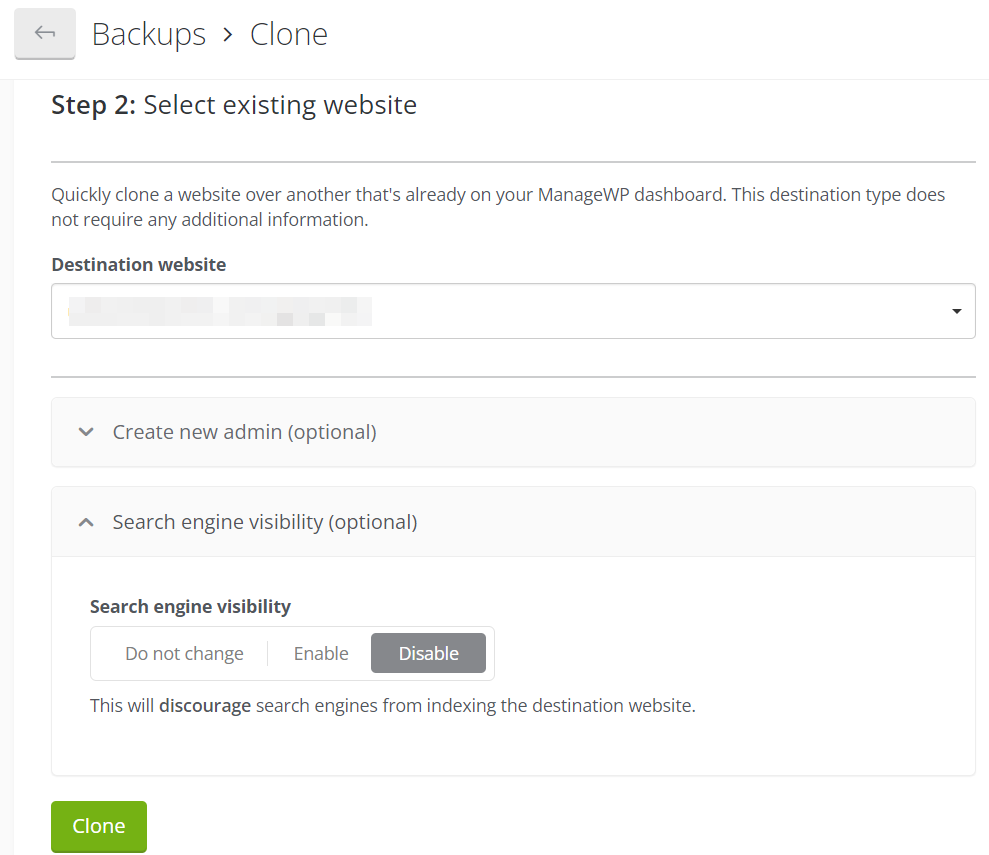
If you choose to clone on top of an existing site, you’ll need to select it from the Destination website dropdown menu. You now have two optional settings to configure: Create new admin and Search engine visibility. You might choose to create new login credentials underneath the first dropdown menu, and disable search engine crawling under the second setting:
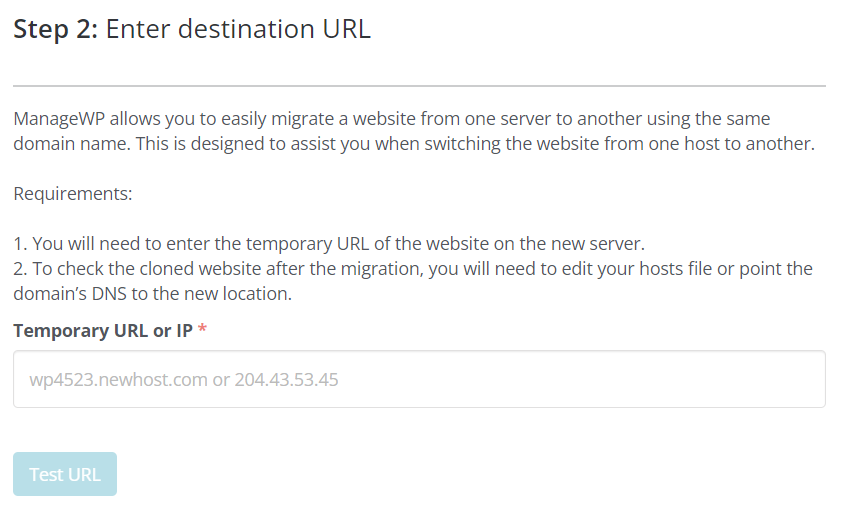
If you opt for Same domain on a new server, you’ll need to enter your site’s temporary URL:
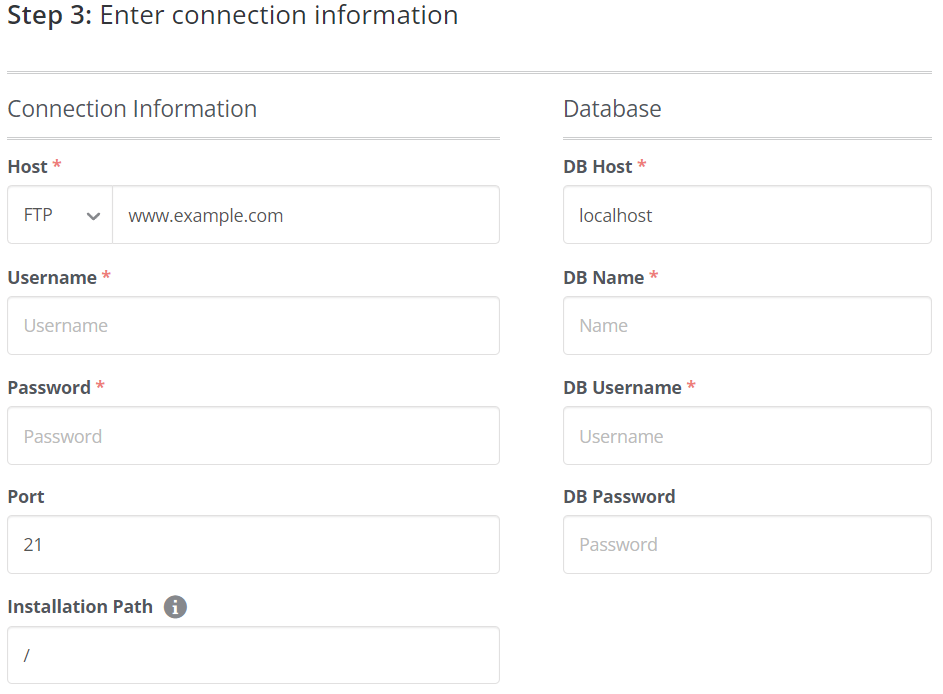
Alternatively, if you pick a new website, you’ll need to have your database and File Transfer Protocol (FTP) credentials ready:
Finally, hit Clone at the bottom of your page. You’ll need to confirm your destination site and select Clone again to start copying it. Wait for a few minutes, and you should then see a success message.
Step 3: Review your staging website and create new backups
Navigate back to Websites on your ManageWP dashboard. Here, you should be able to see your new staging website for WordPress.
Now, you can trial new changes on your staging site before pushing them to your live website. We’ll show you how to do this briefly by creating a new post and sending it across.
Open up the WordPress dashboard for your staging site and navigate to Posts > Add New:

Once you’ve added your content and published it, head back to your ManageWP dashboard. Here, select View Backups for your staging site. You can create a new backup by clicking on Backup Now.
Then, hit Clone website and choose your live site from the dropdown menu:
Finally, click on Clone and confirm your selections to override your live webpage with the content from your staging site. If you navigate to your live site, you should be able to see these changes.
That’s it! You’ve now successfully created a staging website for WordPress and learned how to push changes to your live site.
Conclusion
Creating a staging website enables you to test changes before pushing them to your live site. Therefore, it can be a helpful tool when you want to update content or design elements without causing UX issues. Fortunately, it’s easy to make a cloned site with our ManageWP tool.
To recap, you can create a staging website with ManageWP by following these steps:
- Add your live website to ManageWP.
- Clone your website.
- Review your staging website and create new backups.
Do you have any questions about making a staging website for WordPress? Let us know in the comments section below!
Image credit: Unsplash
Leave a Reply